This post may contain affiliate links. Please see my disclosure policy for details.
Level Up Your Living Room: The Ultimate Gaming Setup Guide
Contents
Ever felt like your living room was missing that special something? Like it’s just not quite leveled up to its full potential? Well, grab your controller and get ready to press start on the most epic living room transformation of your life!
I’ve spent countless hours perfecting the art of creating the ultimate gaming living room, and I’m here to share all my secrets. Trust me, by the time we’re done, your space will be so lit (literally and figuratively) that you’ll never want to leave.

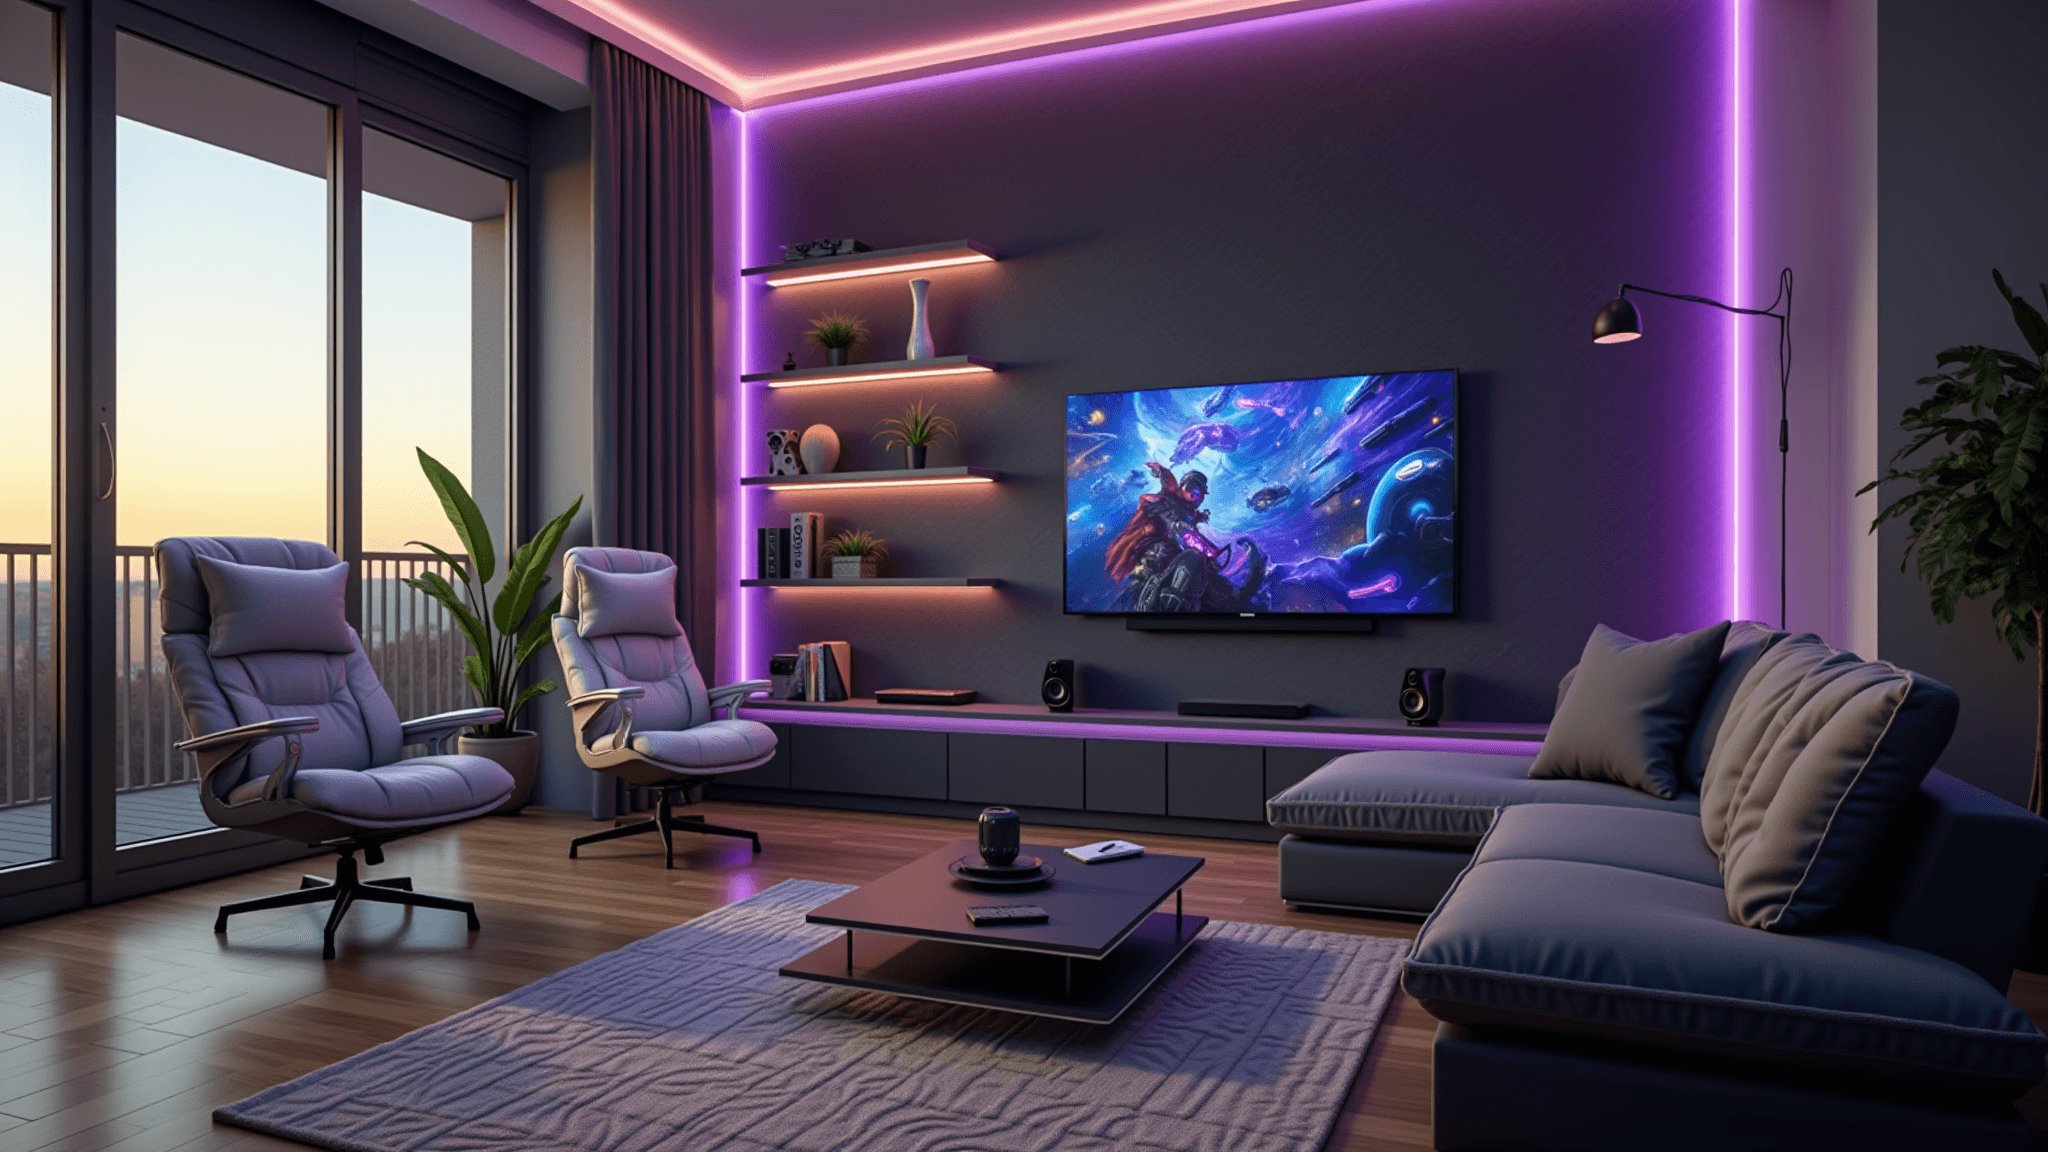
Ready Player One: Setting the Scene
First things first, let’s clear out the clutter. Nobody wants to game in a messy space, right? Once you’ve Marie Kondo’d your way to a clean slate, it’s time to focus on your focal point – the TV or monitor.
Pro tip: Angle that bad boy just right to avoid glare. There’s nothing worse than losing a match because the sun decided to photobomb your screen.
Now, let’s talk seating. You want something comfy enough for marathon gaming sessions but stylish enough to impress your non-gamer friends. I’m talking modular sofas, gaming chairs that don’t scream “I live in my mom’s basement,” or even a mix of both.

Lights, Camera, Action!
Lighting is where the magic happens, folks. Forget those boring old lamps your grandma gave you. We’re going full RGB here!
- LED strips behind the TV for that sweet ambient glow
- Smart bulbs you can control with your voice (because who has time to flip switches?)
- A ring light for when you’re ready to go pro and start streaming
But remember, we’re not trying to recreate Times Square here. Keep it balanced – you want to see your game, not go blind.

Accessorize Like a Boss
Now for the fun part – making your space uniquely you. This is where you can really let your geek flag fly.
- Display your favorite game memorabilia on floating shelves
- Hang up some artwork featuring your go-to characters
- Add a few plants (real or fake, no judgment) to bring in some life
And for the love of all things holy, please manage those cables. Nothing ruins a slick setup faster than a spaghetti monster of wires.

The Cherry on Top
Want to take it to the next level? Consider these optional upgrades:
- A mini-fridge for snacks and drinks (because pausing is for noobs)
- A surround sound system that’ll make you feel like you’re actually in the game
- A projector for those times when even a 65-inch TV just isn’t big enough
Remember, you don’t need to break the bank. Start small and upgrade as you go. Rome wasn’t built in a day, and neither is the perfect gaming living room.

Capturing the Magic
Once you’ve got your space looking like a million bucks (or at least a few thousand V-bucks), it’s time to show it off. Here’s how to nail those Instagram-worthy shots:
- Natural light is your friend – shoot during the day for the best results
- Get creative with your angles – show off that sweet LED glow
- Don’t forget the details – close-ups of your favorite collectibles can be just as impressive as wide shots
And there you have it, folks! Your very own guide to creating a gaming living room that’s so awesome, even your non-gamer friends will be begging for invites. Now if you’ll excuse me, I’ve got some noobs to pwn in my newly decked-out space. Game on!