This post may contain affiliate links. Please see my disclosure policy for details.
Build Your Own Desk Without Losing Your Mind (Or Your Savings)
Contents
Building a DIY desk sounds intimidating until you realize it’s basically adult Legos with wood glue.
I get it—you’re staring at overpriced desks online, your current workspace is a dining table covered in coffee rings, and you’re wondering if you can actually pull off a woodworking project without amputating something important.
Let me save you from both financial regret and potential trips to the ER.

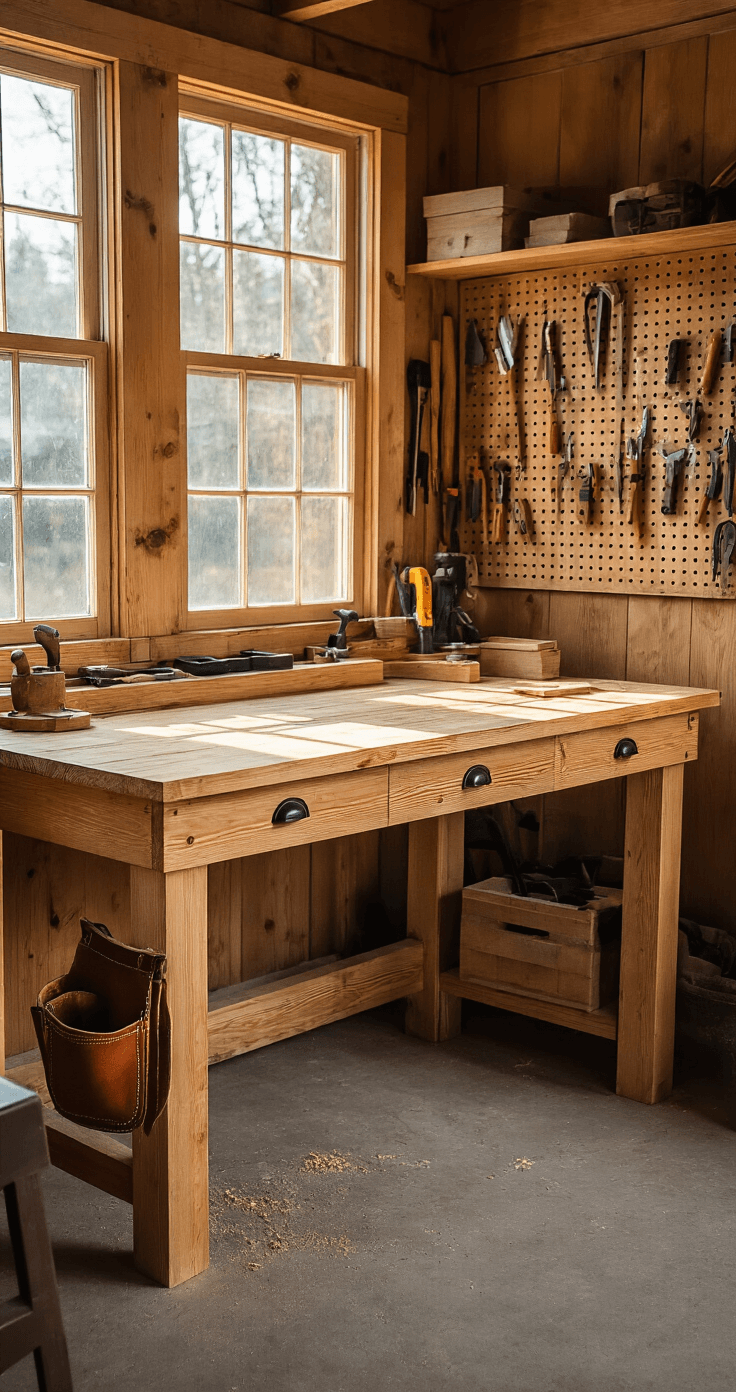
Why Your Wallet (And Back) Will Thank You
I built my first desk for thirty bucks.
Thirty dollars.
That’s less than two mediocre takeout meals, and I got a 10-foot workspace that didn’t wobble like a three-legged horse. The big-box stores wanted $400 for something half the size made from particle board that would crumble if you looked at it wrong.
Here’s what nobody tells you: desk building isn’t rocket science—it’s measuring twice, cutting once, and having enough clamps. (You can never have enough clamps.)
The “I’m Broke But Need a Desk Yesterday” Build
Budget: $30-40
Time: One afternoon
Skill level: Can you spread peanut butter? You can do this.
Grab yourself:
- Three 1″×8″×10′ pine boards from any hardware store
- One 1″×2″×12′ furring strip (sounds fancy, costs nothing)
- Wood glue that’s actually strong
- Basic clamps (borrow them if you’re smart)
- Wood stain in whatever color doesn’t make you sad
- Polyurethane (because you’ll spill coffee on this, guaranteed)
The Process:
Line up those pine boards edge to edge like you’re making the world’s flattest sandwich.
Slather wood glue on the edges.
Clamp everything together tighter than your budget after rent.
While that’s drying (and it takes HOURS, make peace with this), cut your backing board and trim.
Flip the desktop, attach the backing board with more glue and some brad nails.
Add the trim around the edges so it looks like you actually know what you’re doing.
Sand everything until your arm hurts.
Stain it, seal it with polyurethane, and suddenly you’re a furniture maker.
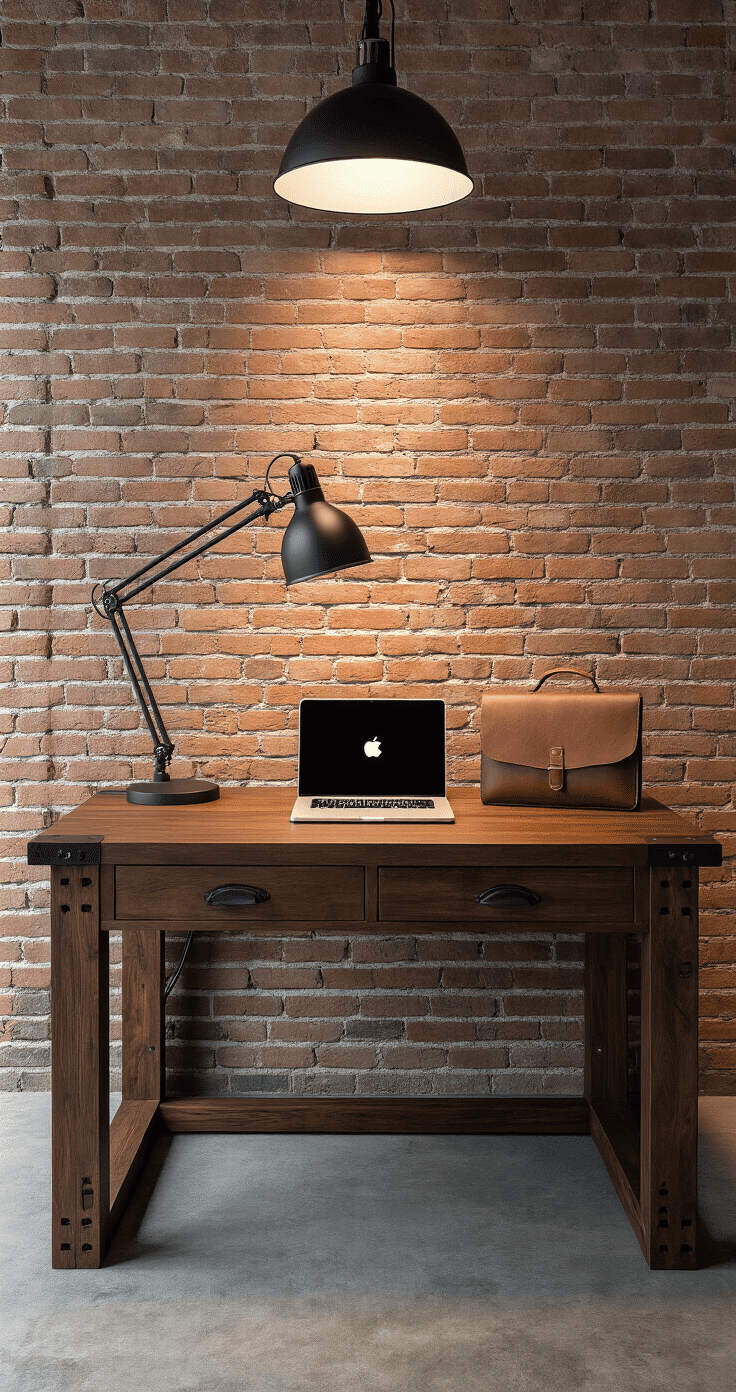
The “I Want It To Look Like West Elm” Build
Budget: $40-55
Time: One weekend
Skill level: Beginner who watched three YouTube videos
Single sheet of birch plywood—that’s your entire desk.
One 4’×8′ sheet gets you a modern plywood desk with angled legs that look like you hired a Scandinavian designer.
What makes this work:
The angled legs aren’t just aesthetic—they’re structural genius that forgives beginner mistakes.
Birch plywood already looks expensive (it’s not).
You’ll need a circular saw or a miter saw, but if you don’t own one, the hardware store will cut the plywood for you.
A drill, some screws, sandpaper, and confidence you’re mostly faking.
Cut the desktop to your preferred dimensions (hint: measure your space first, I learned this the hard way).
Cut four identical trapezoid shapes for legs (trace a template, don’t freestyle this).
Attach legs to desktop with wood screws from underneath.
Sand until it’s smoother than your best pickup line.
Apply Danish oil or polyurethane.
Pretend you spent $600 at a boutique furniture store.
The “I Actually Want To Learn Woodworking” Build
Budget: $100-200
Time: A full weekend
Skill level: Intermediate (or ambitious beginner)
This is the real deal—frame construction, pocket holes, the works.
Materials you’ll need:
- Plywood panels for the desktop and any shelves
- 2×2 lumber for the frame and legs
- Pocket hole screws (these are woodworking magic)
- Pocket hole jig (game-changer, trust me)
- Orbital sander
- Wood conditioner, stain, and finish
Why this matters:
Pocket holes create invisible joints that are stronger than your excuses for not working out.
You’re building a frame system, which means this desk could survive a small earthquake.
You can customize literally everything—height, width, shelves, cable management.
The actual build:
Cut all your pieces according to your plan (make a cut list, check it twice).
Drill pocket holes in the frame pieces.
Assemble the desktop frame first—this becomes your foundation.
Attach the legs using pocket screws (they’ll be hidden, so your mistakes are too).
Screw the plywood top to the frame.
Sand everything like you’re preparing for a NASA inspection.
Apply wood conditioner on pine (or it’ll absorb stain like a drunk sponge).
Stain, let dry, apply polyurethane in thin coats.
Add felt pads to the leg bottoms so you don’t scratch your floors.
")