This post may contain affiliate links. Please see my disclosure policy for details.
How I Finally Conquered My Chaotic Desk (And You Can Too)
Contents
Desk organization tips start with one brutal truth: if your desk looks like a paper avalanche hit it, your productivity is probably buried underneath.
I’m staring at my desk right now, and six months ago, I would’ve been embarrassed to show you a photo. Coffee rings marked my workspace like ancient tree rings. Sticky notes covered every surface like yellow confetti. And don’t even get me started on the pen graveyard—I had seventeen pens, and exactly two worked.
Sound familiar?
You’re probably here because your desk situation has gotten out of hand. Maybe you can’t find important documents when you need them. Maybe you’re tired of that anxious feeling every time you sit down to work. Or maybe you just knocked over your third coffee this week because there’s nowhere safe to put your mug.
I get it. Let me show you exactly how I transformed my disaster zone into a workspace that actually helps me get things done.
Why Your Current System Isn’t Working (And What That’s Costing You)
Before I dive into solutions, let’s talk about why most desks become chaos factories.
You probably think you’ll “deal with it later.” That piece of mail? You’ll file it tomorrow. That receipt? You might need it someday. Those random cables? Well, you’re not entirely sure what they connect to, but better safe than sorry.
Here’s what actually happens: later never comes.
The mess compounds. Your brain spends mental energy every single day looking at that clutter. Studies show visual chaos genuinely drains your focus, but you don’t need a study to tell you that—you feel it every time you sit down.
I was losing at least 15 minutes daily just searching for things. That’s over 90 hours per year I was throwing away because I couldn’t get my act together.
The Foundation: Sort Everything Like Your Sanity Depends On It
Desk organization tips always start with the same unglamorous step: you’ve got to deal with what you’ve already got.
I cleared my entire desk one Saturday morning. Everything came off. Every pen, every paper, every random business card from someone I met three years ago.
Then I made three piles:
- Keep and use regularly – Things I touch at least weekly
- Keep but store away – Stuff I need but not every day
- Trash or donate – Everything else (this pile was embarrassingly large)
The hardest part? Being honest with myself.
Did I really need that stapler shaped like a shark? No. Was it cool? Absolutely. Did it spark joy while also taking up valuable real estate? Sure did, and that’s why it had to go.
Here’s my brutal sorting framework:
- If you haven’t used it in three months, you probably don’t need it on your desk
- If you can’t remember why you kept it, you don’t need it at all
- If it’s broken and you haven’t fixed it yet, you never will—toss it
- If you’re keeping it “just in case,” that case will never come
I filled an entire trash bag. It felt amazing.
Creating Zones: Give Every Task Its Own Territory
This is where desk organization tips get interesting—and where most people skip ahead and regret it.
Your desk isn’t just one workspace. It’s multiple mini-workstations crammed together, and treating it like one big surface is why everything feels messy.
I divided my desk into four clear zones:
1. Primary work zone (center, directly in front of me)
- My laptop
- My current notebook
- Whatever project I’m actively working on right now
- Nothing else gets to live here permanently
2. Reference zone (right side, within arm’s reach)
- Pens and pencils in a desk organizer caddy
- Sticky notes
- My phone
- Current reference materials
3. Administrative zone (left side)
- Inbox tray for papers that need attention
- Outbox for completed items
- My label maker (game-changer, more on this later)
4. Supply zone (back of desk or shelves above)
- Backup supplies
- Items I need but not daily
- Reference books
Here’s the key: these zones have rules.
When I finish using something from the reference zone, it goes back immediately. Not “in a minute.” Not “after I finish this email.” Immediately.
This single habit—returning things to their zone right away—changed everything.
The Vertical Revolution: Stop Ignoring Your Walls
Most desk organization tips focus on the desk surface, but the real magic happens when you look up.
I was guilty of horizontal thinking. Everything sprawled across my desk because I didn’t consider the empty space above it.
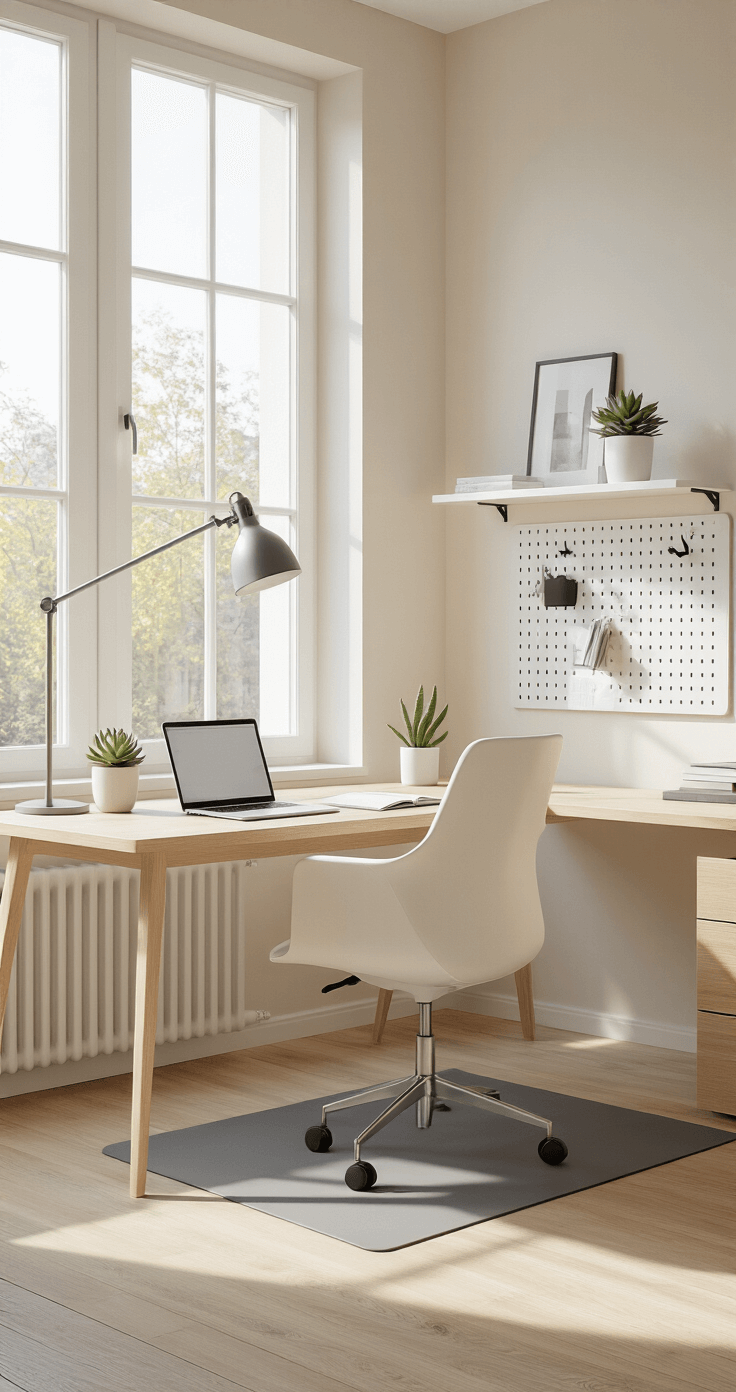
Then I installed a simple floating shelf above my desk.
Suddenly I had space for:
- Books I reference regularly
- A small plant (more on why this matters later)
- Decorative storage boxes for less-used supplies
- My printer (yes, your printer doesn’t need to eat desk space)
The transformation was immediate. My work surface cleared by about 40%.
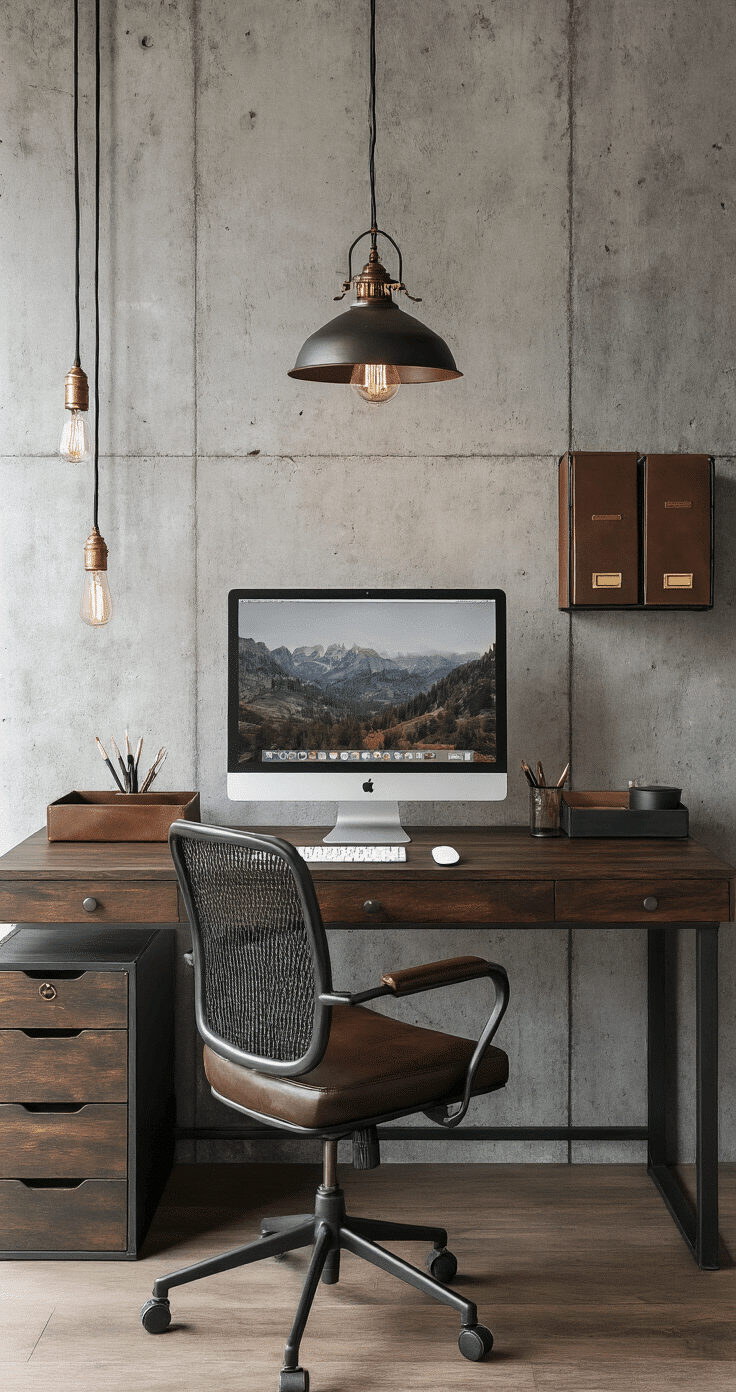
Vertical storage options that actually work:
- Pegboards – Customize them endlessly with hooks and baskets
- Wall-mounted magazine racks – Perfect for folders and notebooks
- Mounted monitor stands – Free up desk space underneath for keyboard storage
- Hanging organizers – Those fabric pocket things aren’t just for shoes
- Command strips and hooks – For lightweight items like headphones or charging cables
I added a wall-mounted pegboard for my most-used supplies. Now my scissors, tape, and favorite pens hang within easy reach but completely off my work surface.
The psychological impact surprised me. When my horizontal space was clear, my mind felt clearer too.