This post may contain affiliate links. Please see my disclosure policy for details.
How to Create a DIY Game Board: From Simple Cardboard to Professional Wood Designs
Contents
Creating a DIY game board has become my favorite weekend project, and I’m betting you’re here because you’ve caught the same bug I did – wanting something unique for family game night without breaking the bank.
Trust me, I’ve been where you are right now. Staring at expensive board games online, wondering if you could just make your own. Spoiler alert: you absolutely can, and it’s way easier than you think.
Why I Started Making My Own Game Boards (And Why You Should Too)
Last Christmas, my nephew asked for a board game that cost $80. Eighty dollars! For cardboard and plastic pieces!
That’s when I decided to roll up my sleeves and figure out this whole DIY game board thing. What started as a money-saving mission turned into something I genuinely love doing.
Here’s what I discovered:
- Cost savings: Most boards cost under $20 to make
- Customization freedom: Make it exactly how YOU want it
- Quality control: You decide how sturdy it gets
- Personal satisfaction: Nothing beats playing on something you built
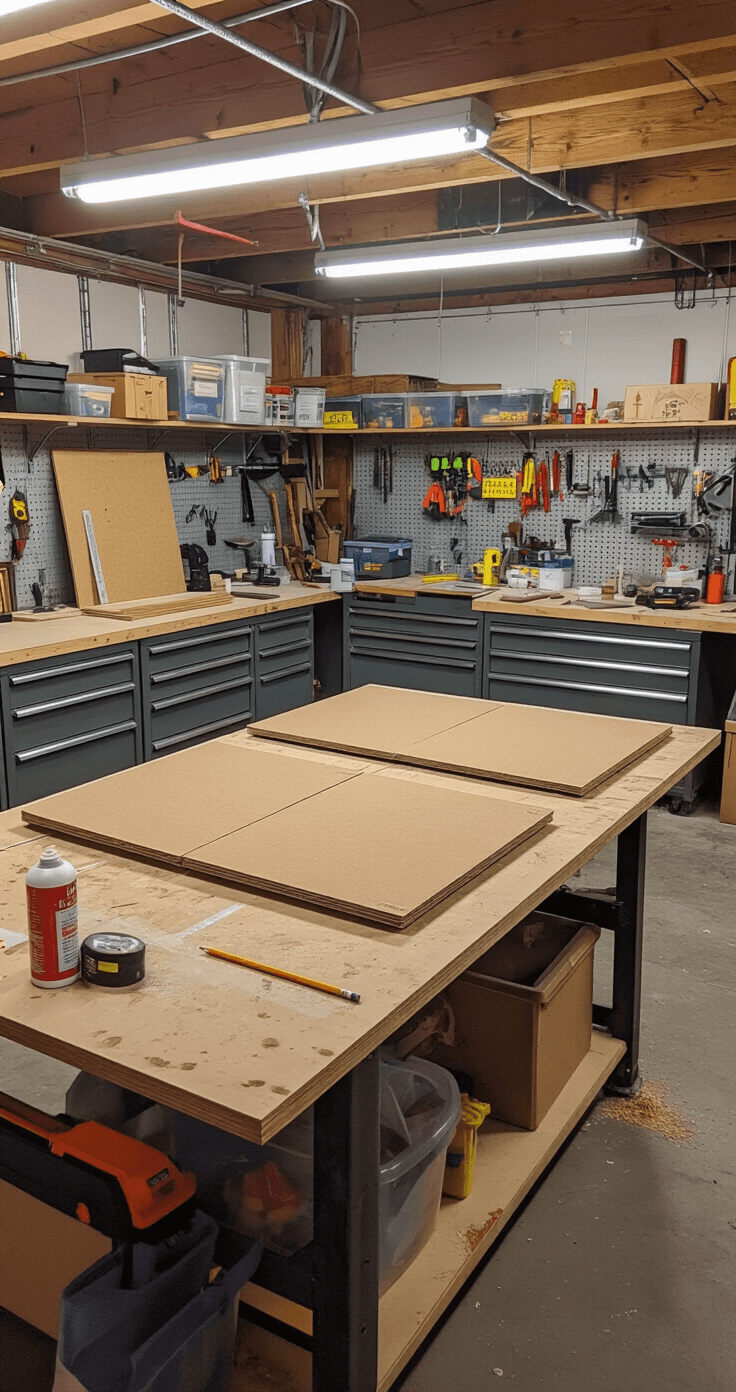
Basic Board Construction Methods That Actually Work
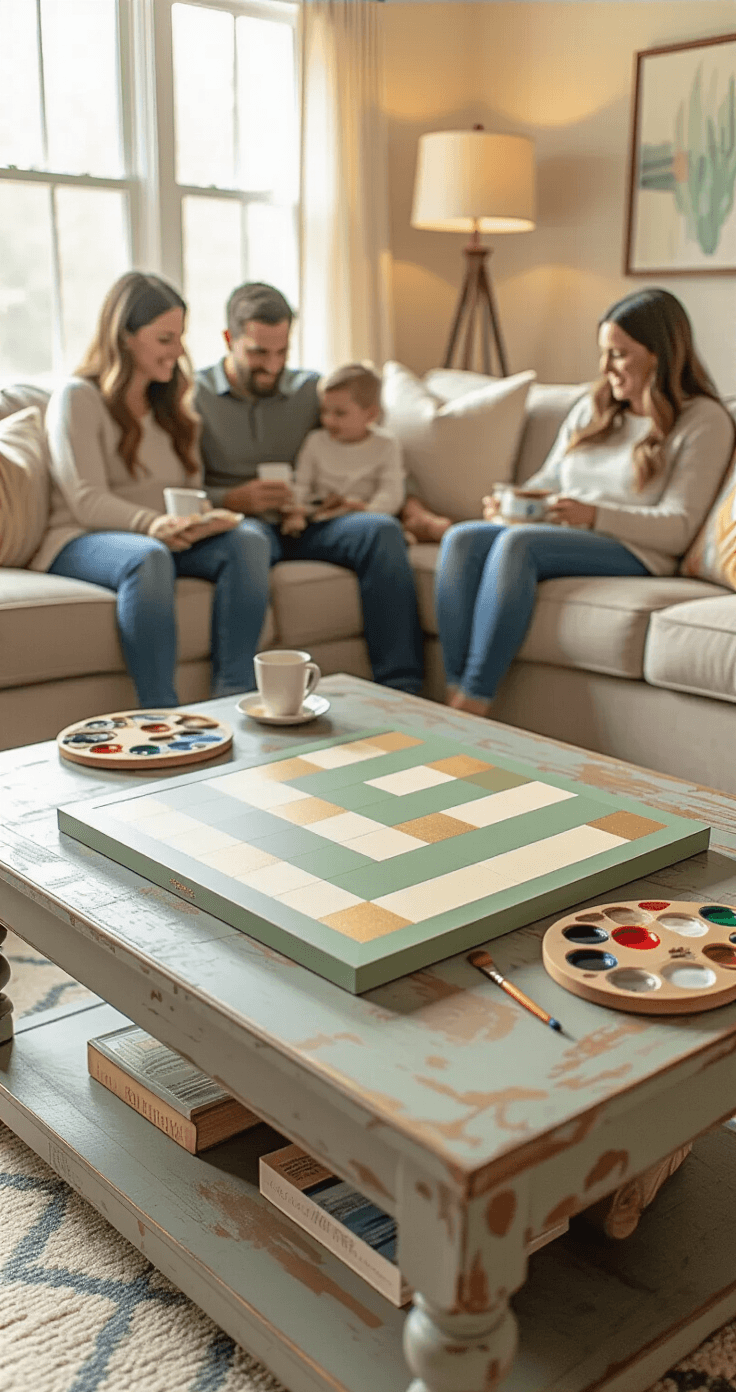
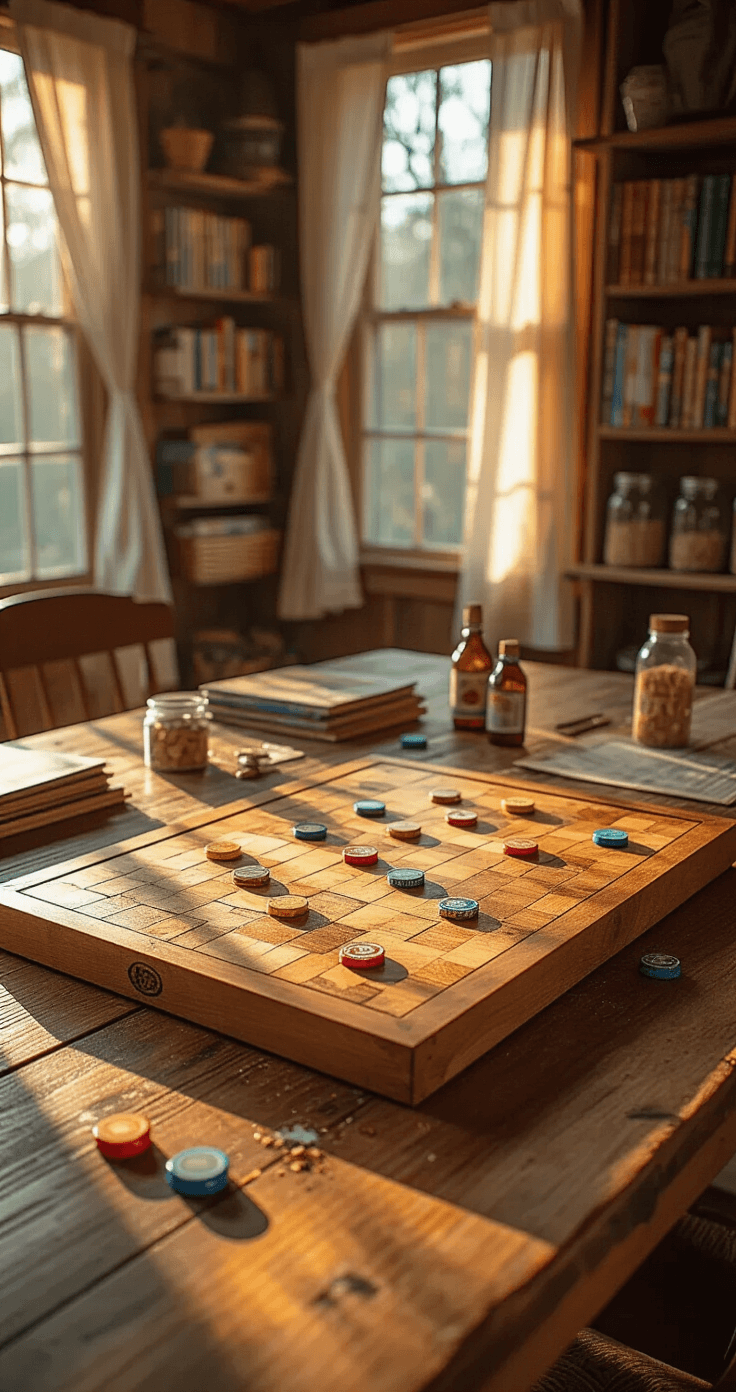
Wooden Game Boards (My Personal Favorite)
I’ll be straight with you – wooden boards are where the magic happens. They feel professional, last forever, and honestly make you look like you know what you’re doing.
What you’ll need:
- About 3 feet of 1×8 board from any hardware store
- Wood glue
- Wood clamps
- Sandpaper (120 and 220 grit)
- Basic saw (miter or circular)
My step-by-step process:
- Cut two pieces 15-16 inches long
- Apply wood glue along one edge
- Clamp them together and let dry overnight (patience, grasshopper)
- Sand both sides starting with 120 grit, finishing with 220
- Trim to square by cutting the length to match the width
The first time I tried this, I rushed the gluing step. Big mistake. The board split apart during our first game of checkers. Learn from my impatience – give that glue time to work.

Paper and Cardboard Options (Perfect for Beginners)
Look, not everyone has a workshop. I get it. My first board was made on my kitchen table with supplies from the dollar store.
Cardboard method:
- Heavy cardboard or poster board
- Markers, colored pencils, or paint
- Ruler for straight lines
- Clear contact paper for protection
Digital design approach:
If you’re handy with computers, design your board in free software like Inkscape. Print it out in sections if it’s large. Then glue the sections onto cardboard backing.
Bi-fold Game Boards (The Travel Champion)
This became my go-to after I tried taking a rigid board to my sister’s house. What a nightmare that was.
Materials needed:
- Two pieces of chipboard
- Book binding tape
- Bulletin board paper
- Spray adhesive
Why I love folding boards:
- Portability: Fits in most bags
- Storage: Takes up half the space
- Professional look: Nobody expects homemade to fold so nicely
Adding Design Elements That Don’t Look Homemade
Here’s where most people mess up. They build a decent board, then slap some crooked lines on it and call it done. Don’t be that person.
Hand-Painting (For the Artistic Souls)
If you can draw a straight line with a ruler, you can hand-paint a board. I’m not talking about creating the Sistine Chapel here.
Pro tips I learned the hard way:
- Sketch first with light pencil marks
- Use acrylic paint – it dries fast and stays put
- Work from center outward to maintain symmetry
- Let each color dry completely before adding the next
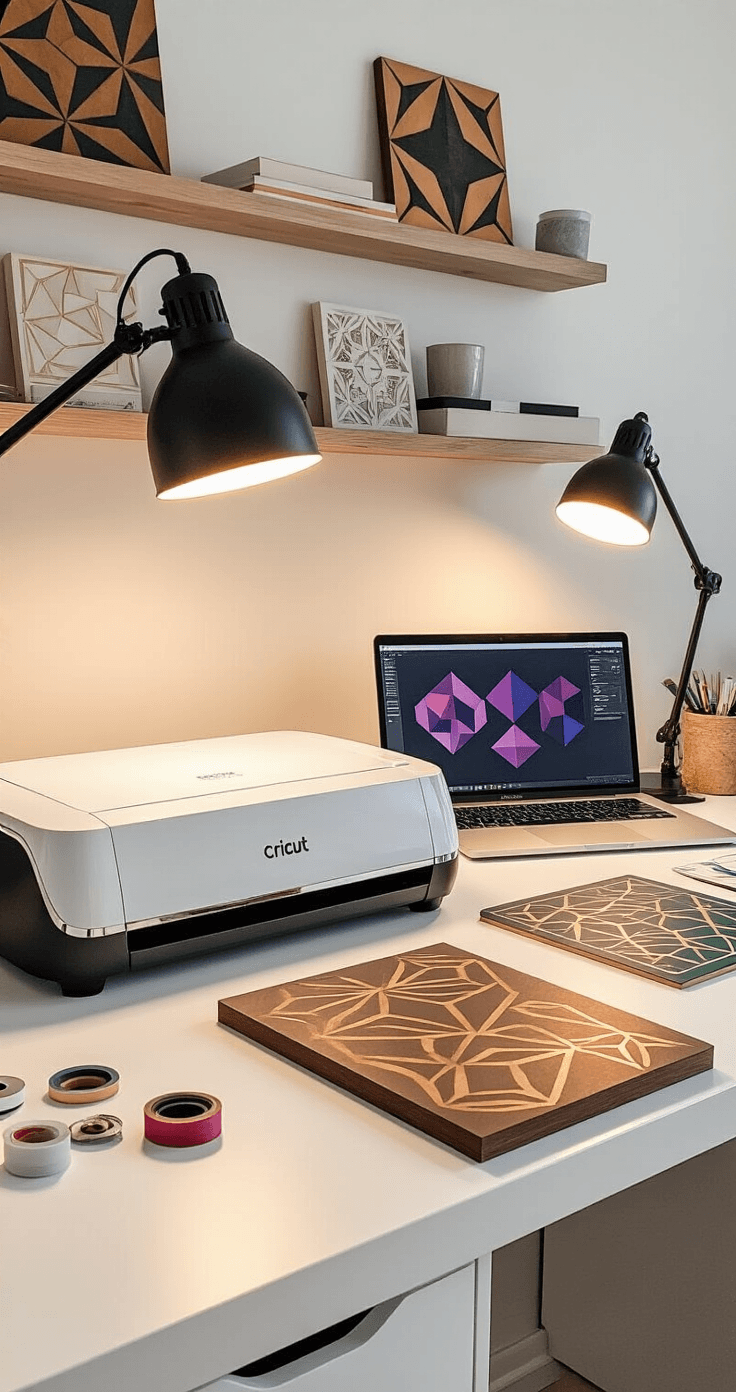
Vinyl Stencils (My Secret Weapon)
This changed everything for me. Suddenly my boards looked like they came from a store.
Tools that make the difference:
- Silhouette Cameo or Cricut Maker
- Vinyl sheets in your chosen colors
- Transfer paper
- Weeding tools
The process:
- Design in the machine’s software
- Cut your vinyl stencil
- Weed out the excess (most tedious part, but worth it)
- Apply to your board using transfer paper
- Paint over or leave the vinyl
First time I tried this, I didn’t weed properly. The stencil looked like a kindergartner’s art project. Take your time with the weeding – it’s make-or-break.