This post may contain affiliate links. Please see my disclosure policy for details.
Build This DIY Desk Organizer in One Afternoon (Yes, Even If You’ve Never Touched a Saw)
Contents
- Build This DIY Desk Organizer in One Afternoon (Yes, Even If You’ve Never Touched a Saw)
- Why Your Desk Is Screaming for This Project Right Now
- What You’re Actually Building (Three Versions for Three Skill Levels)
- The Honest Truth About Skill Level (You Can Do This)
- Everything You Need (And Smart Swaps If You’re on a Tight Budget)
- For the Wood Version I’m Teaching You
- Don’t Own Tools? Here’s What I Did
DIY desk organizers saved my sanity when my workspace looked like a tornado hit a Staples store.
Three months ago, I sat at my desk surrounded by rogue USB cables, sticky notes stuck to sticky notes, and enough pens to supply a small school.
My gaming controller lived somewhere under a pile of notebooks.
I couldn’t find my phone charger without an archaeological dig.
Sound familiar?
You don’t need to spend fifty bucks on some plastic organizer from a big-box store that’ll look dated in six months.
You definitely don’t need advanced carpentry skills or a garage full of power tools.
What you do need is about two hours, twenty to thirty dollars, and the willingness to get a little sawdust on your hands.
Let me show you exactly how I built a desk organizer that actually works—and looks like something from a design blog.
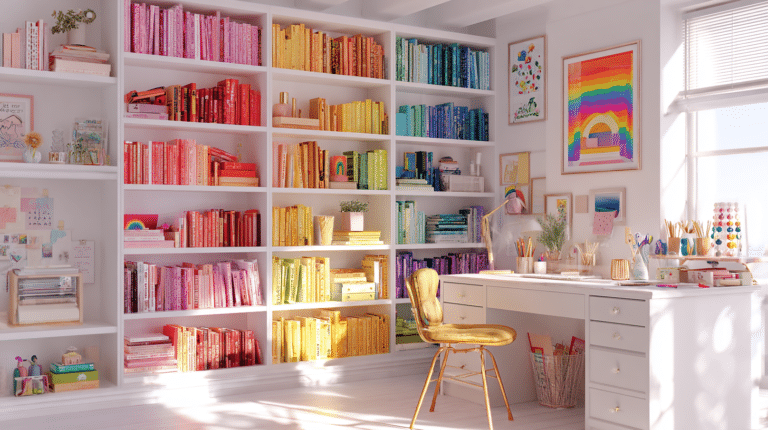
Why Your Desk Is Screaming for This Project Right Now
Before we dive in, let’s talk about why this matters.
A cluttered desk isn’t just ugly.
It kills your productivity, makes you feel scattered, and honestly? It’s embarrassing when you’re on a video call and your coworkers can see the chaos behind you.
I learned this the hard way during a client presentation when someone asked if I was “redecorating” because of the mess visible in my background.
Spoiler: I wasn’t redecorating.
I was just living in organizational chaos.
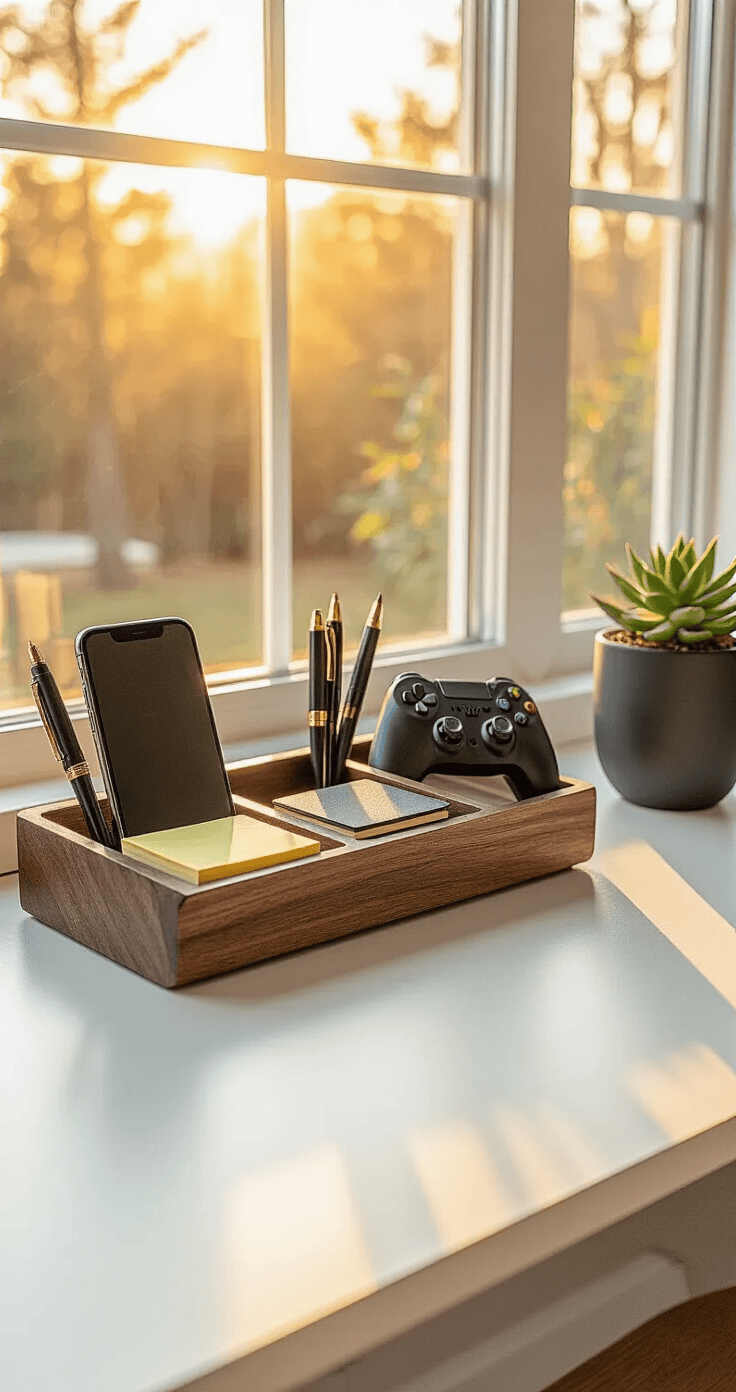
This simple wooden organizer changed everything:
- My phone has a home instead of sliding under papers
- Pens stay put in their designated compartment
- My gaming controller sits ready without collecting dust bunnies
- The whole desk feels bigger because nothing’s scattered everywhere
Plus, I actually enjoy sitting down to work now.
That might sound dramatic, but walking into a clean, organized workspace genuinely shifts your entire mood.
What You’re Actually Building (Three Versions for Three Skill Levels)
Here’s the beautiful part: you get to choose your own adventure.
The Cardboard Starter (Total beginner, zero woodworking)
Perfect if you’ve never built anything and want to test the waters.
Budget: $0-$10
Time: 1-2 hours
You’ll use sturdy cardboard boxes, craft glue, and paint to create compartments that actually hold up.
I made my first organizer this way using an Amazon box and some acrylic craft paint I already owned.
It lasted eight months before I upgraded to wood.
The Glass Cylinder Upgrade (Beginner-friendly, looks expensive)
Budget: $15-$30
Time: 2-3 hours
Grab some glass cylinder vases from the craft store and a small wood board.
Paint the cylinders matte black or metallic gold, attach them to the board, and boom—instant modern minimalist vibes.
My friend Sarah made this version for her Scandinavian-inspired office and people constantly ask where she bought it.
The Simple Wood Build (Beginner to intermediate, what I’ll focus on)
Budget: $20-$50
Time: 3-4 hours (plus overnight glue drying)
This is the sweet spot.
You’ll cut a few straight pieces of wood, glue them together, and finish with paint or stain.
No fancy joinery, no complicated angles.
Just measure, cut, sand, glue, done.
This is what I’m walking you through step-by-step because it’s durable, customizable, and honestly pretty satisfying to build.

The Honest Truth About Skill Level (You Can Do This)
I’m not going to lie and say this is a five-minute project.
But I’m also not going to pretend you need years of woodworking experience.
When I built my first organizer, my entire tool collection consisted of:
- One IKEA screwdriver
- Duct tape
- Hope
I borrowed a saw from my neighbor.
I watched three YouTube videos on how to make a straight cut.
My first attempt had wonky corners and uneven compartments.
Guess what? It still worked perfectly and looked good on my desk.
By my third build (I made one for my sister, then my best friend), the pieces fit together like a puzzle and the finish looked professional.
You will make mistakes on your first try.
The wood might not be perfectly square.
You might use too much glue and have to wipe up excess.
None of this matters because you’ll still end up with a functional, good-looking organizer that cost a fraction of store-bought options.
Everything You Need (And Smart Swaps If You’re on a Tight Budget)
Let’s get practical about materials and tools.
For the Wood Version I’m Teaching You
Materials:
- One small pine board (approximately 1×6, about 4-6 feet total) – should cost $8-15 at any hardware store
- Wood glue – a small bottle of wood glue runs about $4-6
- Sandpaper – grab a variety pack with 120-grit and 220-grit, around $5
- Finish (optional) – paint, stain, or wood sealer depending on your style preference
Tools you need:
- Measuring tape and pencil
- Saw for straight cuts (circular saw, miter saw, or even a hand saw—yes, really)
- Clamps – two or three bar clamps or spring clamps
- Something to sand with – sandpaper alone works, or a $25 mouse sander if you want to speed things up
Don’t Own Tools? Here’s What I Did
I didn’t own a saw when I started.
Home Depot and Lowe’s will make straight cuts for you—usually the first few cuts are free.
Bring your measurements written clearly on paper.
Tell them exactly what you need: “I need this board cut into one piece that’s 14 inches, two pieces that are 12 inches, and three pieces that are 4 inches.”
They’ll do it while you wait.
Boom—no saw required.
For clamps, I’ve used:
- Heavy books stacked on