This post may contain affiliate links. Please see my disclosure policy for details.
Built-In Desks: Everything I Learned From My DIY Workspace Disaster (And Ultimate Success)
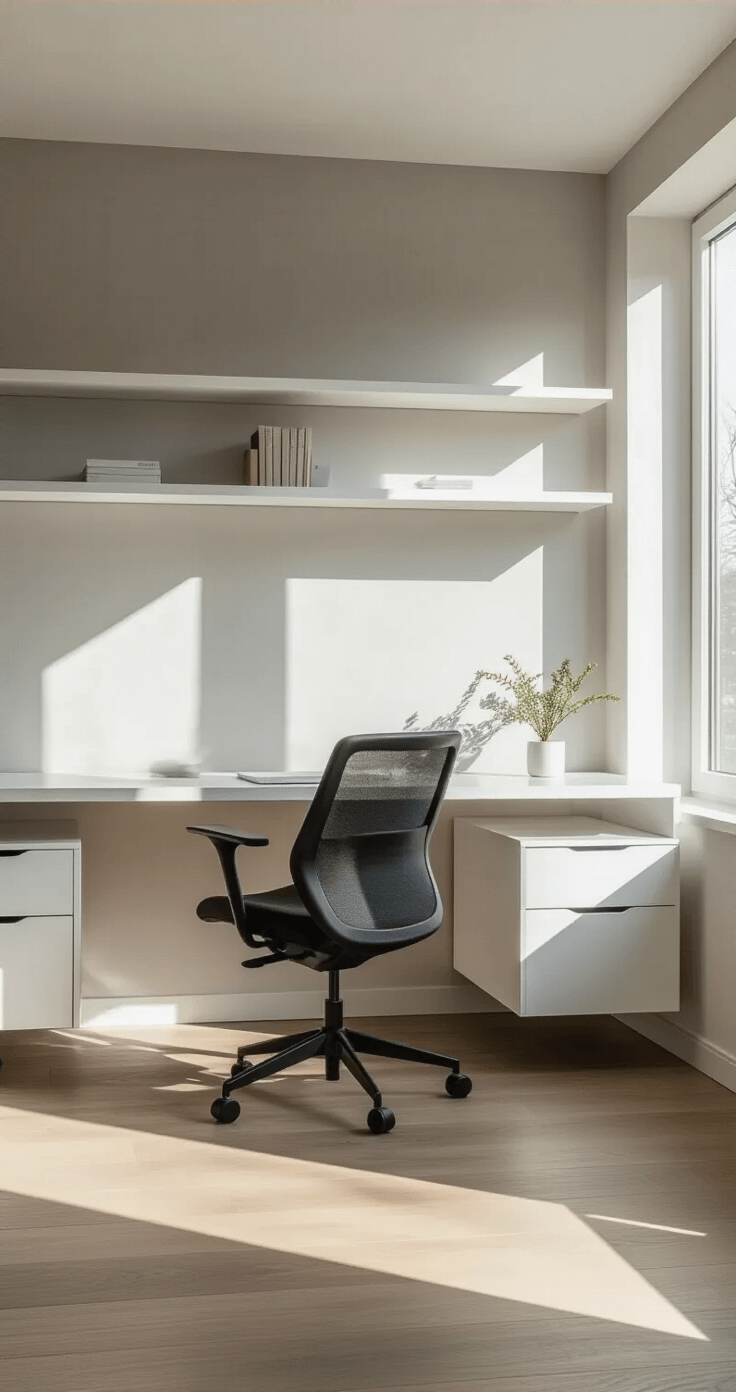
Built-in desks transformed my cramped spare bedroom into a functional home office, and I’m here to tell you it wasn’t nearly as scary as I thought it would be.
Look, I get it. You’re staring at that awkward wall space thinking it could be the perfect workspace. You’re tired of that flimsy desk that wobbles every time you type. You want something permanent, something that looks like it was meant to be there. But you’re probably wondering: “Is this going to cost me a fortune?” or “Do I need to be a master carpenter to pull this off?”
Let me save you some headaches right now.
Why I Finally Ditched My Freestanding Desk
My old desk situation was a joke. A wobbly IKEA number that took up floor space, collected dust underneath, and never quite fit the room properly. Every time I bumped it, my coffee did that terrifying wobble-dance.
Built-in desks solve all of that. They’re anchored to your walls, they use vertical space like champions, and they can’t be knocked over by an overenthusiastic dog (trust me on this one).
Here’s what makes them brilliant:
- Space efficiency – They fit into corners, alcoves, and weird architectural quirks that regular furniture can’t handle
- Custom storage – You design exactly what you need: shelves above, drawers below, whatever works for YOUR stuff
- Property value boost – Buyers love built-in features that show craftsmanship
- Zero floor clutter – No more dust bunnies hiding underneath or cables creating a rat’s nest
The Real Talk About Budget (It’s Better Than You Think)
When I started researching, I nearly gave up. Custom furniture makers were quoting me $3,000-$5,000 for a basic setup.
Then I discovered something incredible: you can build a gorgeous built-in desk and shelving system for around $1,000 or less.
I’m serious.
My actual breakdown looked like this:
- Base materials (plywood, MDF, or repurposed cabinets): $400-600
- Desktop surface: $150-300
- Hardware, brackets, and supports: $100-150
- Paint or stain supplies: $50-100
- Trim and finishing touches: $50-100
The secret? Skip the solid hardwood for everything and get strategic. Use plywood sheets for the structure, then invest in a beautiful desktop surface where it actually matters.
")
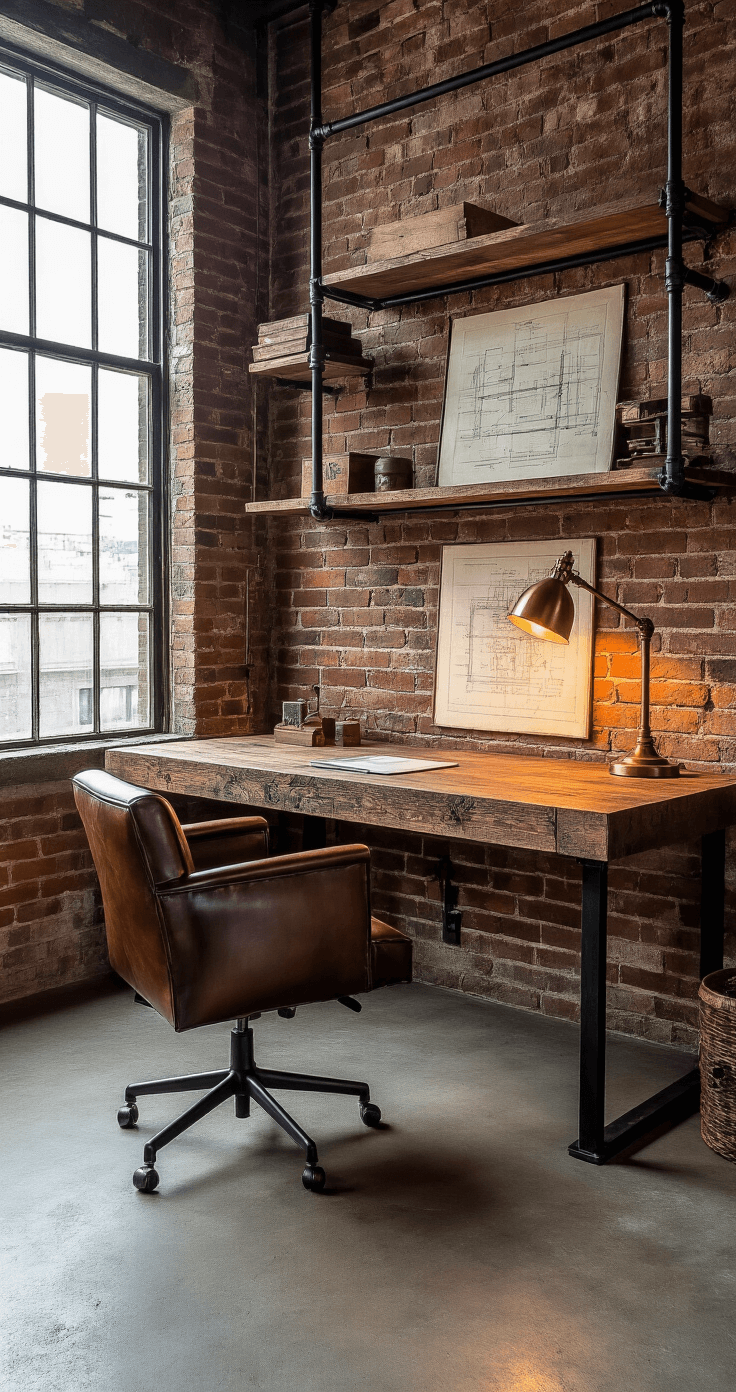
The Kitchen Cabinet Hack That Changed Everything
Here’s where I got clever (after watching about 47 YouTube videos).
Stock kitchen cabinets make perfect desk bases. They’re sturdy, they come with built-in storage, and they’re way cheaper than custom cabinetry.
The catch? Standard kitchen cabinets sit at 34.5 inches tall. Desks should be around 29-30 inches for comfortable typing.
The solution? Either order shorter cabinets, cut down standard ones, or mount them on a lower platform.
I grabbed two unfinished base cabinets from the hardware store, modified the legs, and boom – instant desk base with drawers and storage. Added a butcher block countertop across the top, and suddenly I had something that looked like I paid a professional.
Materials That Won’t Break the Bank (But Look Like They Did)
Listen, I’m not made of money. But I also refuse to work at a desk that looks like a Pinterest fail.
Budget-friendly materials that actually look good:
For the desktop:
- Butcher block – Warm, durable, and you can sand out scratches years later
- Luxury vinyl plank flooring – Sounds weird, works amazingly well, and costs about $2 per square foot
- Pre-finished wood panels – Already sealed and ready to go
- Thick plywood with edge banding – Paint it or stain it, looks completely custom
For the structure:
- MDF for painted pieces – Smooth finish, takes paint beautifully, dirt cheap
- Plywood for stained pieces – Shows wood grain, stronger than MDF
- Repurposed kitchen cabinets – Already finished and ready to install
- Basic 2×4 framing – For support structures nobody sees
I went with MDF for my shelving (which I painted white) and splurged on a walnut butcher block for the desktop. Total material cost: $847.
Worth every penny.

The Tools You Actually Need (And the Ones You Don’t)
I don’t own a full workshop. I live in a regular house with a regular garage.
Essential tools I used:
- Circular saw or track saw (you can rent this)
- Drill/driver combo
- Level (seriously, don’t skip this)
- Stud finder (walls are liars, find the real support)
- Measuring tape and square
- Clamps (you need more than you think)
- Sanding block or orbital sander
Tools I thought I needed but didn’t:
- Table saw (rented one, barely used it)
- Fancy miter saw (a simple hand miter box worked fine)
- Biscuit joiner (wood glue and screws did the job)
Most big-box hardware stores will make cuts for you. I had them cut