This post may contain affiliate links. Please see my disclosure policy for details.
Creating Your Own Game Board Design: From Kitchen Table Dreams to Professional Reality
Contents
Game board design has kept me up more nights than I’d care to admit.
You know that feeling when you’re playing a board game and thinking “I could make this better”? Or maybe you’ve got kids asking for the millionth time if they can make up their own rules? That restless creative itch is exactly where my board game obsession began.
I’ve been down this rabbit hole for years now. Made every rookie mistake in the book. Wasted money on fancy materials before testing basic mechanics. Created beautiful boards that played like wet cardboard.
But here’s what I’ve learned: anyone can create a compelling game board design if you follow the right steps.
Start With Your Big Idea (Not Pretty Pictures)
Forget about fancy artwork for now. Your first job is nailing down what your game board design actually does.
I learned this the hard way when I spent three weeks perfecting zombie graphics for a game that wasn’t even fun to play.
Ask yourself these brutal questions first:
- What’s your game really about?
- How do players actually win?
- What makes someone want to play again?
Your theme doesn’t have to be groundbreaking. Zombies, space exploration, managing a coffee shop – it’s all been done. What matters is your unique twist on familiar ideas.
The real magic happens in your mechanics:
- How players move around the board
- What decisions they face each turn
- Which moments create genuine tension
- Where luck meets strategy
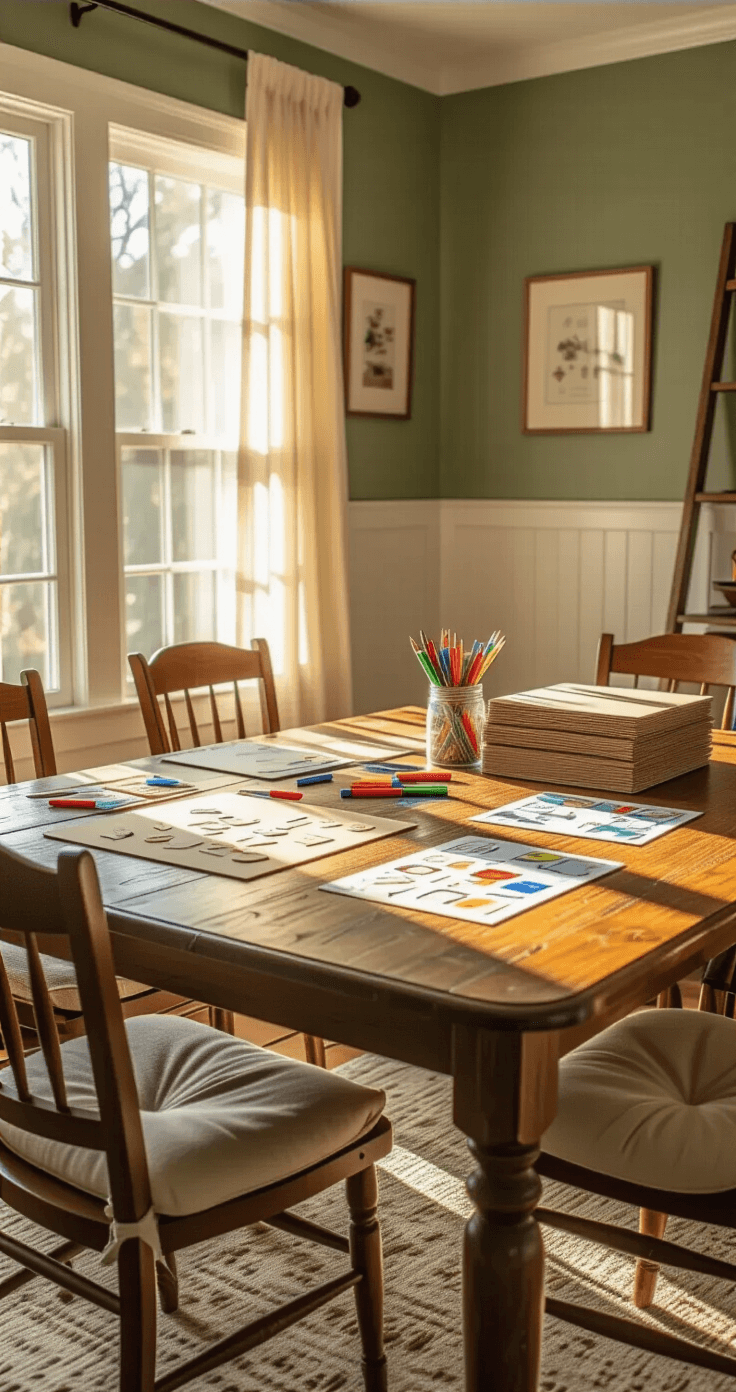
Start simple. Write these core ideas on index cards. Test them with friends before you even think about visual design.
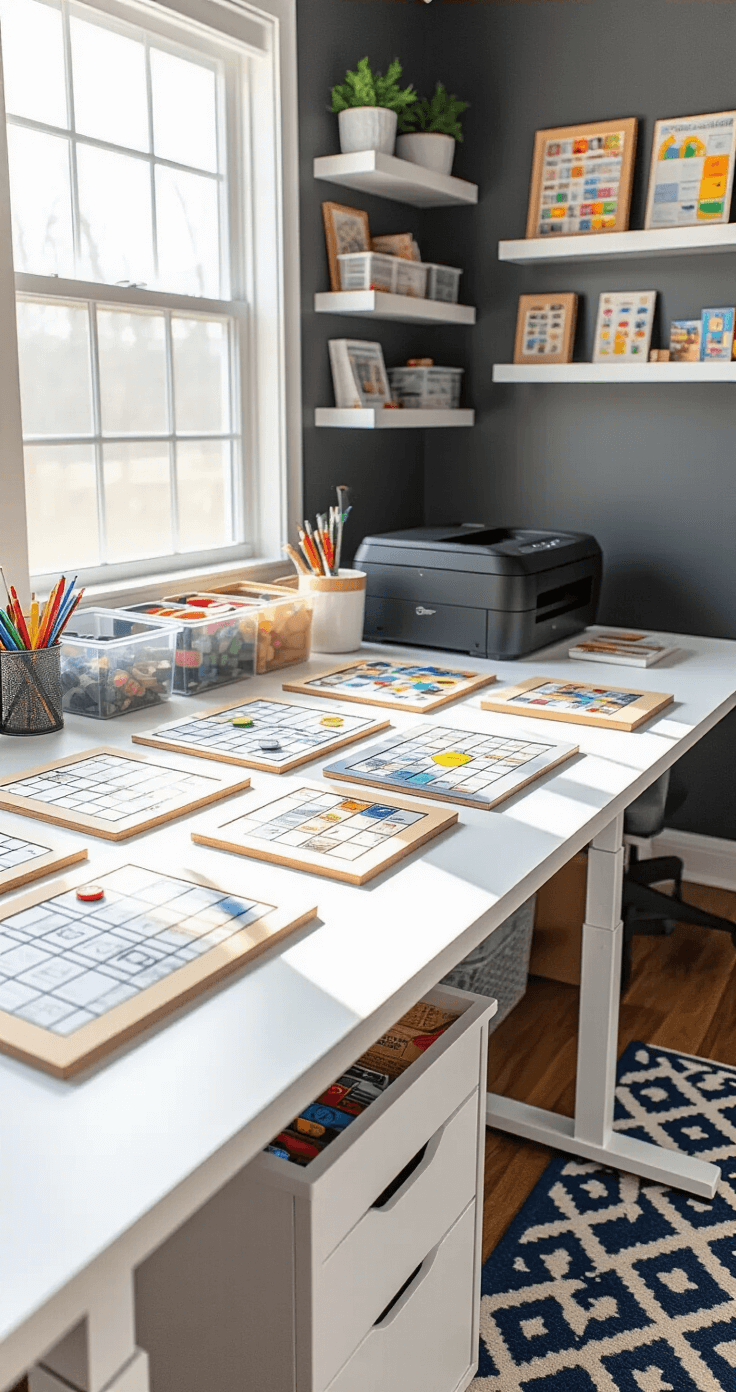
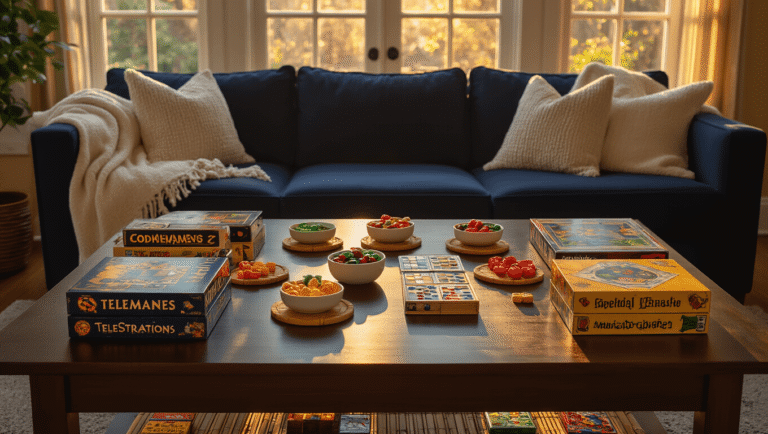
Build Your Prototype Like You Mean Business
A prototype isn’t your final product. It’s your testing ground.
I’ve seen people spend hundreds of dollars on their first prototype. Complete waste of money.
Your first prototype needs:
- Basic board layout (cardboard and markers work fine)
- All game pieces (coins, buttons, whatever you have)
- Simple rule sheet (one page max)
- Working mechanics that you can actually test
Skip the fancy graphics completely. Use placeholder text. Draw spaces with a ruler and Sharpie.
What matters at this stage:
- Can people understand the rules?
- Is it actually fun?
- How long does a game take?
- Where do players get confused or bored?
I made my first successful prototype using cardboard sheets from Amazon and basic art supplies. Total cost: under twenty bucks.
Pro tip: Make multiple copies of your prototype. You’ll want to test different rule variations without starting from scratch each time.

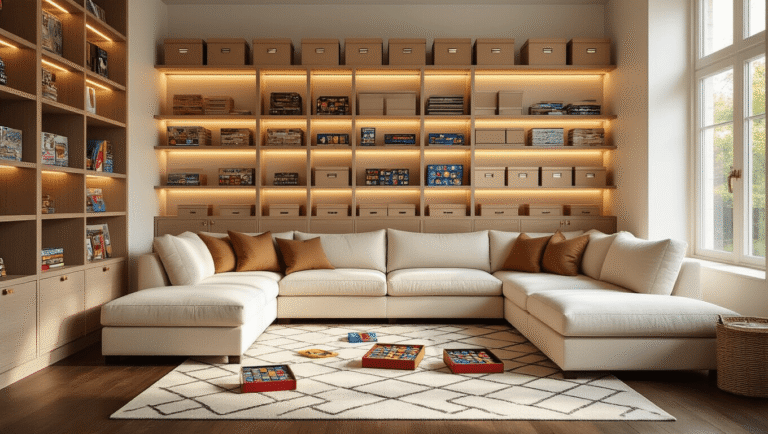
Test Until Your Friends Stop Being Polite
Playtesting separates real games from pretty disasters.
Your mom will tell you it’s wonderful. Your best friend will be encouraging. Your kids will play anything you put in front of them.
None of these people will give you useful feedback.
Find honest testers:
- Board game groups at local stores
- Online communities for game designers
- Coworkers who actually play games
- Anyone willing to be brutally honest
Watch for these red flags during testing:
- Players checking their phones
- Lots of rule clarification questions
- Games taking way longer than planned
- People not asking to play again
Take notes during every session. Don’t explain rules that seem unclear – figure out why they’re confusing instead.
Choose Your Creation Tools Wisely
Once you’ve got a solid, tested design, it’s time to make it look professional.
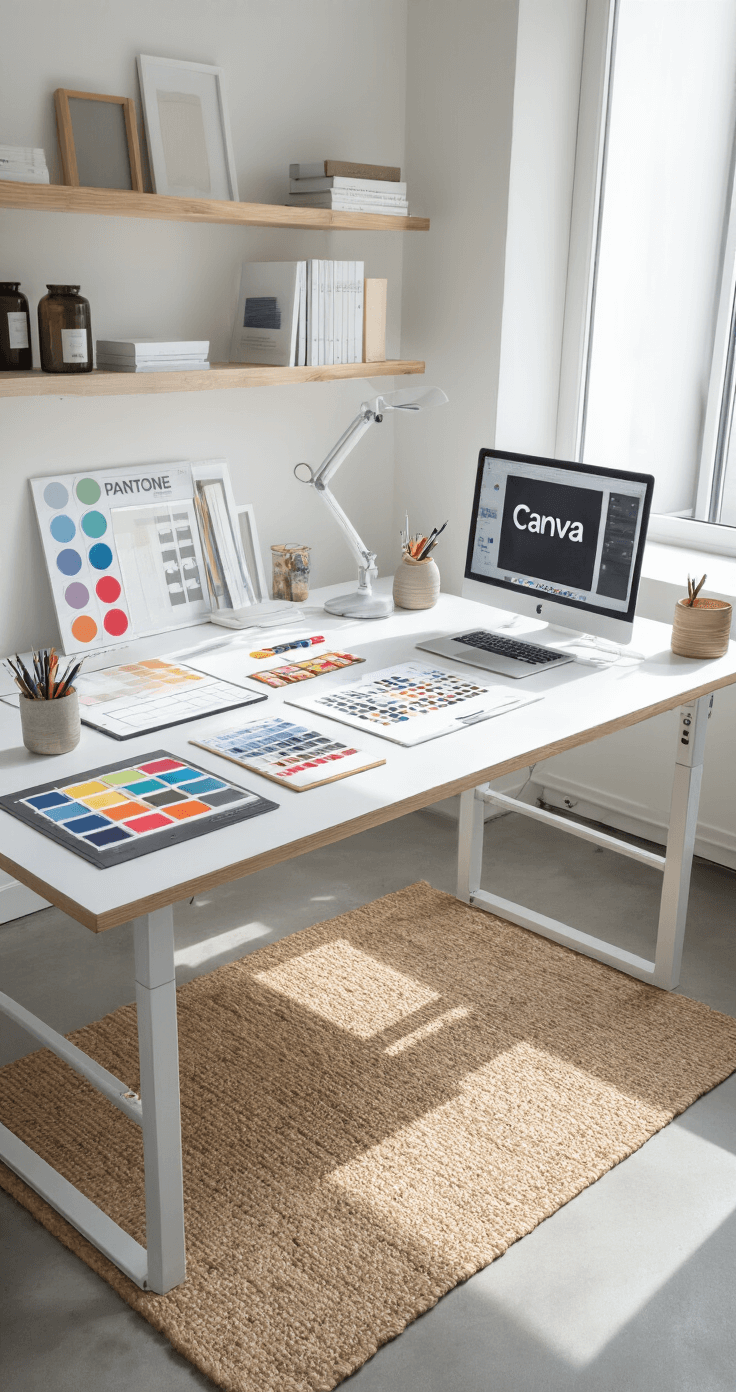
For digital design: I use Canva for most of my board layouts. Their board game templates save hours of formatting work. Even their free version handles basic game board creation.
For professional printing: BoardGamesMaker.com has been my go-to for years. No minimum orders means you can print just one copy to test. Their material quality impressed me more than expensive alternatives.
The Game Crafter offers similar services with different customization options. Both platforms let you upload artwork and handle all the printing logistics.
Key customization decisions:
- Board size – Standard sizes cost less to produce
- Folding style – Bi-fold for simple games, quad-fold for larger boards
- Material thickness – Heavier cardboard feels more professional
- Finish options – Matte reduces glare, gloss looks more polished
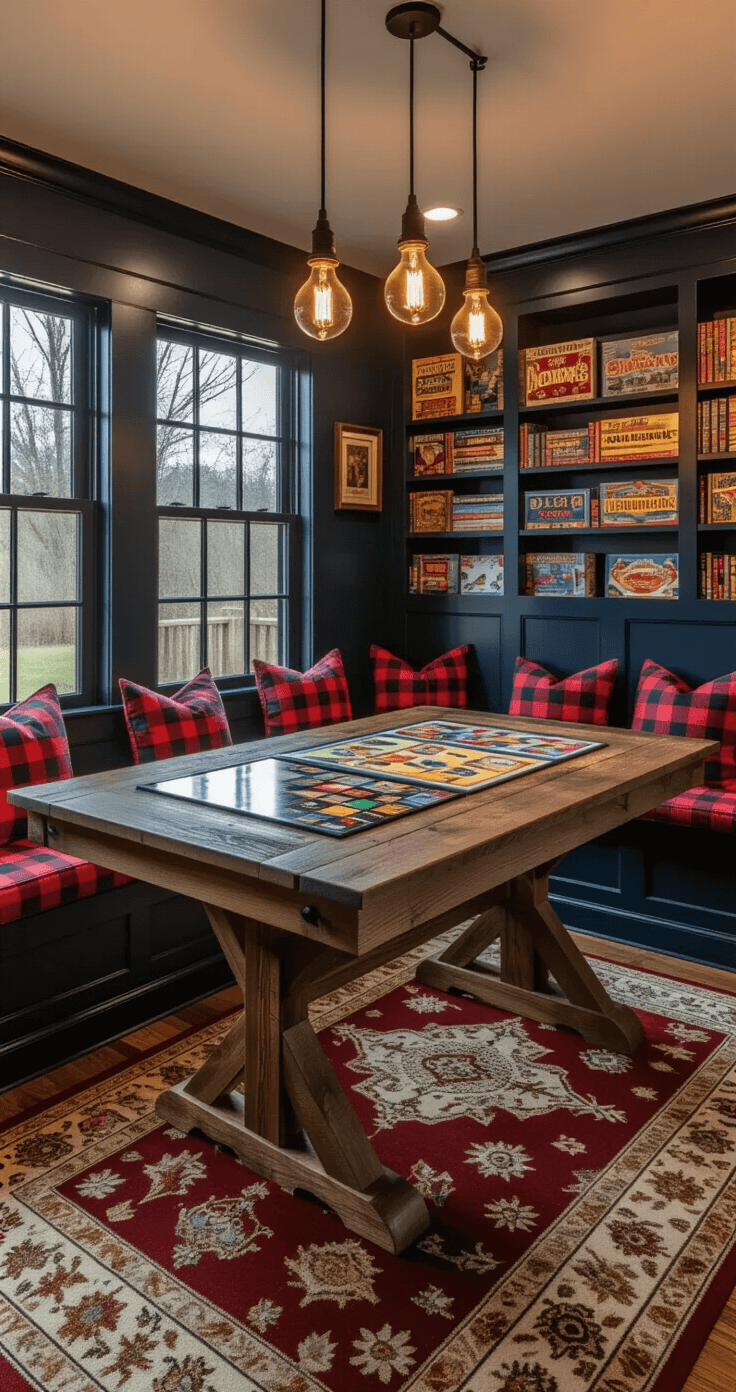
Design Elements That Actually Matter
Now we get to make things pretty. But pretty with purpose.
Your visual hierarchy should guide gameplay:
- Important spaces need visual emphasis
- Player paths should be obvious
- Text must be readable from arm’s length
- Colors should differentiate game elements clearly
Essential design components:
- Clear starting positions
- Obvious movement paths
- Easy-to-read space labels
- Consistent visual language throughout
I invested in a color printer specifically for board game prototyping. Printing at home lets me iterate quickly without waiting for professional printing.
Typography mistakes to avoid:
- Fancy fonts that sacrifice readability
- Text sizes too small for normal lighting
- Poor contrast between text and background