This post may contain affiliate links. Please see my disclosure policy for details.
Game On: Creating the Ultimate Kids’ Game Room
Contents
Hey there, fellow parents and game enthusiasts! Ready to level up your home’s fun factor? Let’s dive into creating a kids’ game room that’ll make your little ones forget all about screen time limits. Trust me, I’ve been there – trying to pry those controllers out of tiny hands is like battling a final boss. But with this guide, you’ll create a space so awesome, they might actually volunteer to put the games down (occasionally).

Time to Play: The Basics
First things first, let’s talk timing. Setting up a simple game corner? You’re looking at 2-4 hours tops. Going for the full-blown themed extravaganza? Give yourself a day or two. It’s like cooking a gourmet meal vs. throwing together a quick sandwich – both delicious, but one takes a bit more prep.
Space Invaders: Room Size and Location
The beauty of a game room? It’s as flexible as a Tetris block. You can transform a cozy corner nook or commandeer an entire spare room. Heck, I’ve even seen clever parents turn a garage into a gamer’s paradise. The key is making the most of what you’ve got.

DIY Difficulty: Press Start to Begin
Good news: You don’t need to be a master craftsman to pull this off. Most of the setup is beginner-friendly stuff – think wall stickers, arranging furniture, and maybe assembling a bookshelf or two. No power tools required (unless you’re feeling particularly ambitious).
Budget Battle: From Thrifty to Lavish
Here’s where things can vary wildly. You can create a fun space for as little as $50 with some clever DIY and thrift store finds. Or, if you’re feeling flush, the sky’s the limit. I’ve seen setups that would make a pro gamer weep with joy, easily topping $1,000. My advice? Start small and add as you go – your wallet (and your kids’ ever-changing interests) will thank you.

Style Guide: Bringing the Fun
- Color is king: Think bright primaries or bold accents. This isn’t the time for beige, people!
- Theme it up: Whether it’s Mario madness or retro arcade vibes, a theme can tie everything together.
- Comfort is crucial: Soft rugs, cozy bean bags, and plenty of pillows make for happy gamers.
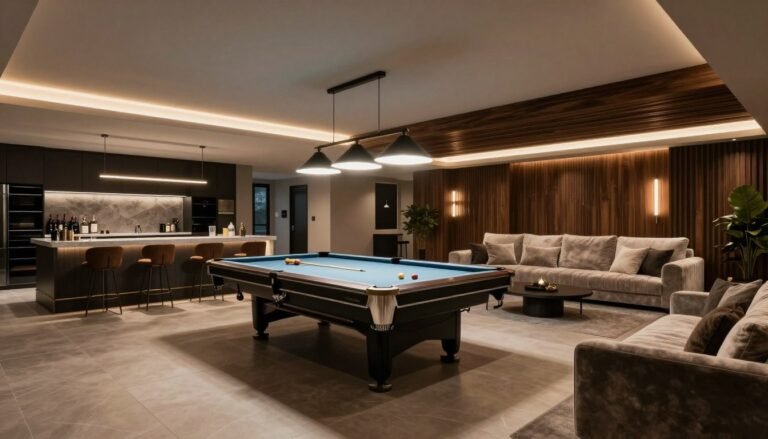
Zones of Engagement: Room Layout 101
- The Main Event: Set up your TV or gaming console as the room’s focal point.
- Tabletop Territory: Dedicate a space for board games and puzzles.
- Chill-Out Corner: Create a comfy reading nook for when eyes need a screen break.
- Storage Central: Keep games, controllers, and accessories organized and easy to access.

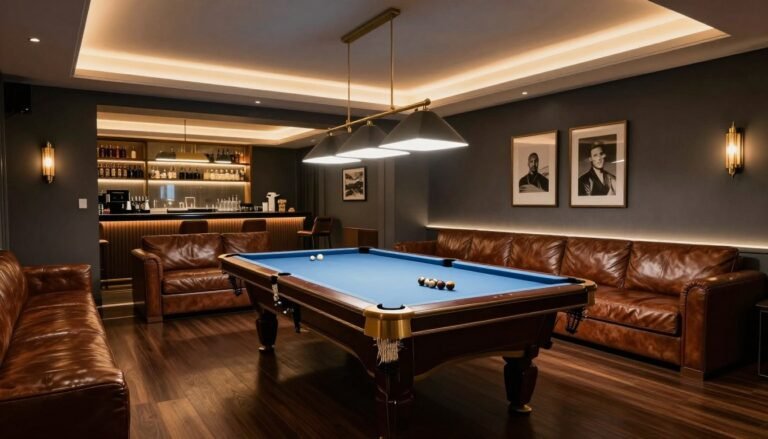
Decor Details: Level Up Your Look
- Wall Power: Murals, decals, or posters instantly set the mood.
- Light It Up: Mix overhead lighting with fun accent lamps or LED strips.
- Texture Play: Layer rugs, throws, and cushions for a cozy vibe.
- Functional Fun: Look for dual-purpose items like storage ottomans or gaming chairs.
Pro Tips for Picture-Perfect Results
- Clear the clutter before you start – a tidy space is your blank canvas.
- Use natural light when photographing your masterpiece – it’s way more flattering than artificial.
- Create visual “zones” in your photos to showcase different activities.
- Don’t forget the details – close-ups of cool decor items add interest.

Avoiding Game Over: Common Mistakes
- Overcluttering: Less is often more, especially in smaller spaces.
- Poor lighting: Dim corners are no fun for anyone, especially young eyes.
- Ignoring comfort: Make sure there’s plenty of comfy seating for long gaming sessions.
Remember, the ultimate goal is to create a space where your kids (and let’s be honest, you too) want to hang out. It should be fun, functional, and flexible enough to grow with your family’s changing interests. Now, who’s ready to press play on this awesome project?