This post may contain affiliate links. Please see my disclosure policy for details.
Transform Your Workspace with a K-pop Desk That Actually Works
Contents
A K-pop desk isn’t just another Pinterest dream—it’s your chance to build a workspace that screams “you” while keeping things practical enough to actually get stuff done.
I get it. You’re scrolling through Instagram at 2 AM, seeing these impossibly perfect setups with every photo card perfectly aligned, light sticks glowing like some kind of shrine, and you’re thinking “how do they even work at that desk?”
Here’s the thing: most of those setups are staged for the photo. But I’m going to show you how to create a K-pop desk that’s both stunning AND functional—because what’s the point of a gorgeous workspace if you can’t find your stapler?
Why Your Current Desk Setup Isn’t Cutting It
Look, I’ve been there. Random albums stacked wherever they fit, photo cards shoved in drawers, posters curling at the edges because you used cheap tape. Your bias deserves better than that, and honestly, so do you.
The problem most people face when creating a K-pop themed workspace is treating it like a museum instead of a functional area. You end up with nowhere to put your laptop, no space to write, and every time you reach for something, you’re terrified you’ll knock over that signed album you waited six months to get.
Building Your K-pop Desk: The Essentials That Actually Matter
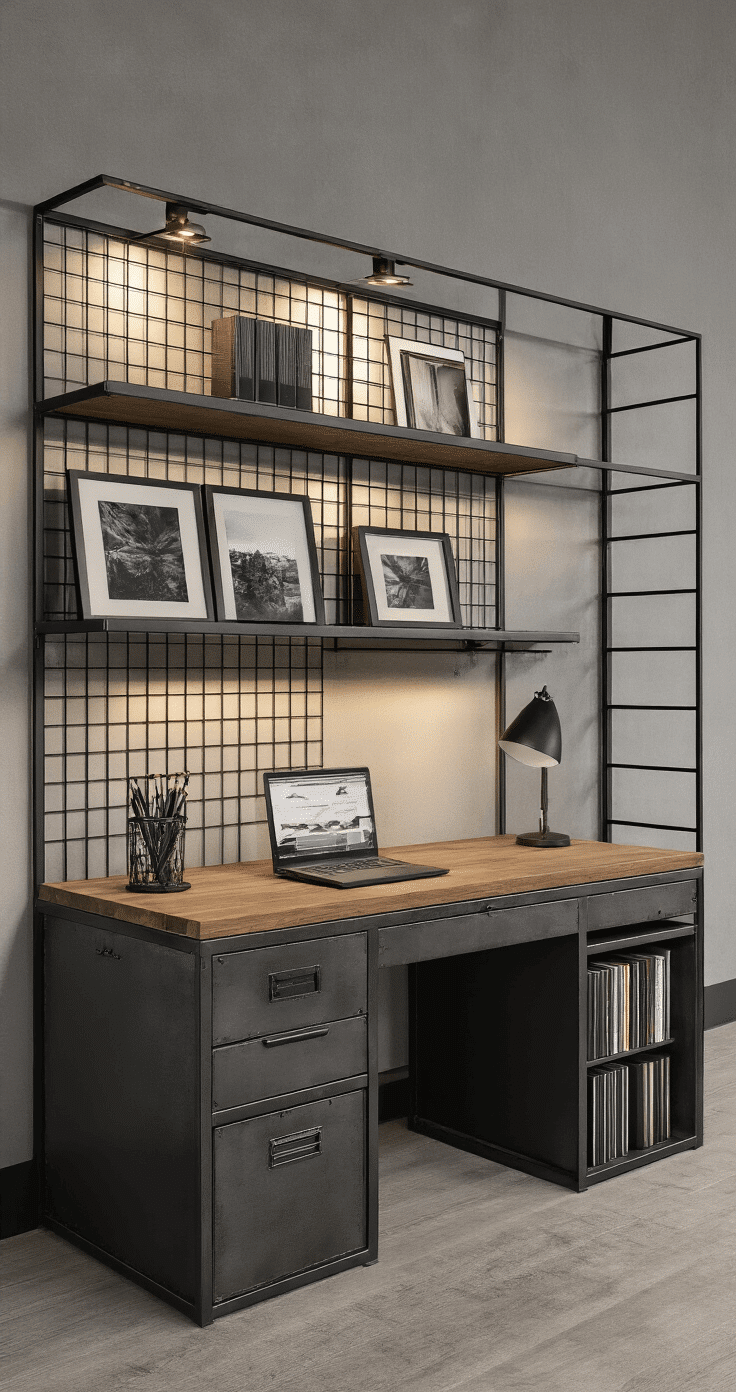
Start with the Bones (Your Actual Desk)
First things first—you need a solid foundation.
If your desk is wobbling or too small, nothing else matters. I learned this the hard way when my entire carefully-arranged collection took a nosedive because I tried to cram everything onto a desk meant for a laptop and nothing else.
What you actually need:
- A desk with enough surface area for work AND display (minimum 40 inches wide)
- A sturdy desk organizer to keep supplies separate from collectibles
- Drawer dividers because mixing paperclips with photo cards is a recipe for disaster
The Display Game: Posters and Albums Without the Chaos
Here’s where most people go wrong—they think more is more. It’s not.
I once covered every inch of my wall with posters and guess what? It looked like a teenager’s bedroom, not a curated space.
Smart display strategies:
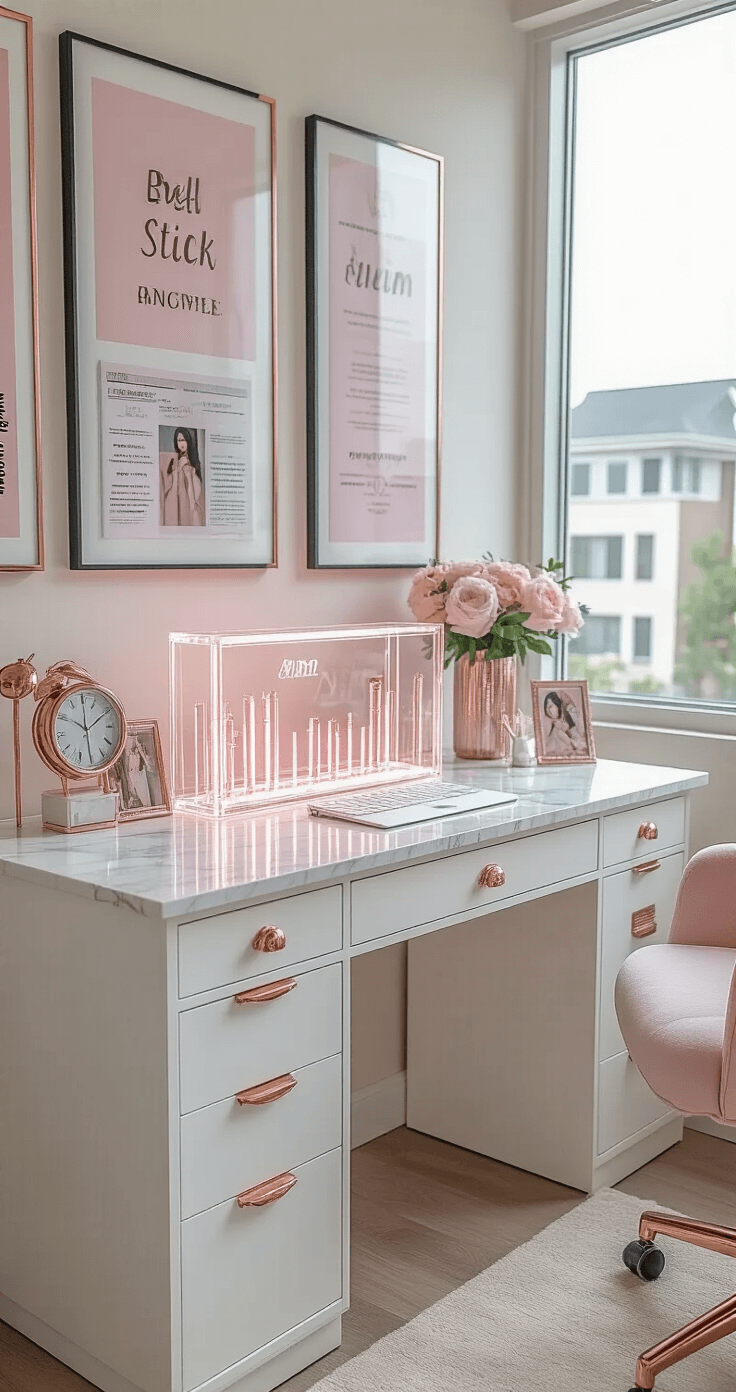
- Pick 3-5 key pieces for your main wall space
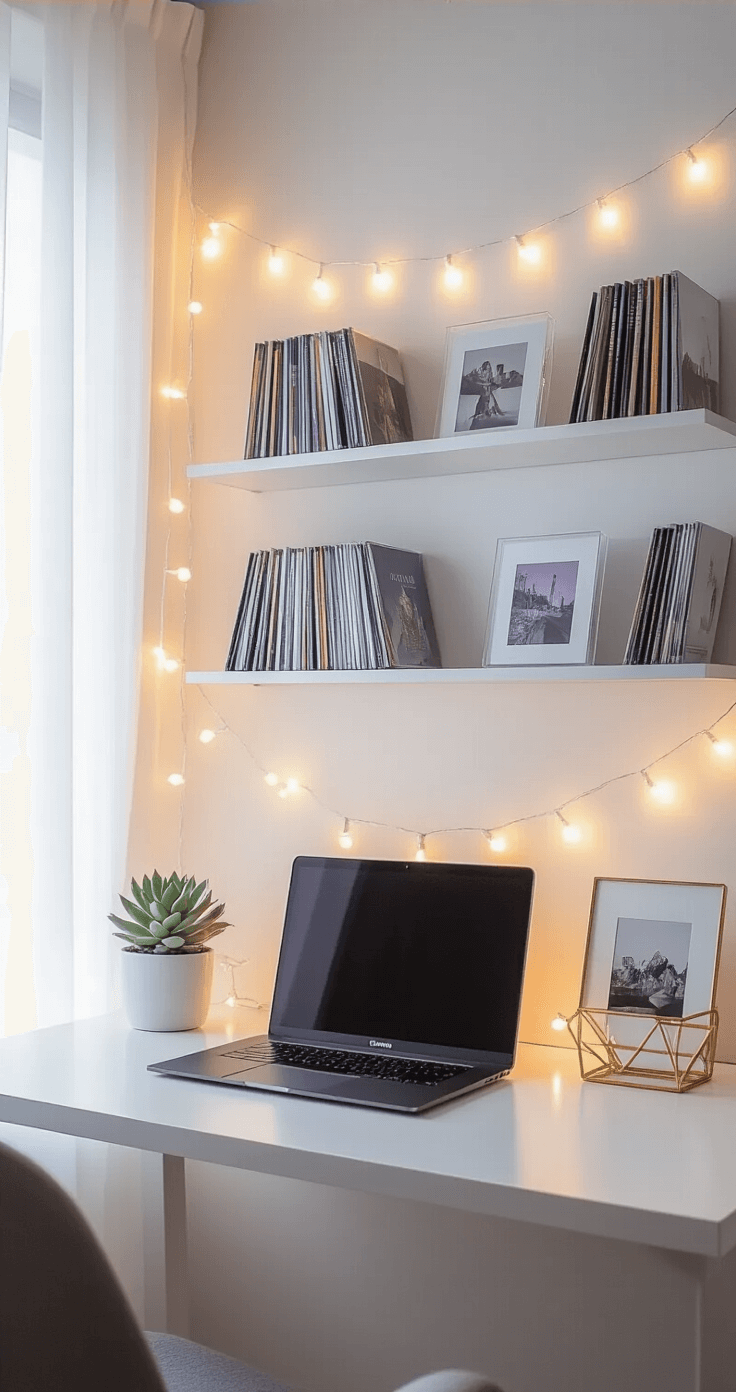
- Use picture ledges to display albums—you can easily swap them out
- Frame your favorite poster or photo card set (yes, actually frame it)
- Leave breathing room between items
The rotation system I swear by: Keep your full collection stored properly, but only display your current favorites. Every comeback or when you get new merch, swap things out. This keeps your space fresh and prevents that “permanent fixture” feeling where you stop even seeing your decorations.
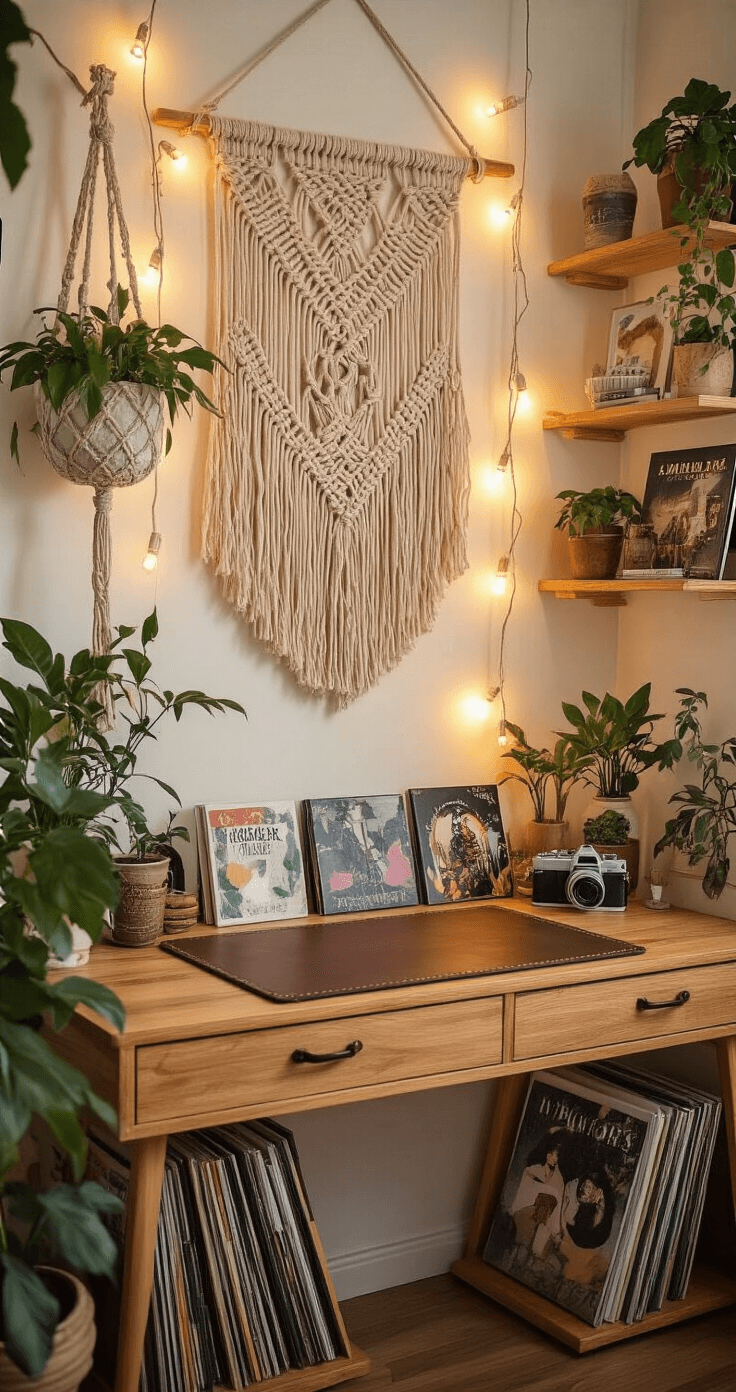
Light It Up (But Make It Tasteful)
String lights are basically mandatory for K-pop desk aesthetics. But here’s the catch—bad lighting makes everything look cheap.
I made this mistake with those harsh white LED strips that made my entire setup look like a hospital waiting room.
Lighting that works:
- Warm white fairy lights for cozy vibes
- LED strip lights behind your monitor or under shelves
- A decent desk lamp for actual work (beauty doesn’t help when you’re squinting at spreadsheets)
Place lights strategically to highlight your displays, not just strung randomly across everything.
The Merchandise Minefield: What to Display and What to Store
You can’t display everything. I know, I know—you want to see all of it. But unless you want your desk to look like a cramped K-pop store, you need to be selective.
My hierarchy of what gets prime real estate:
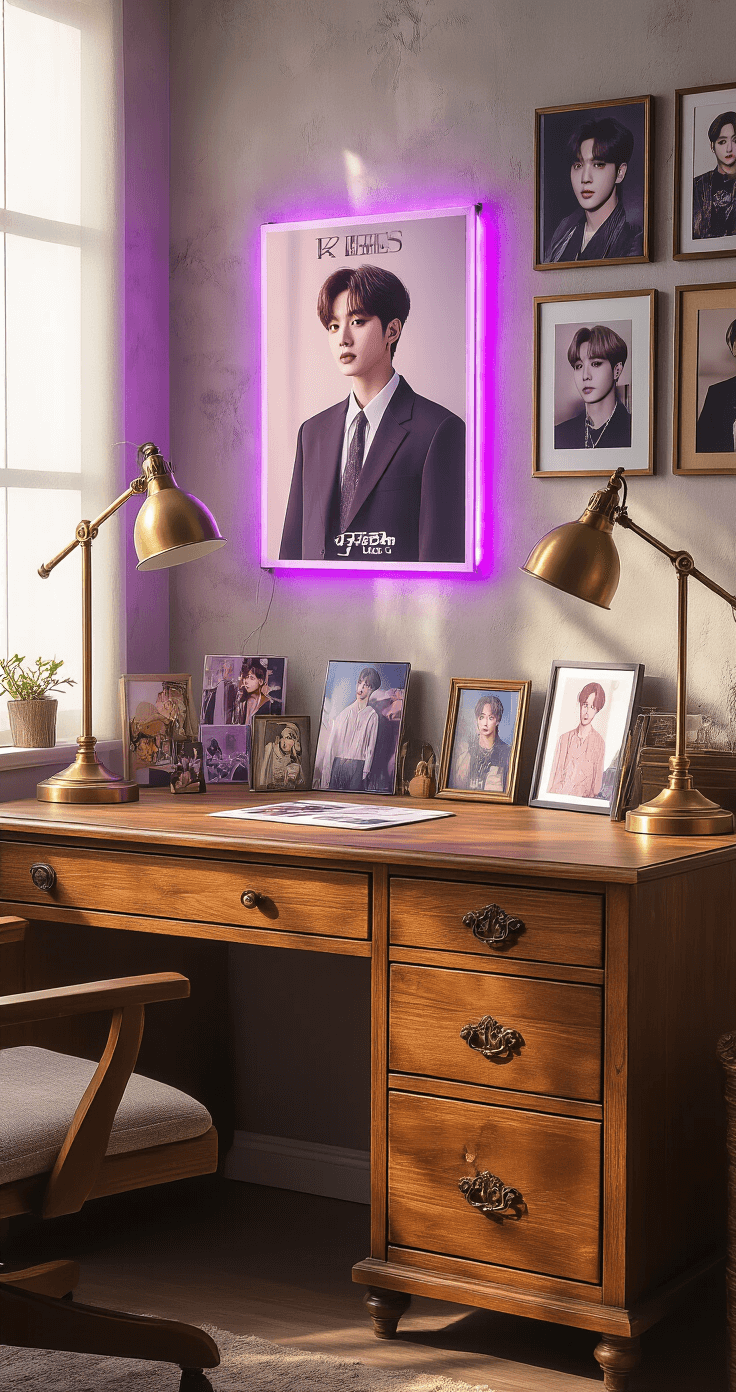
- Signed items or rare collectibles (protected, obviously)
- Current bias group albums
- One or two light sticks maximum
- Favorite photo cards in a display stand
- Everything else gets rotated in and out
Store the rest properly in photo card binders, album boxes, or designated drawers. Trust me, your collection will actually last longer when it’s not collecting dust on your desk.
Color Coordination: The Secret Sauce
This is where amateurs become pros.
Random colors everywhere = visual chaos. Coordinated colors = magazine-worthy setup.
I reorganized my entire desk around my ult group’s colors (purple and black, if you’re wondering), and the difference was night and day.
How to do this without starting over:
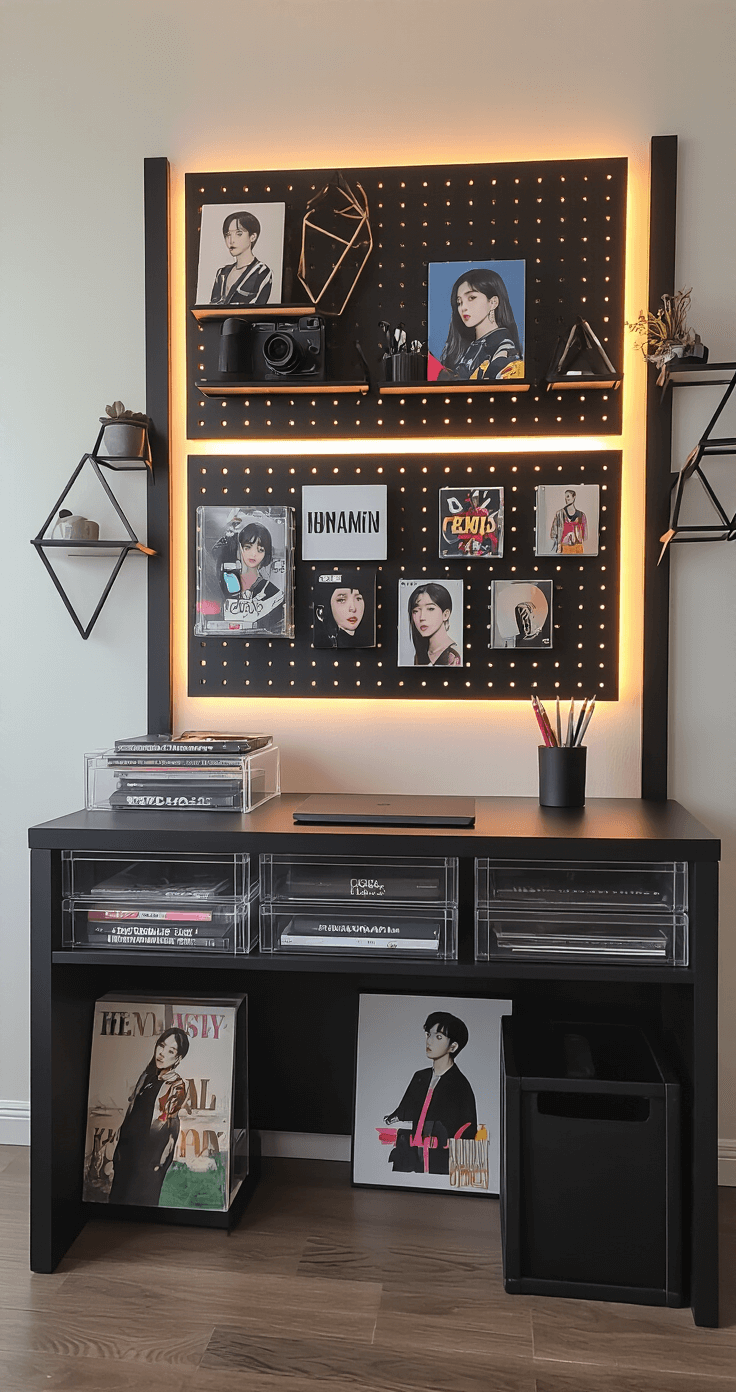
- Group items by color family
- Use neutral containers and organizers (black, white, or clear)
- Pick 2-3 main colors max for your setup
- Let your K-pop items provide the pops of color against a neutral background
The Function Problem: Making It Actually Workable
Here’s what nobody tells you: a beautiful K-pop desk means nothing if you can’t use it.
I spent three months with a setup that looked incredible in photos but was absolutely miserable to work at.