This post may contain affiliate links. Please see my disclosure policy for details.
White Gaming Setup: How to Create a Clean and Sleek Gaming Space
Contents
- White Gaming Setup: How to Create a Clean and Sleek Gaming Space
- Step 1: Clear the Clutter
- Step 2: Choose Your Focal Points
- Step 3: Add Supporting Characters
- Step 4: Bring in the Background Elements
- Step 5: Cable Management is Your Best Friend
- Step 6: Light It Up
- Step 7: Add Texture and Subtle Color
- Step 8: Organize Your Props
- Step 9: Capture the Magic
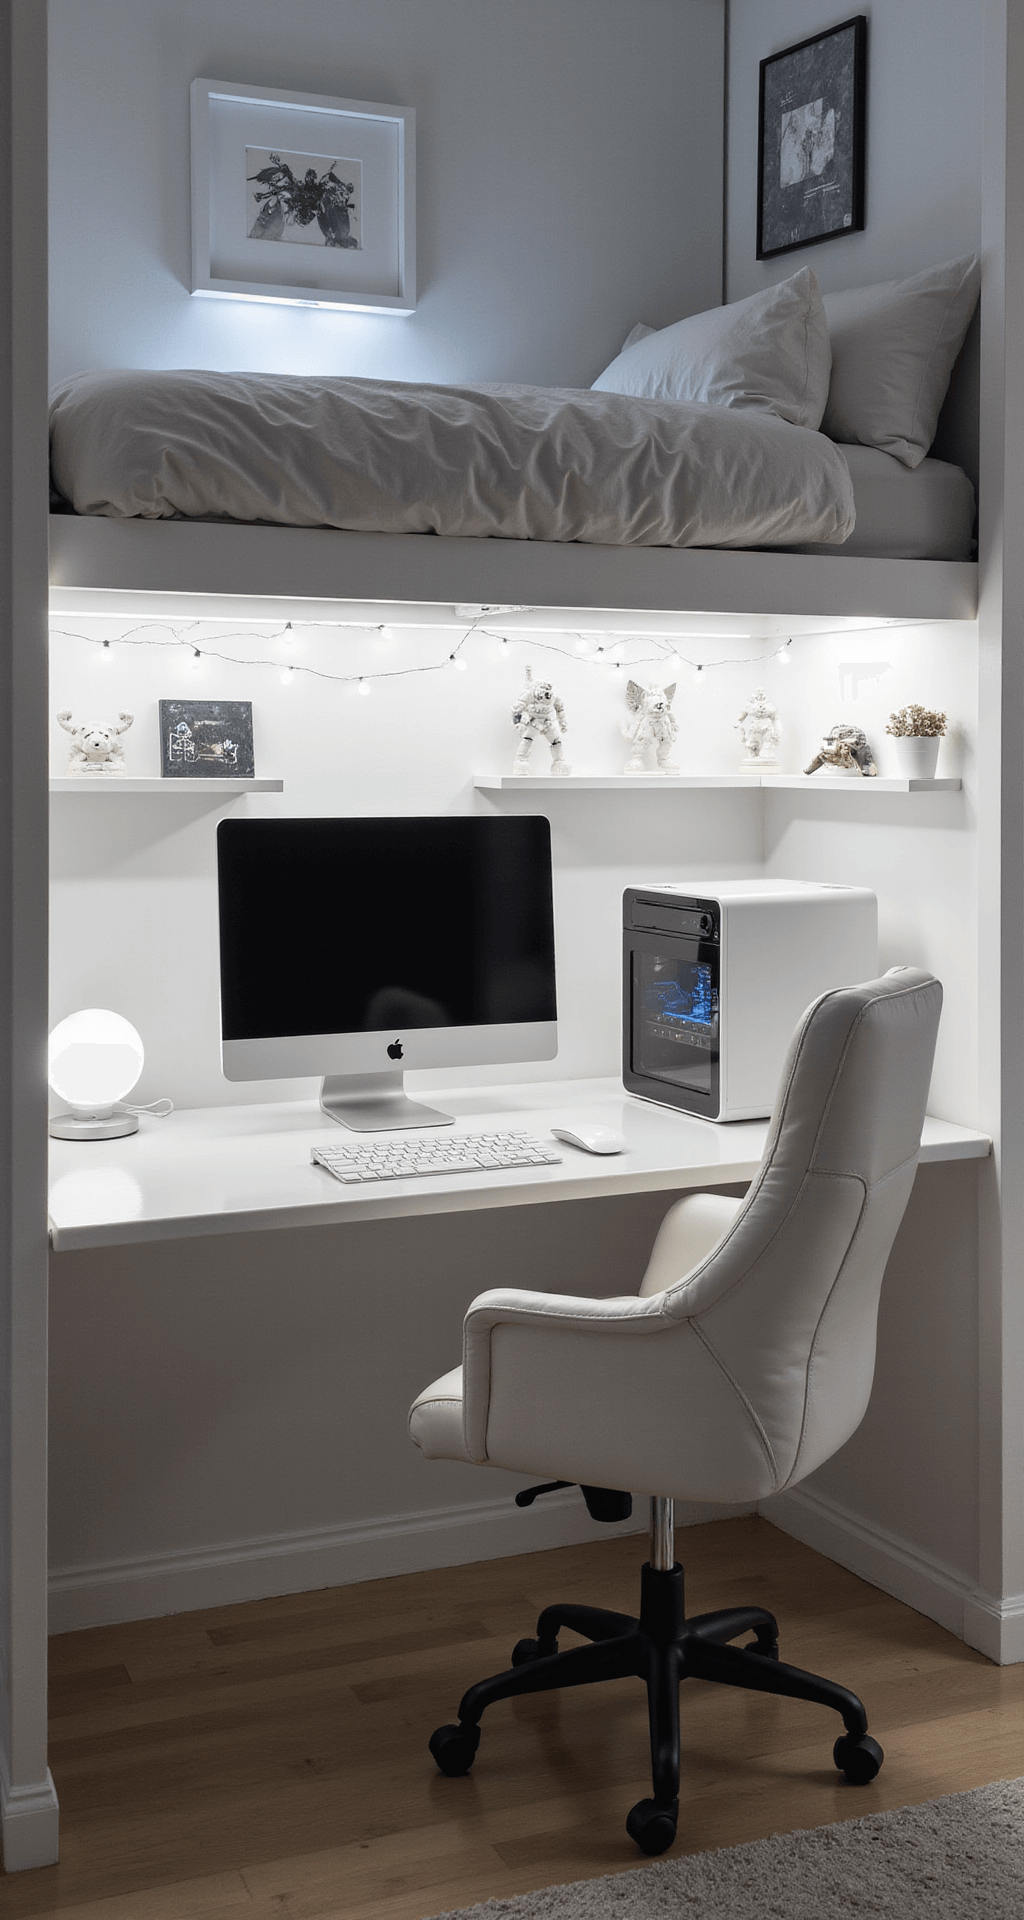
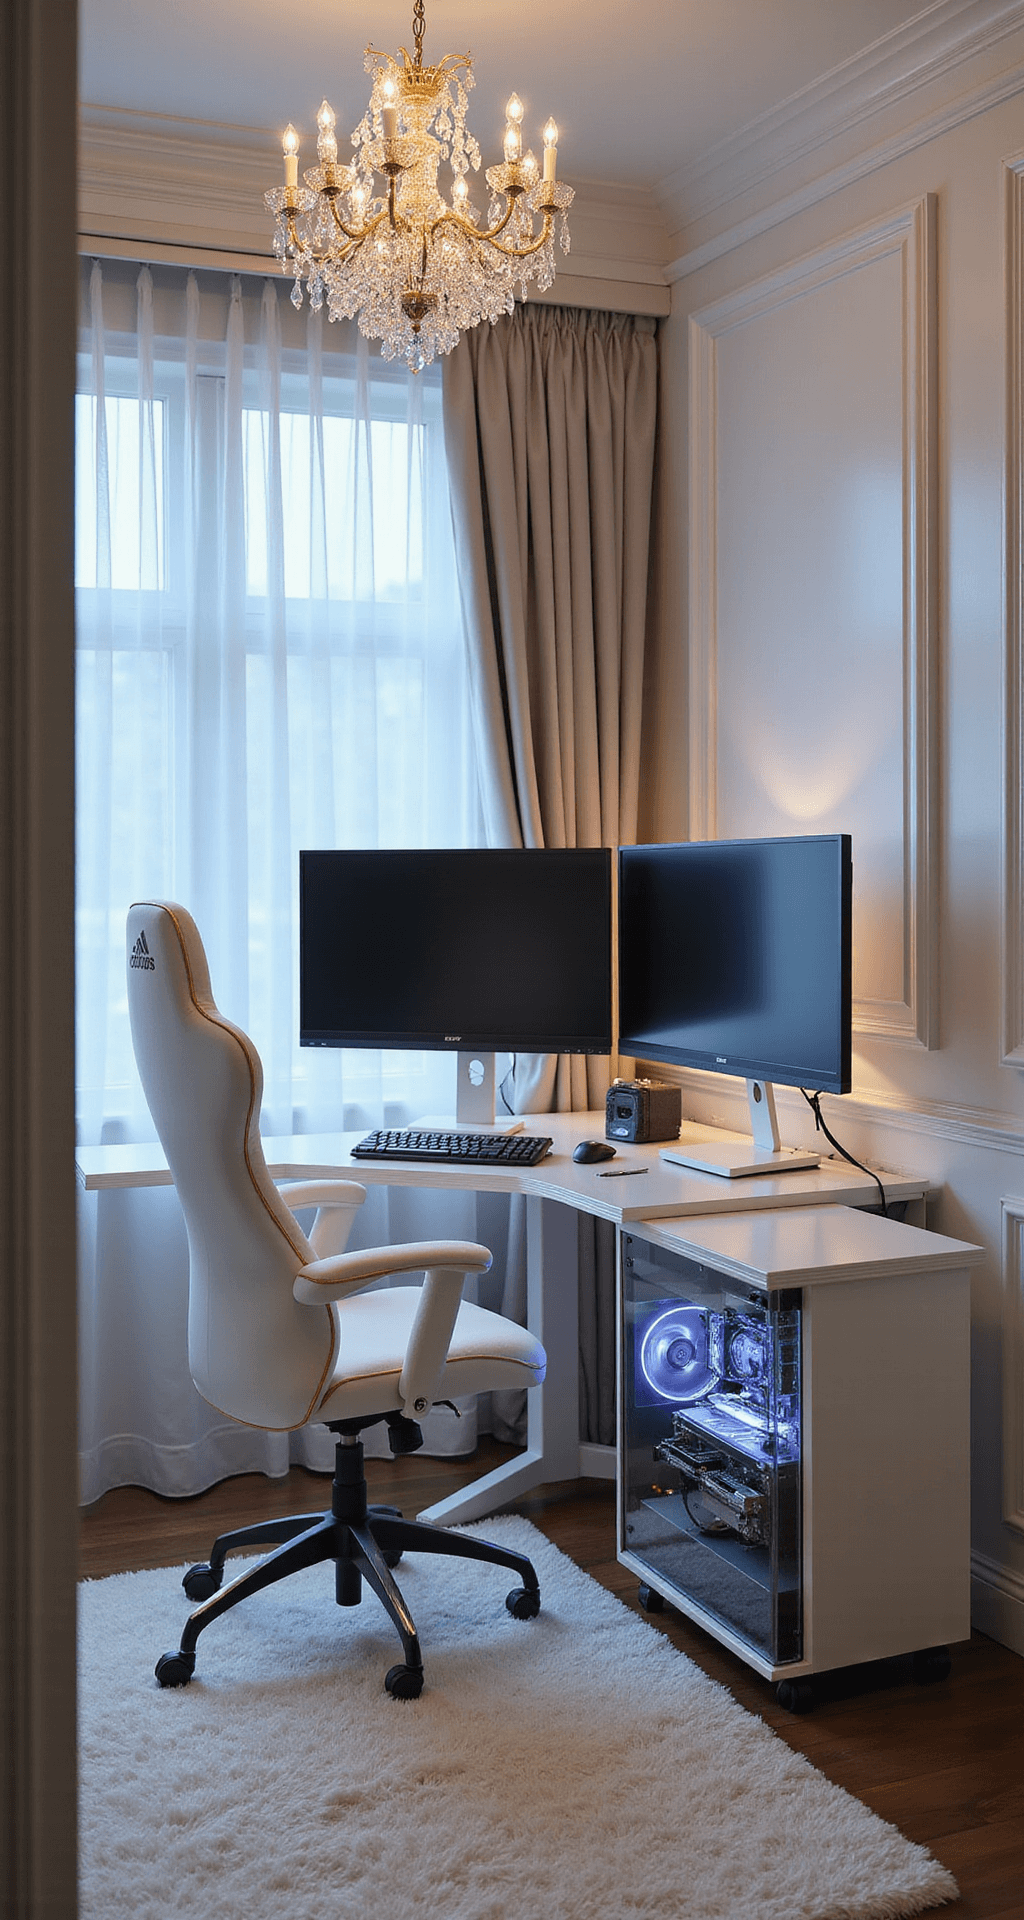
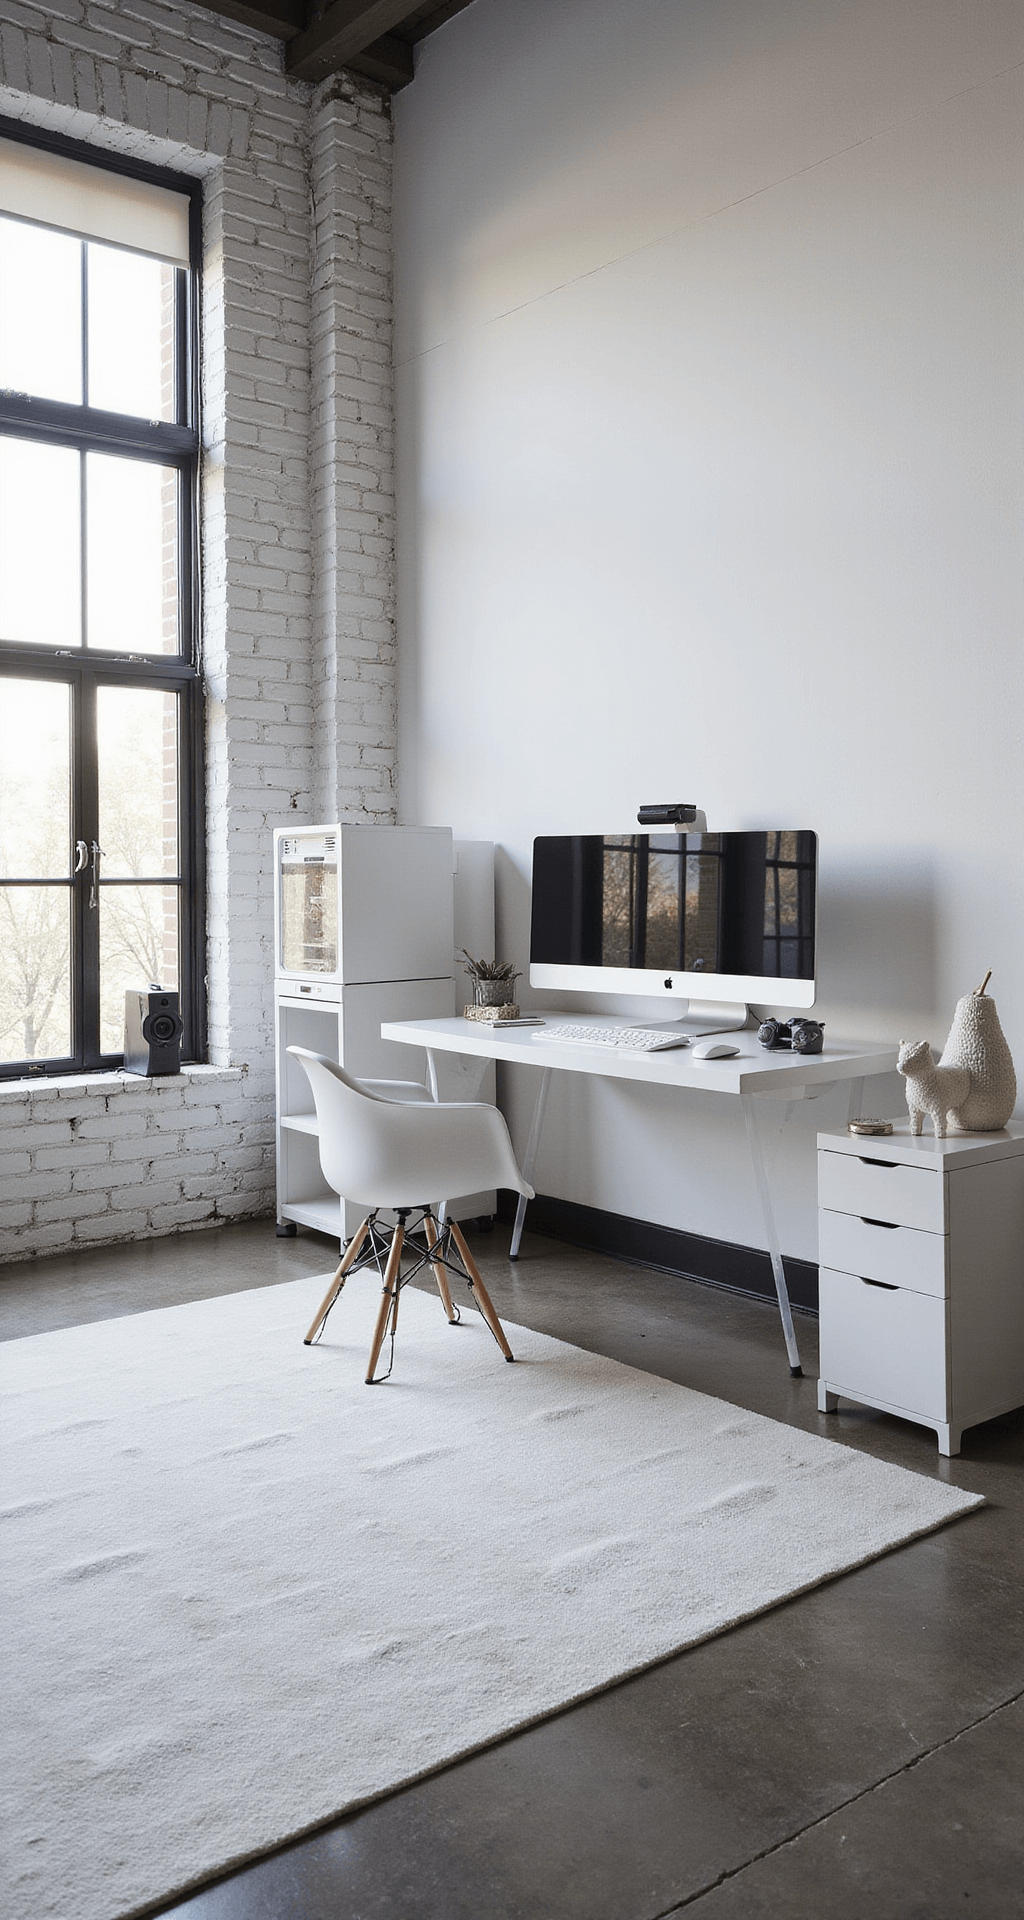
I’ve been a gaming enthusiast for years, and let me tell you, there’s something magical about a crisp, white gaming setup. It’s like stepping into a futuristic command center every time you sit down to play. Today, I’m going to walk you through creating your own white gaming paradise, whether you’re working with a small desk nook or a dedicated gaming room.
The Essentials: What You’ll Need
Before we start, here’s a quick rundown of what you’ll need:
- Time: 1-3 hours for styling, 2-5 hours total including planning and photography
- Space: A small to medium room or desk area (10-50 sq ft is ideal)
- Skill level: Beginner to intermediate
- Budget: $200-$1,000+ (depending on how fancy you want to get)
Now, let’s get to the fun part!
Step 1: Clear the Clutter
First things first, we need a clean slate. Remove everything from your desk or gaming area. I mean everything. That half-empty energy drink can? Gone. Those random cables? Sayonara. We’re starting fresh.
Step 2: Choose Your Focal Points
Every great white gaming setup needs some star players. Here’s what to focus on:
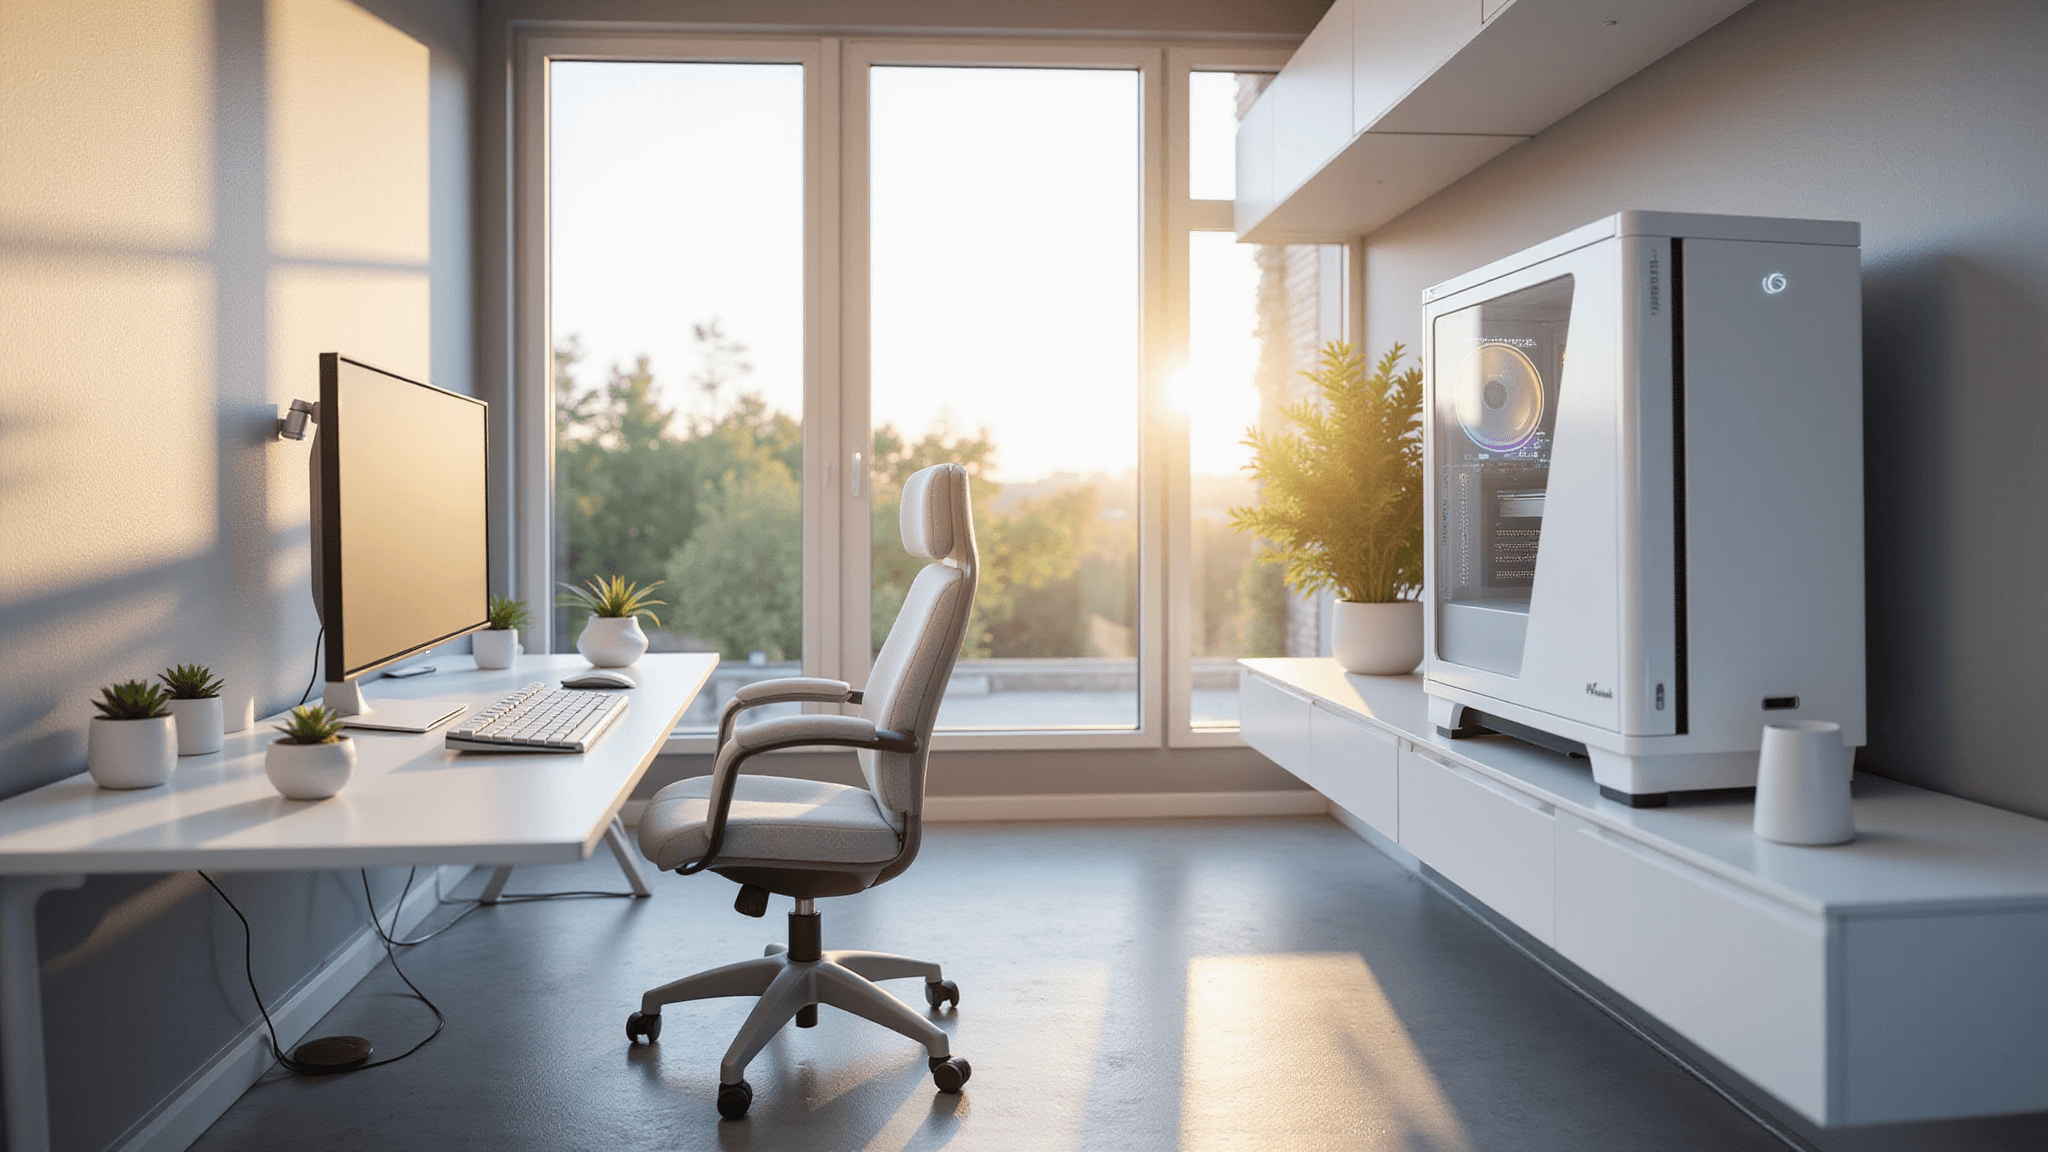
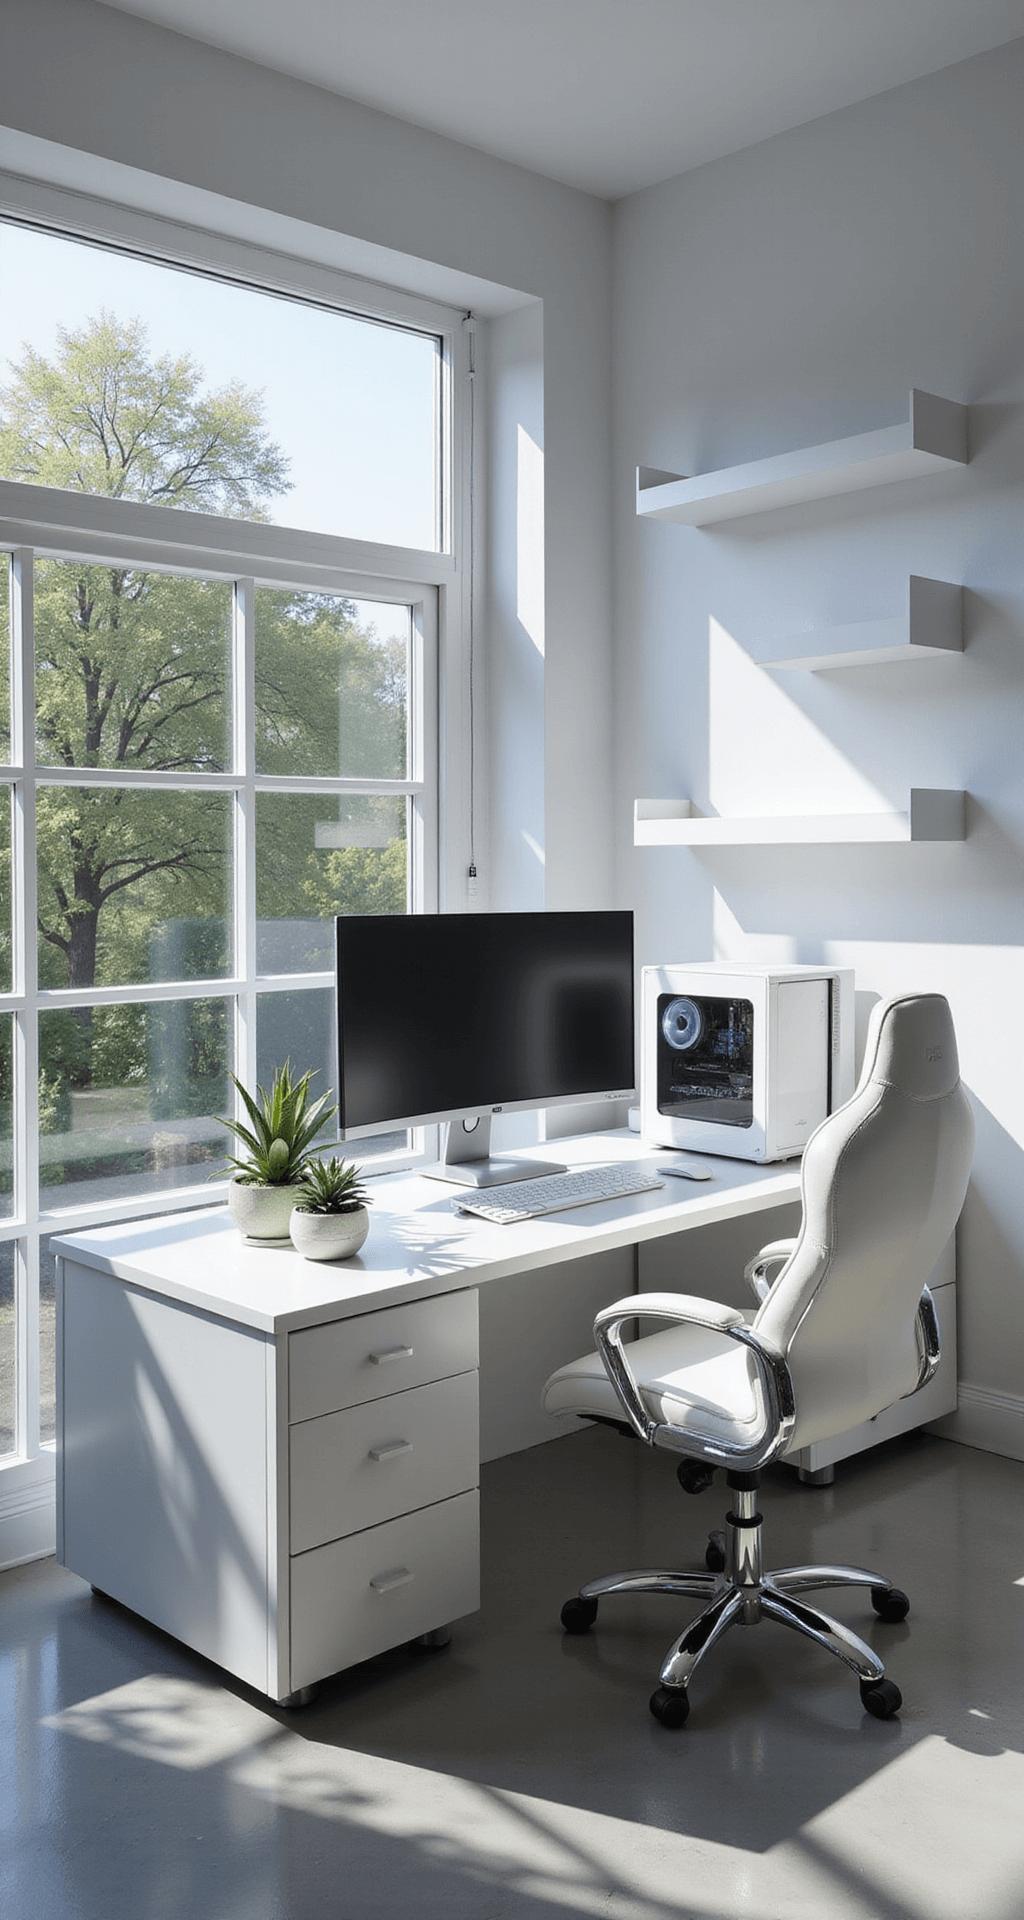
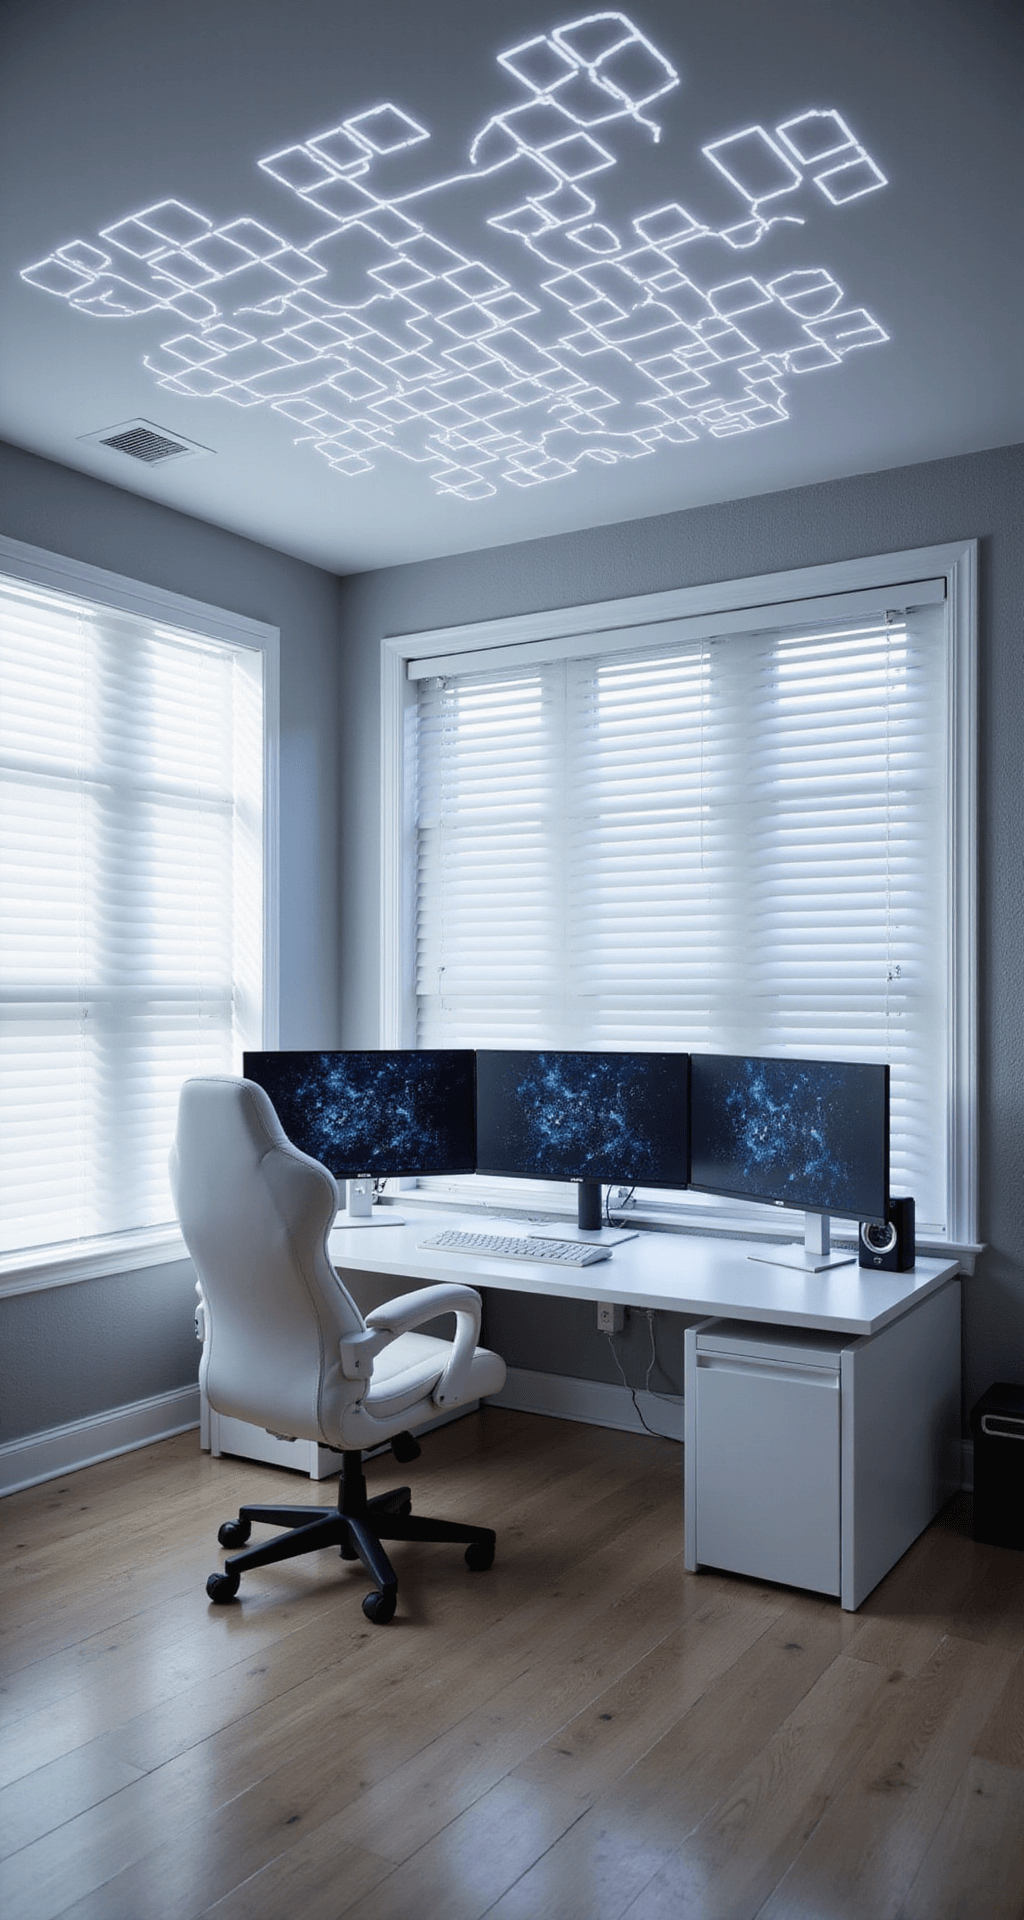
- Gaming monitor(s): The bigger, the better!
- PC tower: If you’ve got a sleek white case, make it visible
- Gaming chair: Comfort is key, but style matters too
Step 3: Add Supporting Characters
Now let’s bring in the supporting cast:
- Speakers: White or light-colored for cohesion
- Lighting: Soft white LED panels or a ring light
- Desk mat: A large white or light gray mat to tie it all together
Step 4: Bring in the Background Elements
Don’t forget about what’s behind your setup:
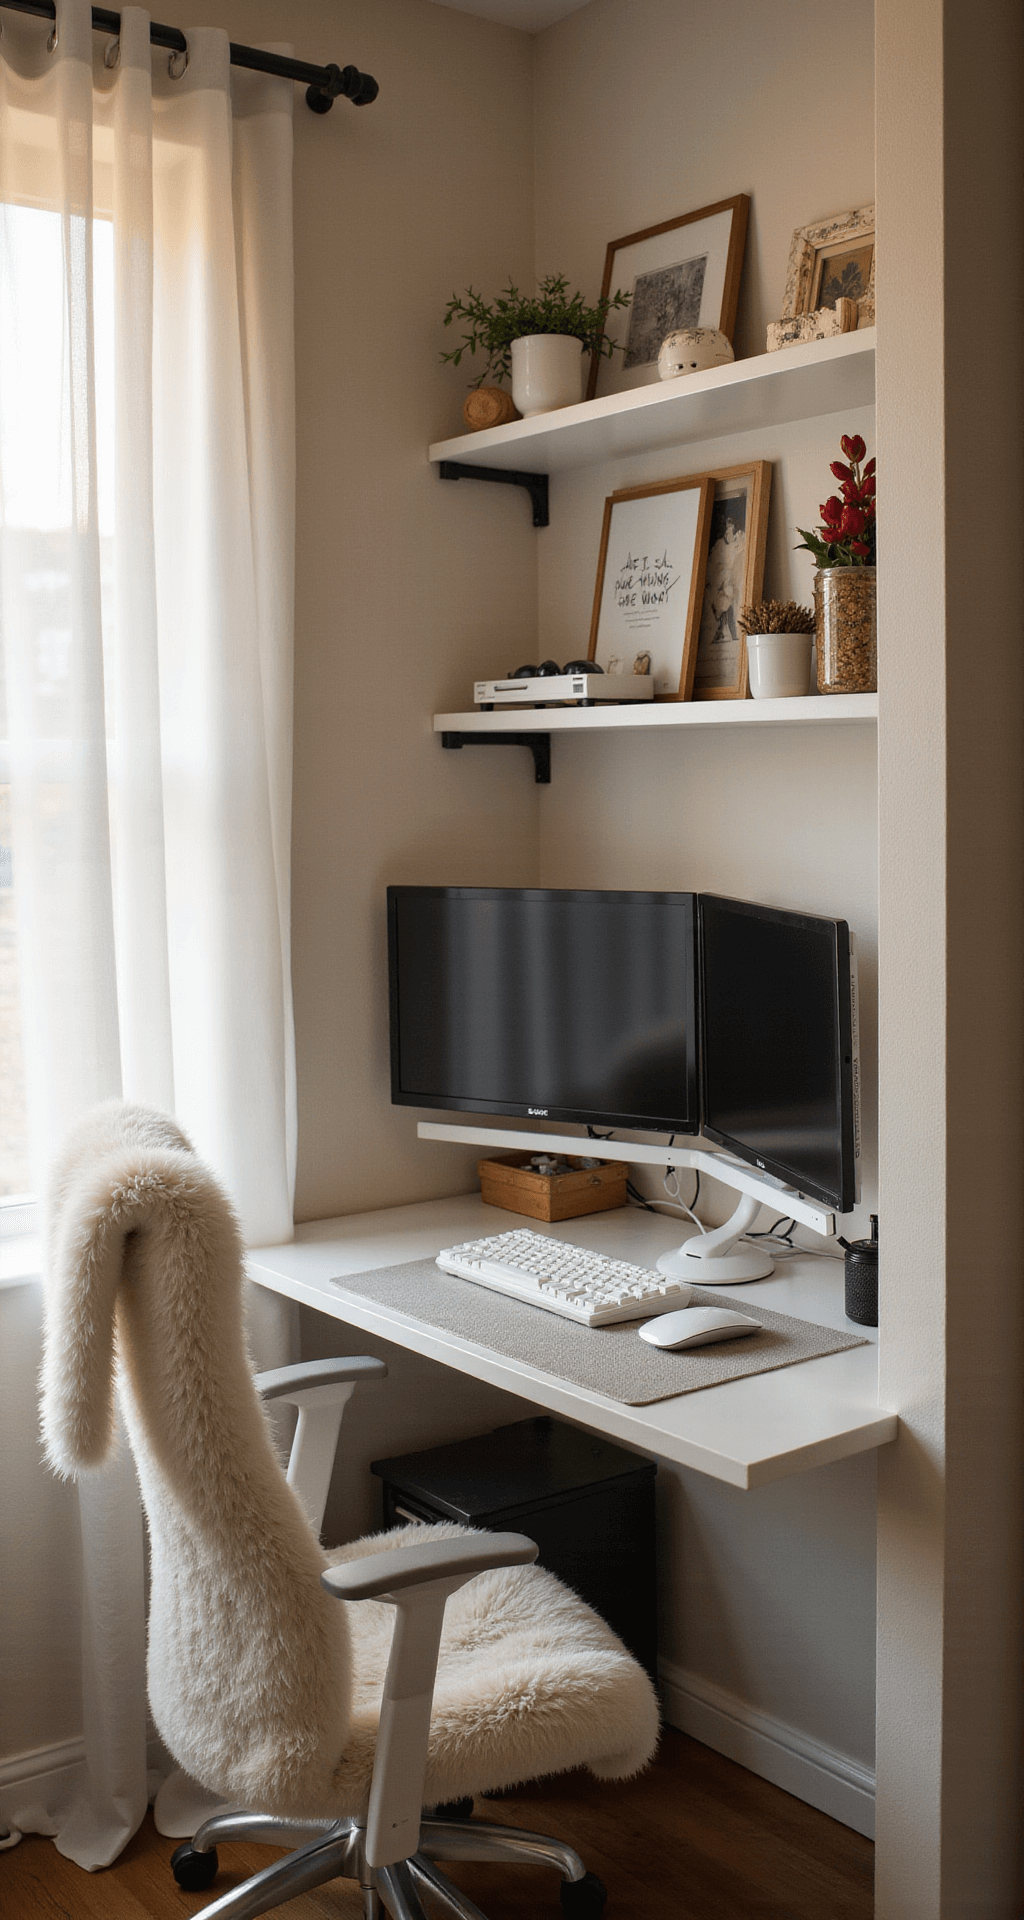
- Wall decor: Minimalist frames or floating shelves
- Plants: Small succulents or air plants for a touch of life
Step 5: Cable Management is Your Best Friend
Nothing ruins a clean white setup faster than a tangle of black cables. Use these tricks:
- White cable clips or ties
- Cable raceways painted to match your wall
- Under-desk cable trays
Step 6: Light It Up
Lighting can make or break your setup. Here are some options:
- Soft white LED strips behind your monitor
- A sleek desk lamp with adjustable brightness
- Nanoleaf panels for a futuristic touch
Step 7: Add Texture and Subtle Color
To keep your white setup from feeling sterile:
- Use a velvet mouse pad in light gray or cream
- Add metal accents with chrome speakers or a monitor arm
- Include a knitted cable organizer for a cozy touch
Step 8: Organize Your Props
Keep these items handy for quick style changes:
- White keyboard and mouse
- Light-colored headset
- Small white decor items (figurines, trays)
- Seasonal touches (like a mini white pumpkin for fall)
Step 9: Capture the Magic
Now that your setup is picture-perfect, it’s time to show it off:
- Use natural light if possible, or soft artificial lighting
- Take photos from multiple angles (eye-level, overhead, wide-angle)
- Edit your photos to enhance brightness and balance colors
Pro Tips for a Pinterest-Worthy Setup
- Keep it minimal: In white setups, less is often more
- Balance tech and decor: Your gaming gear should shine, but soften it with thoughtful decor
- Maintain color harmony: Stick to whites, light grays, and subtle pastels
- Use the rule of thirds when arranging your space
- Create depth with layers: Monitor in back, keyboard in front, decor items in between
Troubleshooting Common White Setup Problems
- Harsh shadows: Adjust your lighting or use a diffuser
- Too sterile: Add small pops of color or natural elements
- Visible dust: Regular cleaning is key (sorry, but it’s true!)
Remember, your white gaming setup should be a reflection of you. Don’t be afraid to add personal touches that make it uniquely yours. Maybe it’s a framed poster of your favorite game, or a small collection of white Funko Pops. The key is to keep it clean, cohesive, and oh-so-cool.
Now go forth and create the white gaming setup of your dreams. Trust me, once you go white, you’ll never want to go back!

