This post may contain affiliate links. Please see my disclosure policy for details.
How I Finally Built a Laptop Desk Setup That Doesn’t Destroy My Back (And Looks Amazing on Camera)
Contents
- How I Finally Built a Laptop Desk Setup That Doesn’t Destroy My Back (And Looks Amazing on Camera)
- Why Your Current Setup Is Probably Hurting You (Even If You Don’t Feel It Yet)
- The Three Deadly Sins of Laptop Setups
- The Gear That Actually Matters (No Fluff, Just What Works)
- Start Here: The Non-Negotiables
- Level Up: The Game-Changers
- How I Actually Set Everything Up (The Measurements That Matter)
- The Eye-Level Rule
- The Arm’s Length Test
- The 90-90-90 Position
- The Cable Management Secret Nobody Tells You
Laptop desk setup was the phrase I typed into Google at 2 AM with a heating pad on my lower back and my neck feeling like a rusty hinge.
Sound familiar?
You’re hunched over your laptop at the kitchen table, your shoulders creeping up toward your ears like two tense little mountains. Your neck aches. Your wrists throb. And every time you stand up, you move like you’re 90 years old.
I’ve been there. I spent six months working from my couch before I realized I was basically torturing myself eight hours a day.
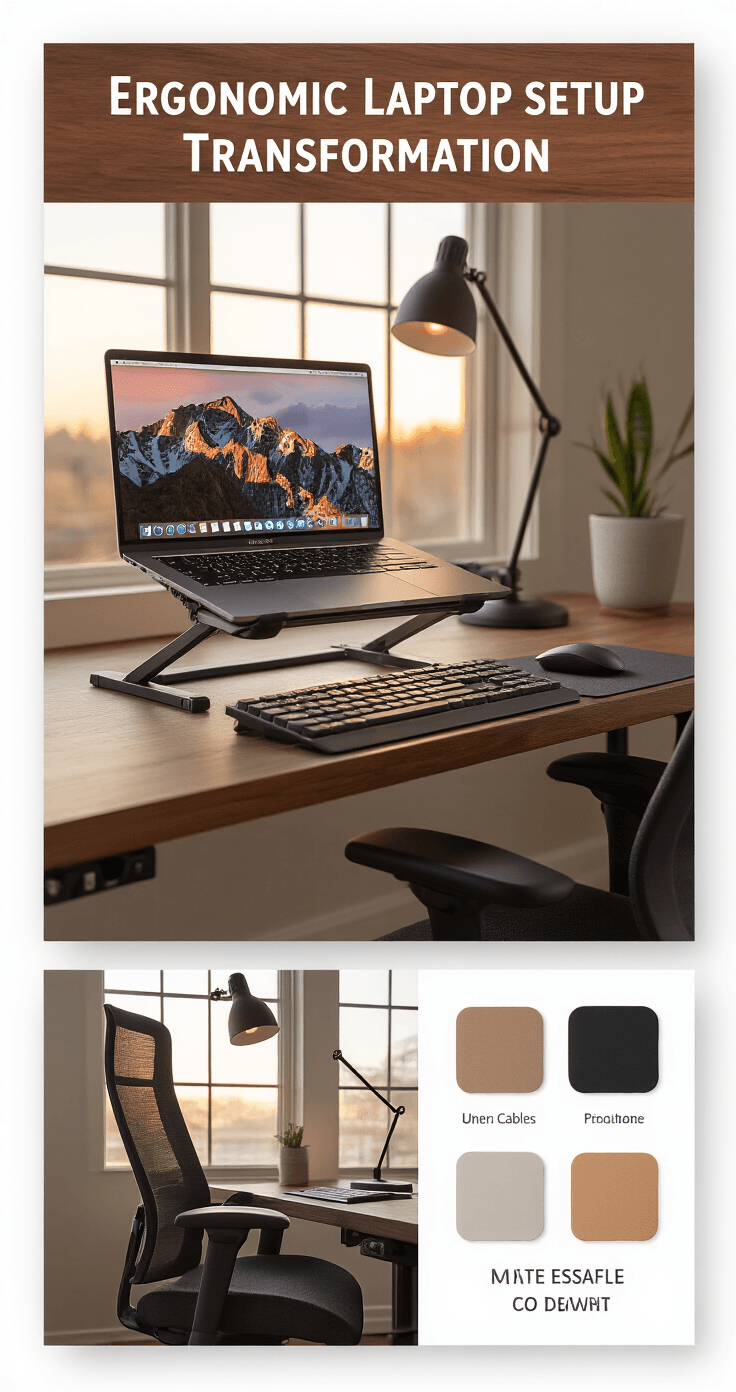
Let me walk you through exactly how I transformed my painful, chaotic workspace into something that actually supports my body AND looks good enough to photograph.
Why Your Current Setup Is Probably Hurting You (Even If You Don’t Feel It Yet)
Here’s what I learned the hard way: your body is shockingly good at adapting to terrible positions.
You don’t notice the damage until suddenly you do.
I thought I was fine until I couldn’t turn my head to check my blind spot while driving. My physical therapist took one look at my “desk” situation and actually laughed.
Not in a mean way. In that “oh honey, no wonder you’re here” way.

The Three Deadly Sins of Laptop Setups
Sin #1: The Laptop Hunch Your laptop screen sits too low, so you crane your neck down for hours. This is like hanging a bowling ball from your neck muscles all day.
Sin #2: The Wrist Breaker Your keyboard is at the wrong height, forcing your wrists into weird angles. Hello, carpal tunnel syndrome.
Sin #3: The Chair from Hell That dining chair you’ve been using? It has zero lumbar support and the wrong height for desk work. Your spine hates you.
The Gear That Actually Matters (No Fluff, Just What Works)
Let me cut through the marketing nonsense and tell you what you actually need.
Start Here: The Non-Negotiables
A proper laptop stand This single item changed my life more than any other purchase. It raises your screen to eye level, so you stop looking down like you’re reading a book in your lap.
I use a laptop stand that’s adjustable because my morning posture is different from my afternoon slump.
An external keyboard and mouse Once your laptop is elevated, you can’t type on it anymore. That’s the whole point. Your keyboard needs to sit lower, where your elbows naturally bend at 90 degrees.
I went with an ergonomic keyboard after trying three cheaper ones that felt like typing on cardboard.
A chair that doesn’t hate your spine This is where people get sticker shock, but listen. You sit in this thing 40+ hours a week.
Do the math: even a $400 chair costs you about $2 per week over four years. That’s less than a latte.
I finally invested in an ergonomic office chair with actual lumbar support, and my heating pad is now gathering dust.
Level Up: The Game-Changers
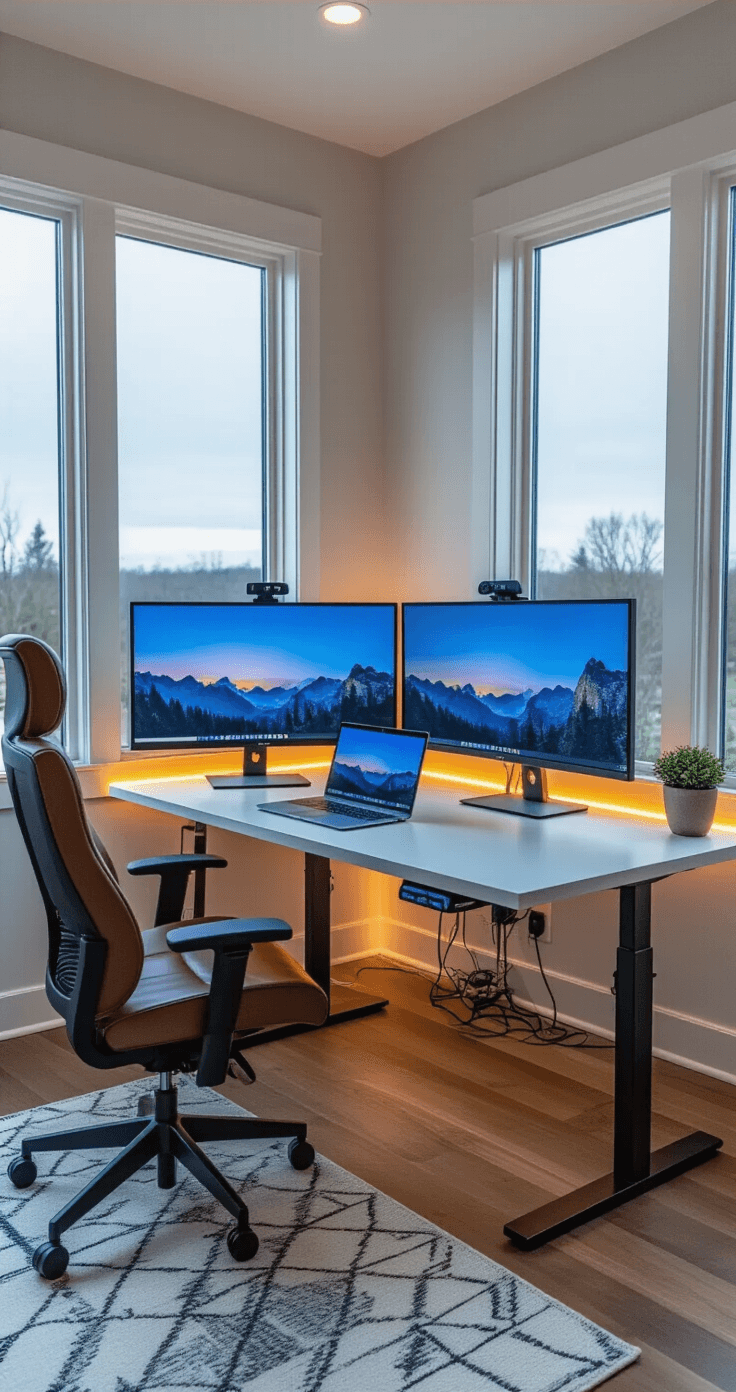
An external monitor (or two) This was my second major upgrade after the laptop stand.
Working on a 13-inch laptop screen is like trying to read a book through a toilet paper tube.
I added a 27-inch monitor and positioned it at eye level, arm’s length away. My productivity shot up because I could actually see what I was doing.
For dual monitor setups, here’s what works:
- Main monitor dead center (directly in front of your nose)
- Secondary monitor angled 30 degrees to your dominant side
- Both at the same height (no neck twisting)
A docking station This little box is magic.
One cable connects your laptop to everything: monitors, keyboard, mouse, power. You can close your laptop and tuck it away, or prop it up as a third screen.
I use a USB-C docking station that handles two external monitors plus charges my laptop simultaneously.
Proper lighting Nobody talks about this enough.
Bad lighting causes eye strain, which causes headaches, which makes you lean closer to your screen, which destroys your posture.
I positioned my desk perpendicular to my window (natural light from the side, not behind or in front). Then I added a desk lamp for cloudy days and evening work.
How I Actually Set Everything Up (The Measurements That Matter)
This is where theory meets reality.
The Eye-Level Rule
Your screen’s top edge should sit at or slightly below eye level when you’re sitting up straight.
Not when you’re slouching. Sit up like your grandmother just walked in the room. THAT’S your reference point.
For me at 5’7″, this meant:
- Laptop stand raised to about 6 inches
- External monitor on a small riser (or stack of books before I bought a proper stand)
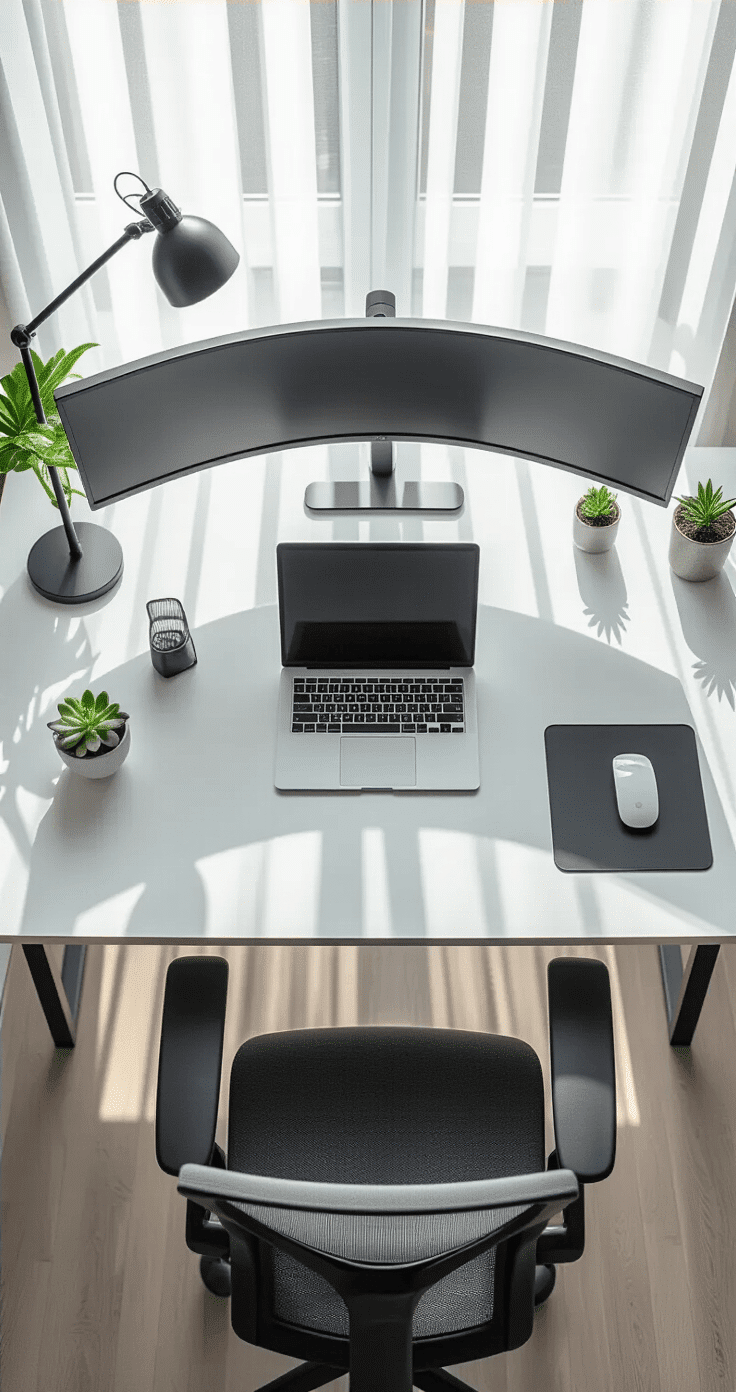
The Arm’s Length Test
Sit back in your chair. Extend your arm straight out. Your fingertips should barely touch your screen.
That’s the ideal distance for a monitor.
Too close = eye strain. Too far = you lean forward = bad posture.
The 90-90-90 Position
This sounds like a yoga pose, but it’s actually the gold standard for desk ergonomics:
- 90-degree angle at your elbows (forearms parallel to floor)
- 90-degree angle at your hips (thighs parallel to floor)
- 90-degree angle at your knees (feet flat on floor or footrest)
If you can achieve this, you’re in good shape.
The Cable Management Secret Nobody Tells You
Here’s a confession: I avoided upgrading my setup for months because I dreaded the cable chaos.
Every photo of beautiful desk setups shows zero cables, which felt impossible.
Then I learned the secret: you don’t hide cables, you organize them.