This post may contain affiliate links. Please see my disclosure policy for details.
How to Create the Perfect DIY Drinking Board Game That’ll Make Your Friends Beg for Game Night
Contents
- How to Create the Perfect DIY Drinking Board Game That’ll Make Your Friends Beg for Game Night
- Why Your Friends Will Love Custom Drinking Games More Than Anything Else
- Drinkopoly: The Classic Choice
- Truth or Shot: Simple but Deadly Effective
- Drinkyland: The Candy Land Twist That’s Pure Chaos
- How to Build Your DIY Drinking Board Game Like a Pro
DIY drinking board games have completely changed how I throw parties, and trust me, once you’ve made your first one, store-bought games will feel boring as hell.
You know that feeling when you’re planning a party and panicking about whether everyone will actually have fun? Been there. Done that. Nearly had a nervous breakdown over it.
That’s exactly why I fell down the rabbit hole of creating custom drinking games. And let me tell you, it’s been a game-changer.
Why Your Friends Will Love Custom Drinking Games More Than Anything Else
Here’s the thing about homemade drinking board games – they’re personal. Really personal.
When I made my first Drinkopoly board, I loaded it with inside jokes and dares that had my friends crying with laughter. Store-bought games can’t do that. They don’t know that Sarah always does that weird laugh when she’s tipsy. Or that Mike will literally do any dare if you challenge his pride.
The beauty of DIY drinking games lies in customization:
- Personal dares tailored to your friend group
- Inside jokes that make everyone feel included
- Difficulty levels you can adjust based on who’s playing
- Themes that match your party vibe perfectly
The Most Popular DIY Drinking Board Game Formats That Actually Work
Drinkopoly: The Classic Choice
This custom drinking game takes everything great about Monopoly and adds alcohol. Genius, right?
I’ve made three different versions now, and each one gets more ridiculous than the last. Instead of buying properties, players land on spaces with drinking challenges. Instead of going to jail, you might end up in the “confession booth” sharing embarrassing stories.
Key elements that make Drinkopoly amazing:
- Property cards become drinking challenges
- Chance cards get replaced with truth or dare prompts
- Money can be replaced with sips or shots as currency
- Jail becomes a fun penalty area with group challenges
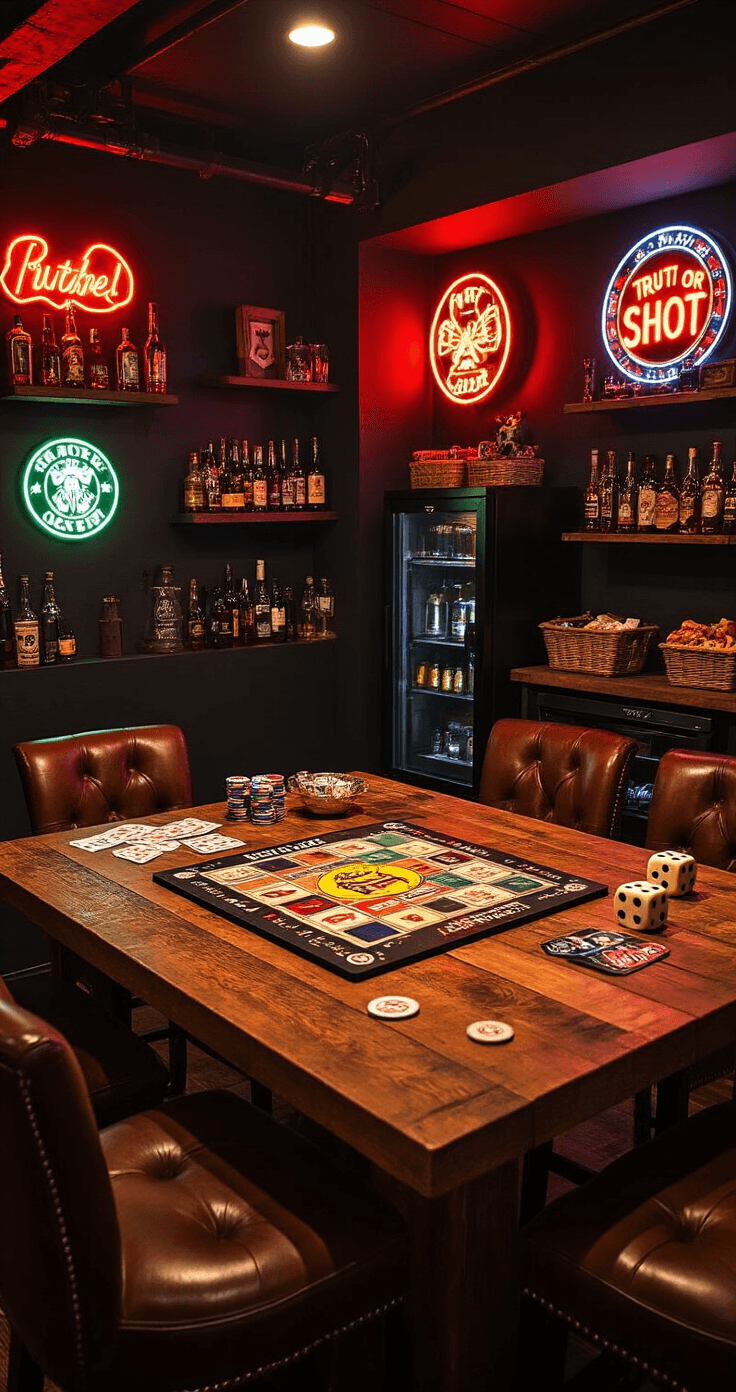
Truth or Shot: Simple but Deadly Effective
Remember those brutal truth or dare sessions from high school? This brings back all that energy, but with alcohol as the escape route.
I learned the hard way that you need to prepare way more questions than you think. Running out of good truths halfway through the game is a party killer.
What makes Truth or Shot work:
- Balance between embarrassing truths and manageable shots
- Variety in question difficulty levels
- Options for players to choose their comfort level
- Backup plans when someone’s had too much
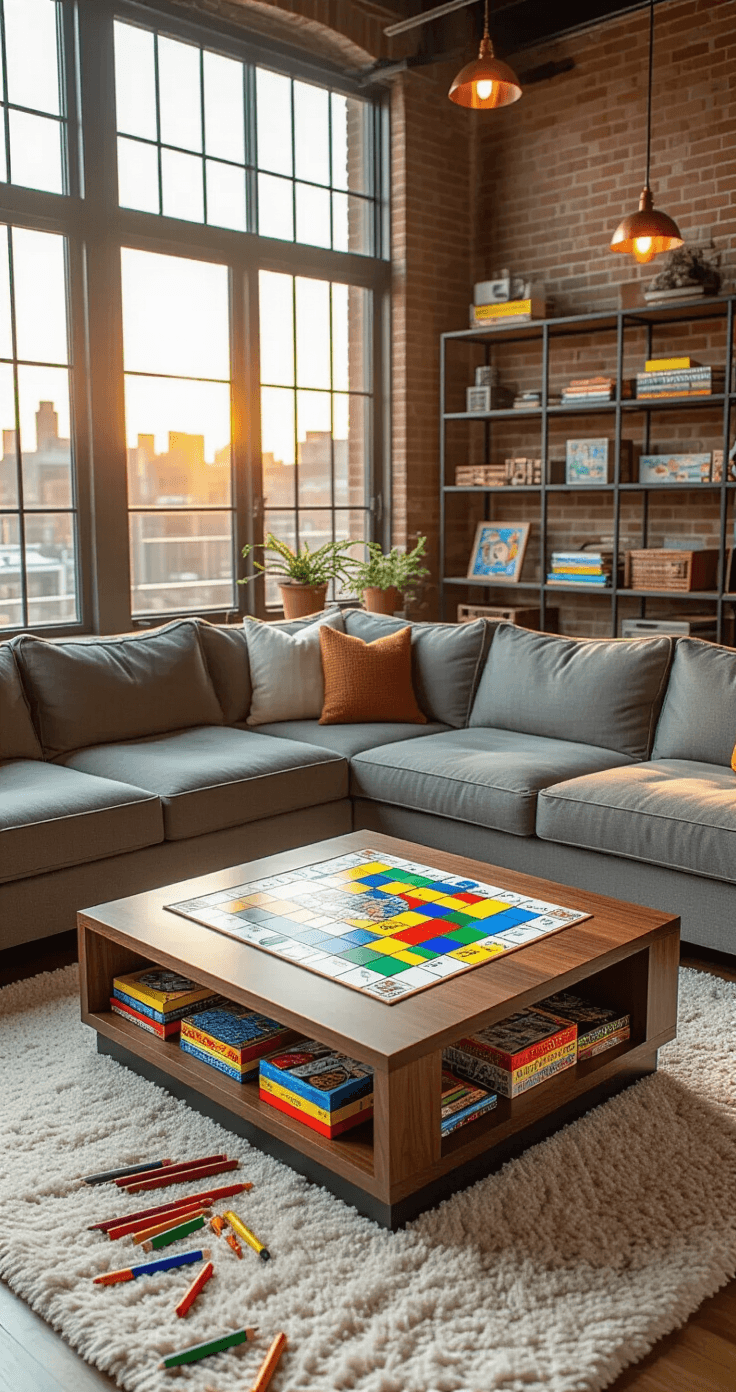
Drinkyland: The Candy Land Twist That’s Pure Chaos
This one’s my personal favorite because it’s ridiculously simple to make and play.
I created my version on a poster board with colored squares leading to a finish line. Each color represents different challenge types. Red squares might be shots. Blue squares could be truth questions. Yellow squares might be group challenges.
The beauty of Drinkyland:
- No complex rules to explain to tipsy people
- Visual appeal that draws everyone in
- Quick gameplay that keeps energy high
- Endless customization possibilities
How to Build Your DIY Drinking Board Game Like a Pro
Materials That Won’t Break the Bank
Here’s what I’ve learned after making way too many of these games:
Essential supplies:
- Large poster board (go bigger than you think you need)
- Colored markers (get washable ones, trust me)
- Ruler or straight edge for clean lines
- Pencil for initial sketching
- Dice (oversized ones are more fun)
- Game pieces (anything works – bottle caps, coins, small toys)
Pro tip: I always keep laminating sheets handy. Drunk people spill things. Laminated boards survive multiple parties.
The Step-by-Step Process That Never Fails
Step 1: Plan Your Layout
Start with pencil and map out your path. I learned this lesson after creating a beautiful board in permanent marker, only to realize the path made no logical sense.
Step 2: Choose Your Color System
Assign meanings to each color before you start coloring. Write this down. You’ll forget otherwise.
Step 3: Create Varied Challenges
Mix up the difficulty and types of challenges. Nobody wants to take shots for every single square.
Step 4: Test Run
Play it sober first. I know, I know, it sounds boring. But you’ll catch design flaws before your party.