This post may contain affiliate links. Please see my disclosure policy for details.
Desk mats transformed my cluttered workspace into a gaming sanctuary
Contents
Desk mats transformed my cluttered workspace into a gaming sanctuary, and I’m about to show you exactly how to photograph yours so it looks incredible online.
Listen, I used to think desk mats were just oversized mouse pads for people with too much money. Then my keyboard kept sliding during intense gaming sessions, my mouse tracked inconsistently, and my desk looked like a garage sale exploded on it.
One extended gaming desk mat later, everything changed.
Not just my setup—but how I wanted to share it with everyone.

Why Your Desk Mat Deserves Better Photos
You spent good money on that desk mat. Whether it’s a custom design, premium leather, or budget-friendly option, it deserves photos that don’t look like they were taken in a cave.
I’ve photographed dozens of setups, and here’s what I learned: the difference between a scroll-past and a save-worthy desk mat photo comes down to three things.
Lighting that doesn’t murder your colors. Composition that tells a story. Styling that makes people say “I need that.”
Let me break this down without the fluff.
What You Actually Need (No Fancy Equipment Required)
The Non-Negotiables
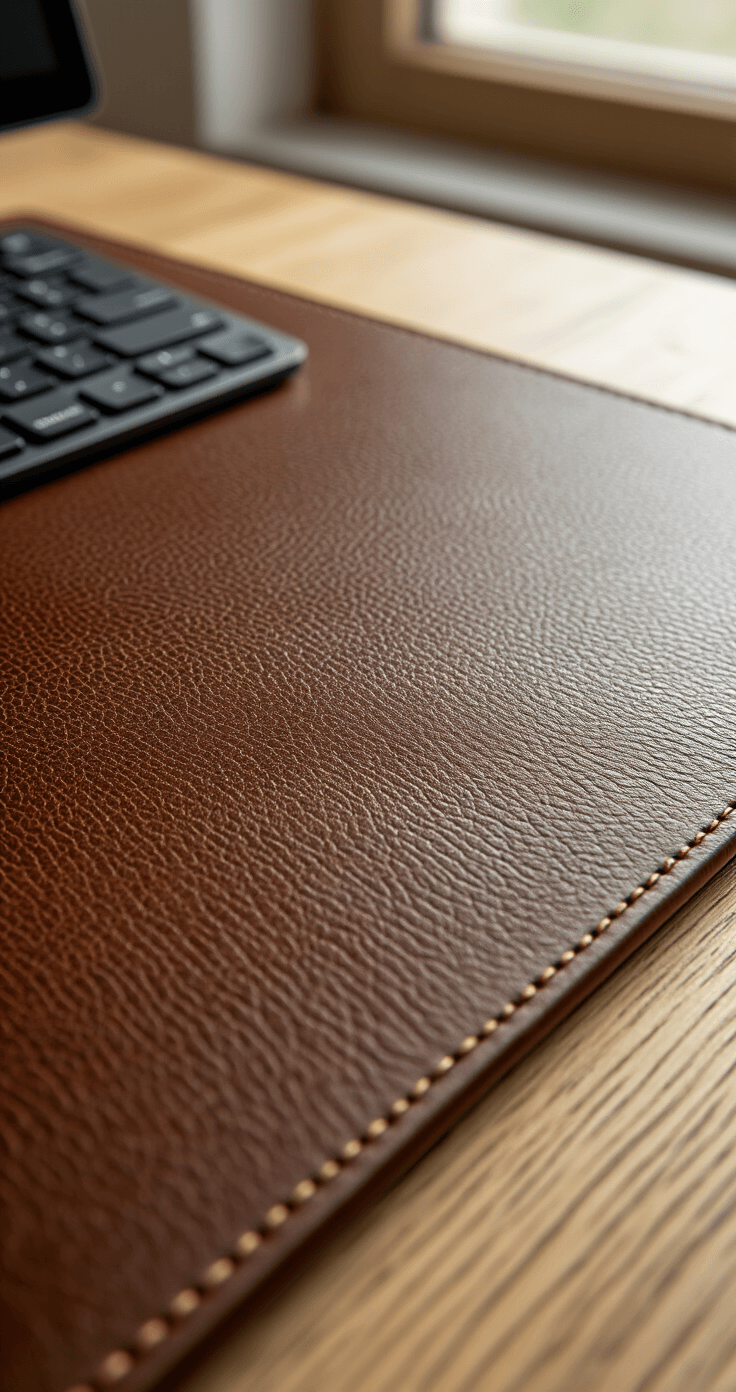
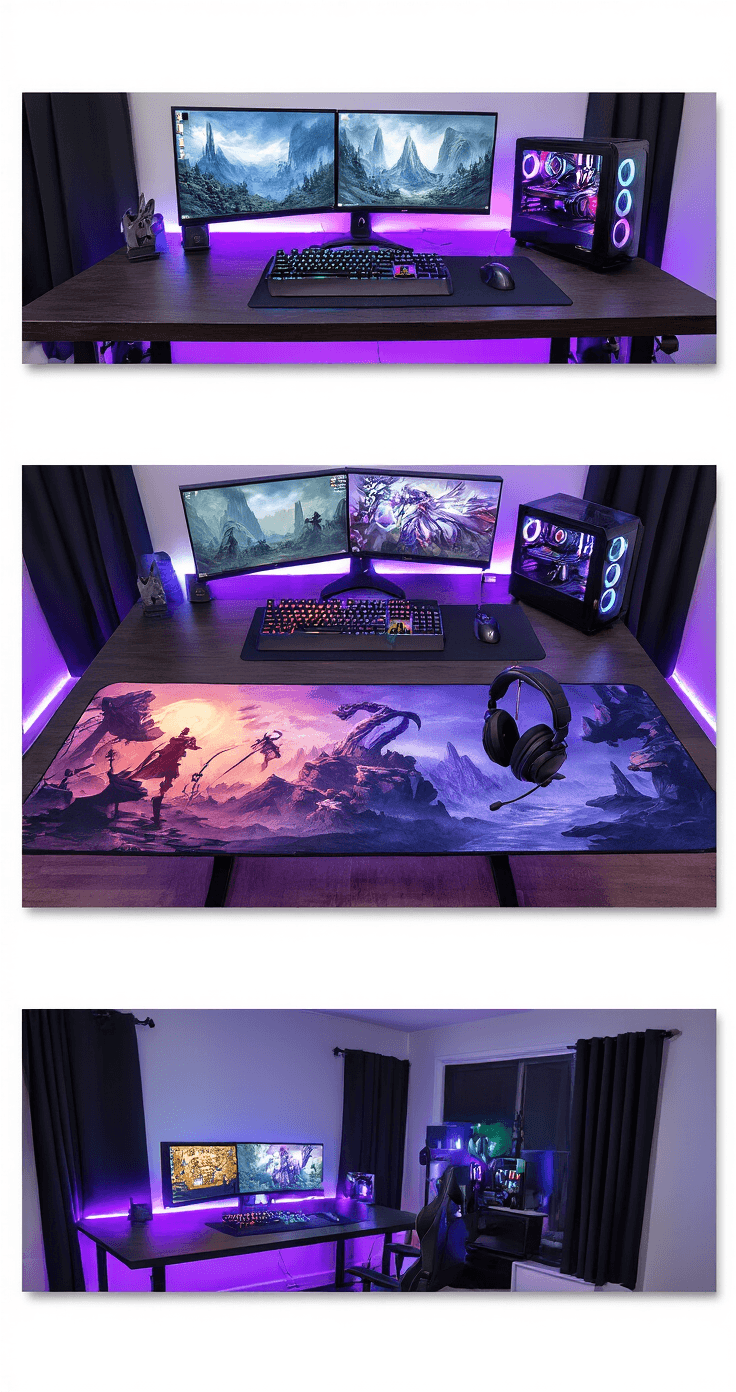
Your desk mat (obviously) This could be your RGB gaming desk mat, minimalist leather pad, or custom-designed masterpiece.
A phone or camera Your smartphone is fine. Actually, it’s more than fine—I’ve seen phone photos crush expensive camera shots.
Decent lighting Natural light from a window beats expensive lighting kits every single time.
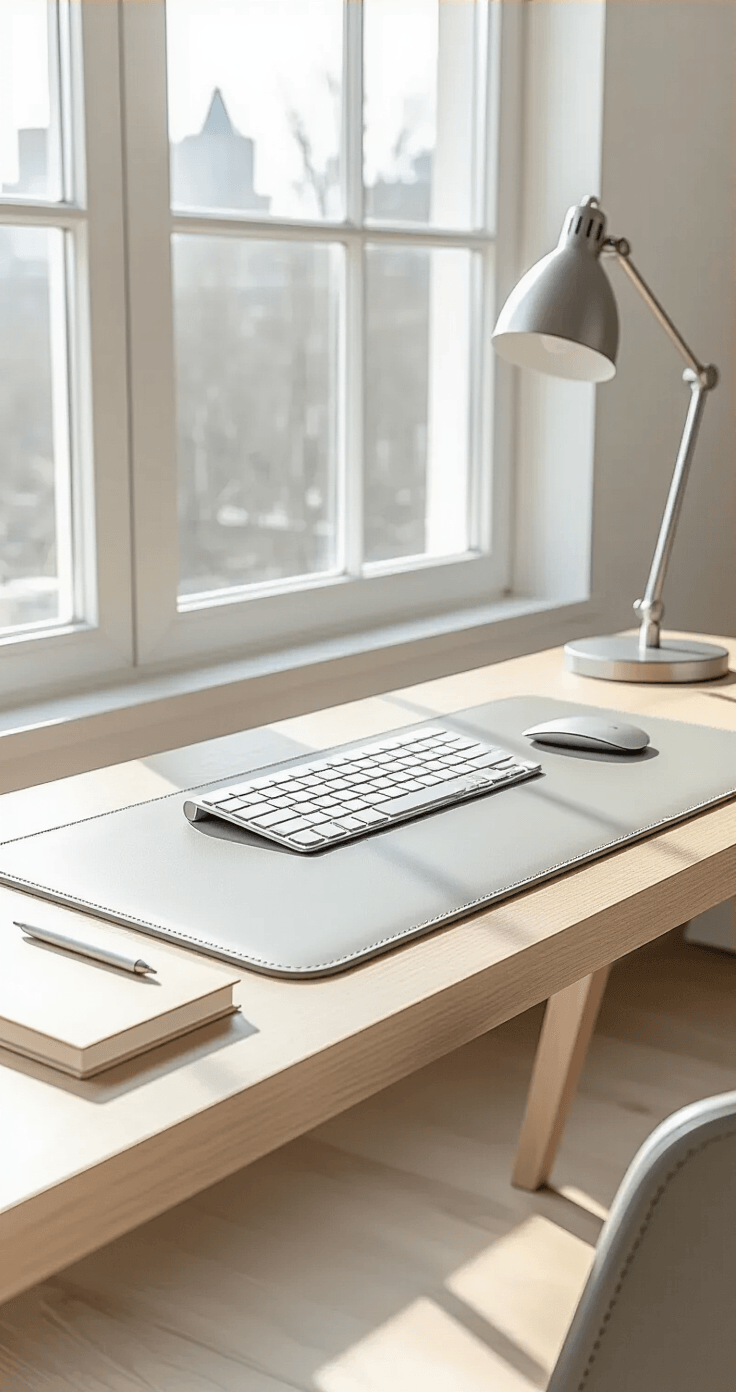
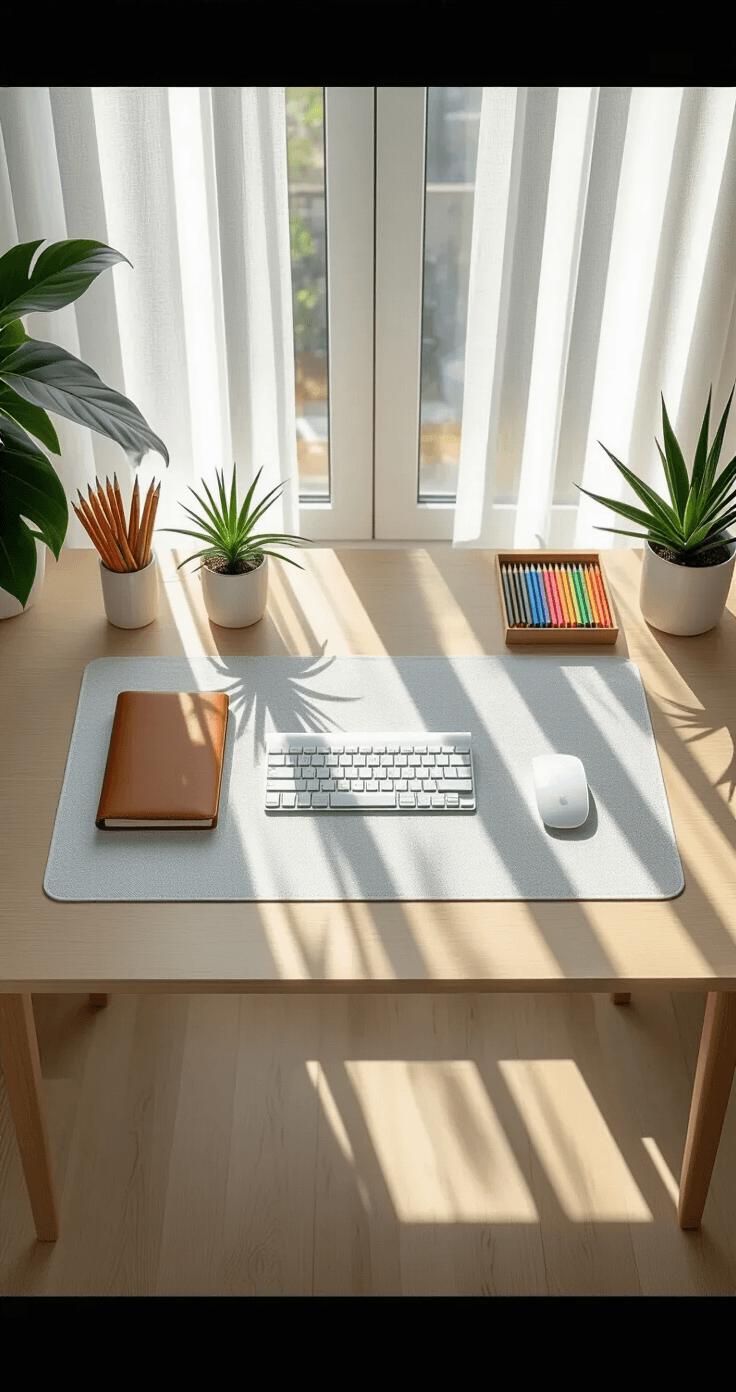
Something to photograph it on Your actual desk works perfectly. Wood grain adds character, white surfaces keep things clean, even a dark surface creates drama.
The Game-Changers (But Not Required)
A desk lamp with adjustable brightness for those evening shots when natural light abandons you.
Your keyboard and mouse—because showing scale and context matters.
Props that don’t suck: a small plant, coffee mug, or notebook. Just don’t go overboard like I did the first time (eleven items is too many, trust me).
My Biggest Mistake (So You Don’t Repeat It)
First desk mat photo I took? Absolute garbage.
Overhead fluorescent lights casting shadows everywhere. Mat crammed into the corner of the frame. So much clutter you couldn’t even see the design. Colors looked muddy and depressing.
Here’s what I should have done:
Cleared everything off the desk first. Positioned myself near a window. Actually thought about composition before hitting the shutter button.
The difference between that first attempt and my current photos isn’t skill—it’s following a simple process.
The Setup Process That Actually Works
Step 1: Clear Your Desk (Yes, Everything)
Take everything off. I mean everything.
That coffee mug from three days ago. The random cables. Those papers you’ll “definitely read later.” The snack wrappers (no judgment, we’ve all been there).
Start with a blank canvas.
Time this takes: 5 minutes max
Step 2: Find Your Light Source
Walk around your space. Where does natural light come in?
- Morning light (east-facing window): Soft, cool tones, perfect for minimalist setups
- Afternoon light (west-facing): Warmer, more dramatic, great for gaming aesthetics
- Overcast days: Even lighting, no harsh shadows, ideal for true color representation
Position your desk at a 45-degree angle to your light source. Not directly facing it (too washed out). Not with your back to it (shadows everywhere).
Time this takes: 3 minutes of walking around like you’re scouting a film location
Step 3: Place Your Mat
This sounds obvious, but positioning matters.
Lay your XL desk mat flat and smooth. Get rid of any wrinkles or curled edges.
Pro tip I learned the hard way: If your mat has curled edges from packaging, place heavy books on the corners for 10 minutes before shooting.
Position it so:
- The design faces the camera properly
- You have space around it to show context
- Any logos or key design elements are clearly visible
Time this takes: 2 minutes (plus 10 if you need to flatten it)
Step 4: Add Your Context Items
Now bring back exactly three items.
I’m serious about the number three. It’s enough to show this is a real, functional workspace without looking cluttered.
My go-to combination:
- Keyboard (positioned naturally on the mat)
- Mouse (beside the keyboard, showing the mat’s size)
- One accent item (plant, coffee mug, or headphones)
Why this works: Your keyboard and mouse show scale—people can instantly understand how big the mat is. They demonstrate functionality—this isn’t just decorative, it’s useful. They add story—this is where work (or gaming) happens.
Time this takes: 5 minutes of arranging and rearranging
Step 5: Get Your Angles Right
I shoot every desk mat three ways.
The Overhead (60-70% of my final shots): Stand directly above your desk. Point your camera straight down. This shows the entire mat, the design clearly, and creates that satisfying flat-lay aesthetic everyone loves.
Keep your phone parallel to the desk surface. Fill about 70% of your frame with the mat