This post may contain affiliate links. Please see my disclosure policy for details.
Pool Table Drawings: Your Complete Guide to Planning the Perfect Game Room
Contents
- Pool Table Drawings: Your Complete Guide to Planning the Perfect Game Room
- Why Pool Table Drawings Save Your Sanity (and Your Wallet)
- Essential Pool Table Dimensions You Need to Know
- Room Space Requirements That Actually Work
- Creating Your Pool Table Drawing: Step-by-Step
- Smart Pool Table Placement Strategies
- Common Drawing Mistakes That Cost Money
- Digital Tools vs. Hand Drawing
Pool table drawings might seem like a fancy architect’s job, but trust me, you’ll want to sketch out your game room before you blow your budget on the wrong setup.
I learned this the hard way when I bought my first pool table without measuring twice. The delivery guys took one look at my basement and started laughing. That beautiful 9-footer had to go back, and I ate the delivery fees.
Why Pool Table Drawings Save Your Sanity (and Your Wallet)
You’re probably thinking, “Can’t I just eyeball the space?” Sure, if you enjoy expensive mistakes and cramped playing conditions.
Here’s what proper planning prevents:
- Buying a table that won’t fit through your doorway
- Cramped shots against walls
- Furniture that blocks your cue stroke
- Awkward room flow that kills the fun
Drawing out your space shows you exactly what works before you spend a dime.
Essential Pool Table Dimensions You Need to Know
Before you grab that measuring tape, let’s talk numbers.
Standard Pool Table Sizes:
- 7-foot table: 78″ x 39″ playing surface
- 8-foot table: 88″ x 44″ playing surface
- 9-foot table: 100″ x 50″ playing surface
But here’s the kicker – the table itself is bigger than the playing surface. Add another 4-6 inches on each side for the rails and pockets.
Total Table Footprint:
- 7-foot: approximately 7’6″ x 4′
- 8-foot: approximately 8’6″ x 4’6″
- 9-foot: approximately 9’6″ x 5′

Room Space Requirements That Actually Work
The magic number everyone forgets is cue length. Standard pool cues measure 57-58 inches.
Minimum room dimensions:
- 7-foot table: 16’8″ x 13′
- 8-foot table: 17’8″ x 13’6″
- 9-foot table: 18’8″ x 14′
These measurements assume you want to make shots without ramming your cue into the wall. Trust me, wall shots get old fast.
Creating Your Pool Table Drawing: Step-by-Step
Grab some graph paper and let’s map this out properly.
Step 1: Measure Your Room
Start with the basics – length, width, and any obstacles. Note these troublemakers:
- Support columns
- Heating vents
- Built-in shelving
- Stairways
- Low-hanging lights
Step 2: Choose Your Scale
I use 1/4 inch = 1 foot. It’s simple math and fits on standard paper.
Step 3: Draw Your Room Outline
Mark the walls first, then add permanent fixtures. Don’t forget doorways and windows.
Step 4: Add Your Pool Table
Center it in the room if possible. This gives you maximum cue clearance on all sides.
Step 5: Test Your Cue Clearance
Draw circles around the table showing your 5-foot cue radius. Anywhere these circles hit walls or furniture means tight shots.
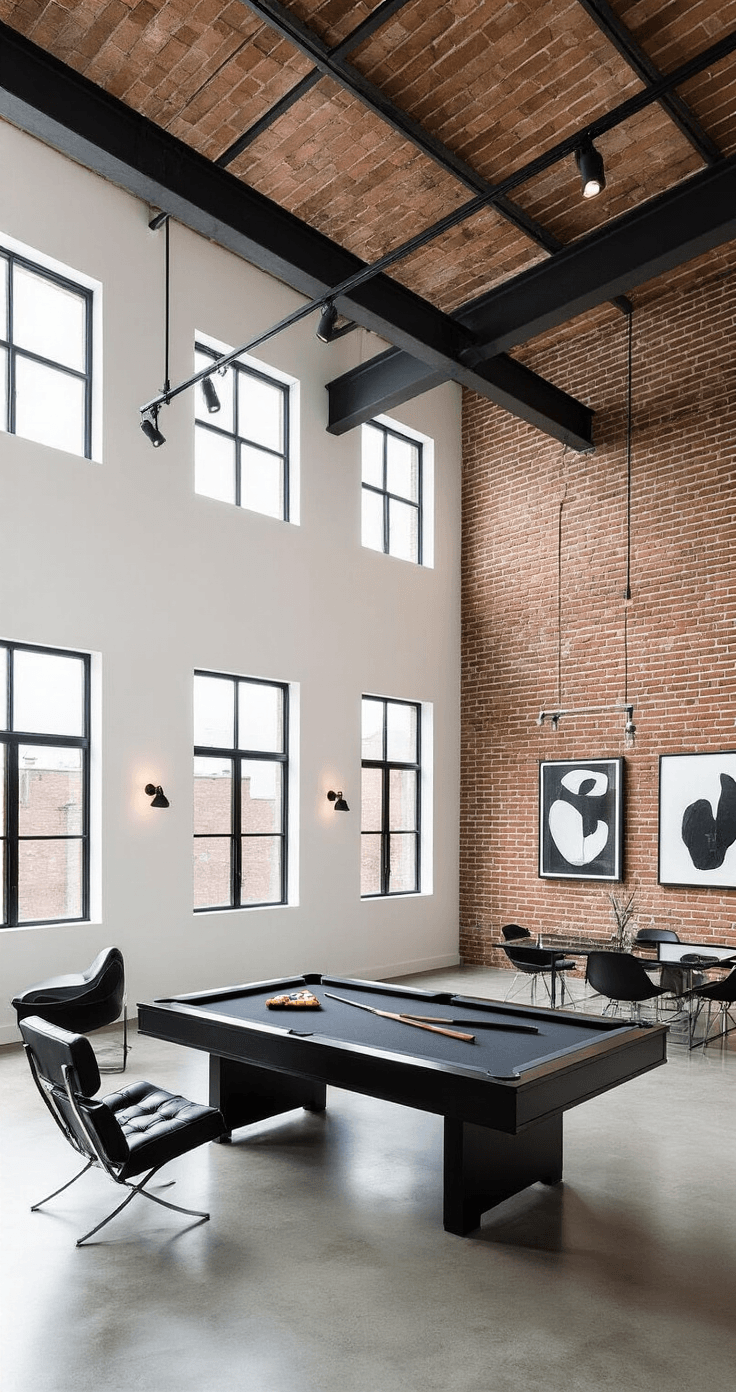
Smart Pool Table Placement Strategies
The Center Stage Approach
Place your table dead center for maximum drama and playability. Works great in dedicated game rooms.
The Corner Strategy
Tuck one corner against walls to save space. You’ll sacrifice some shots, but gain room for other furniture.
The Island Method
Float the table with equal space on all sides. Perfect for entertaining and showing off your pool table cover.
Common Drawing Mistakes That Cost Money
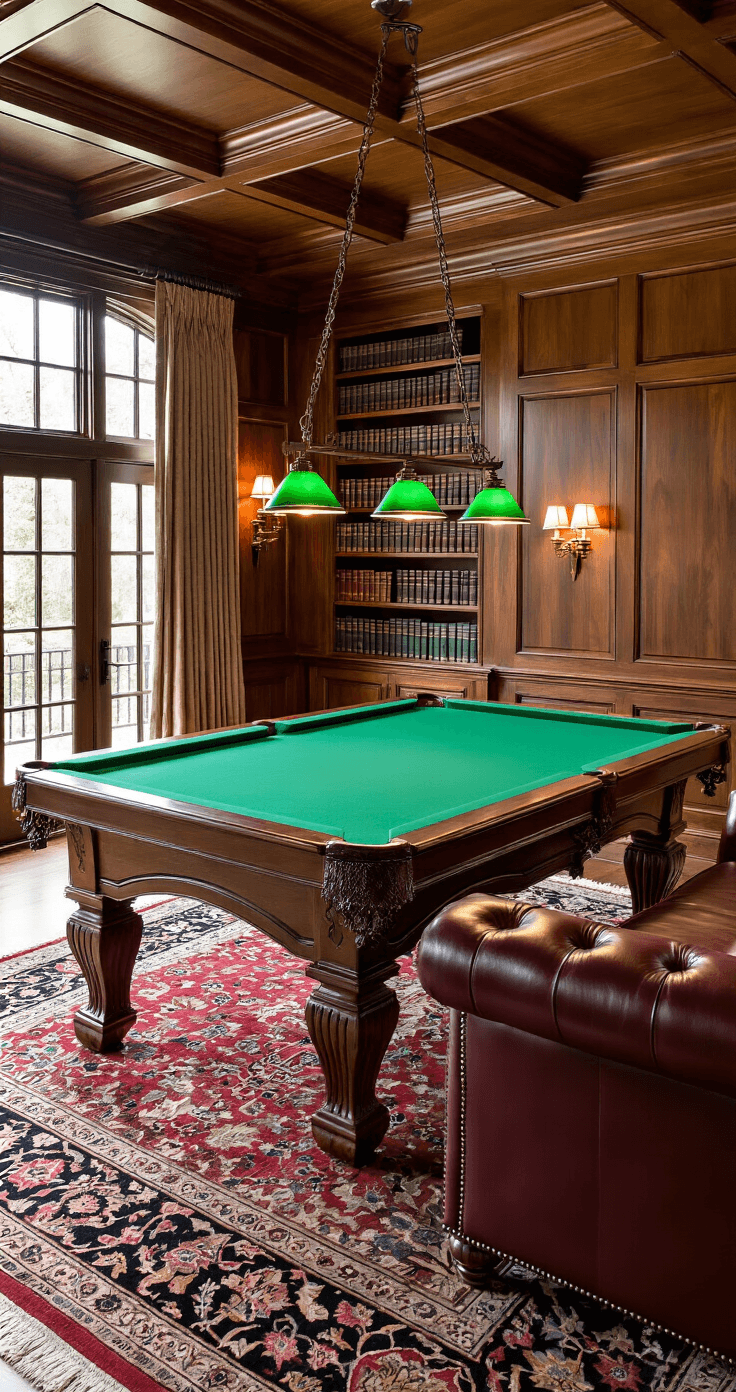
Forgetting About Lighting
Your drawing should include pendant lights or track lighting. Pool tables need focused light to play properly.
Ignoring Traffic Flow
People need to walk around the room. Leave pathways between your table and seating areas.
Overlooking Storage
Where will you store pool rack, extra cues, and chalk? Plan storage into your drawing from the start.
Underestimating Spectator Space
Watching pool is half the fun. Include seating areas that don’t interfere with play.
Digital Tools vs. Hand Drawing
Old School Paper Method:
- Quick and easy
- No learning curve
- Perfect for simple layouts
- Easy to share with family
Digital Drawing Apps:
- More precise measurements
- Easy to modify and save
- Professional-looking results
- Can include 3D views
I still prefer paper for initial sketches. Digital tools work better for final presentations